Check the Label Before Replacing A/C Refrigerant

Check the Label Before Replacing A/C Refrigerant

Never attempt to service a car's air conditioning system without first checking the SAE J639 sticker.

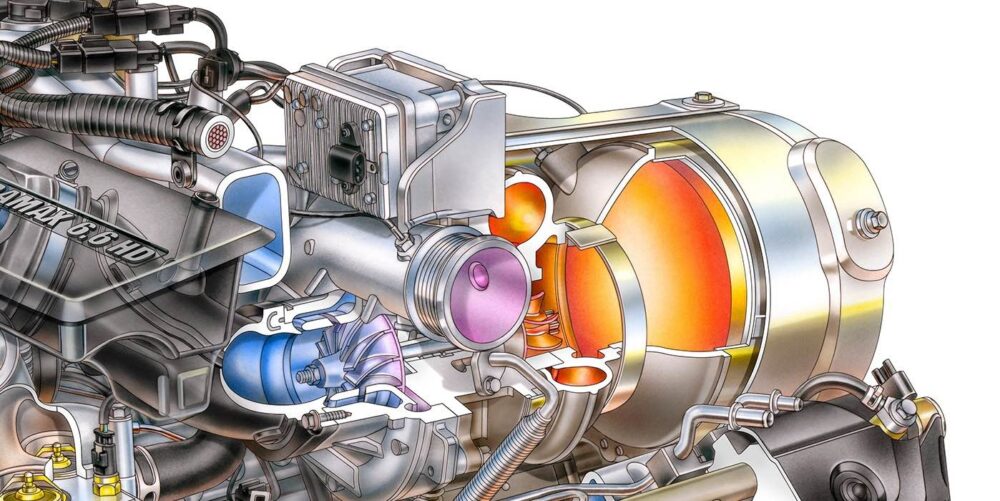
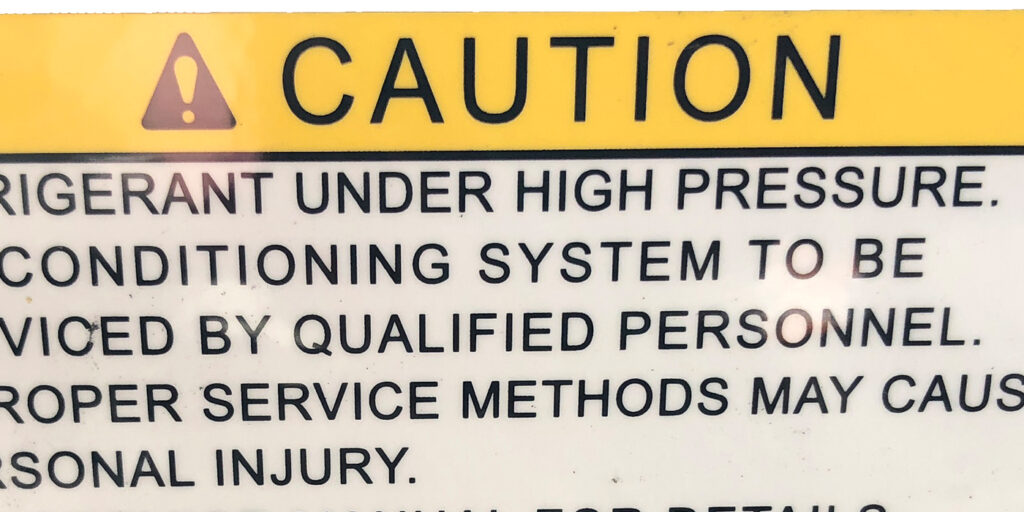
Federal, state and local regulations govern proper procedures for recovering, recharging and recycling R-134a motor vehicle air conditioning (A/C) refrigerant.

You can find relevant details specific to a vehicle’s refrigerant requirements on the sticker under a vehicle’s hood. The label shows refrigerant type and amount, and information about compressor lubricant. The location of this sticker varies by vehicle but is generally located somewhere up front. The sticker is governed by SAE Standard J639, which provides safety and design standards for automotive air conditioning refrigerant systems. 

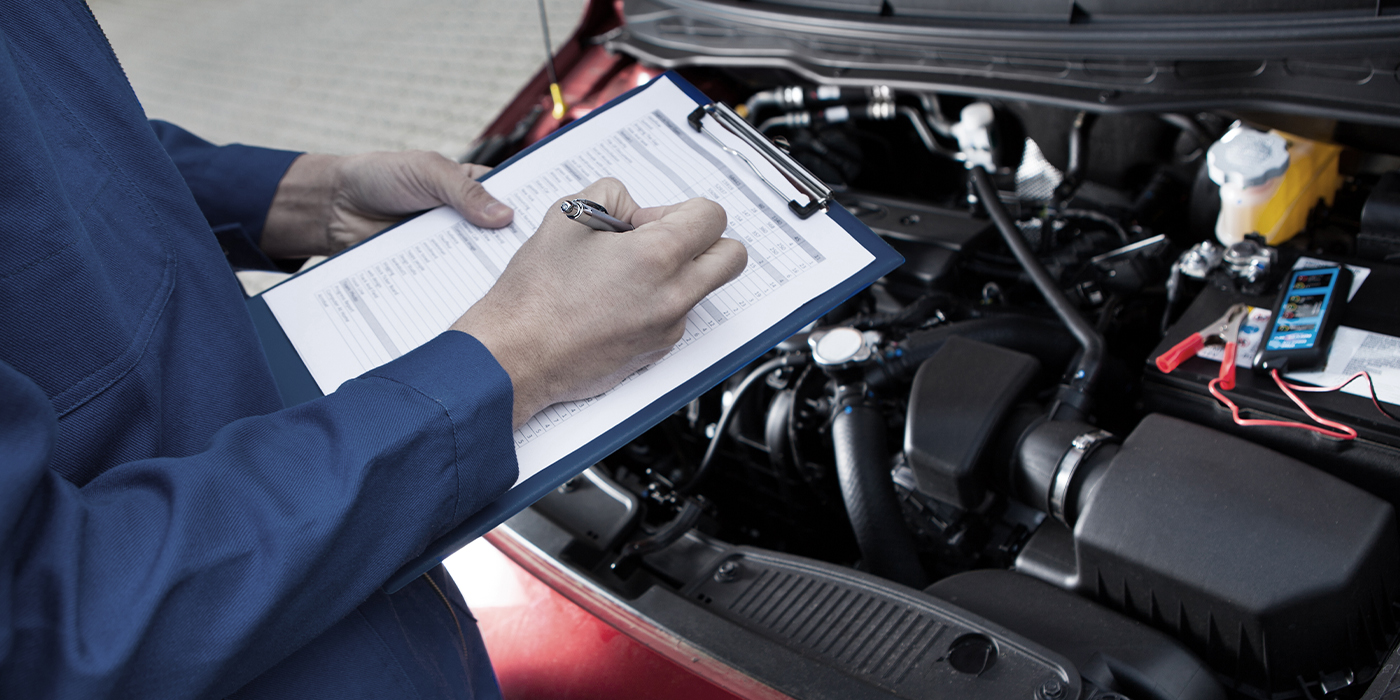
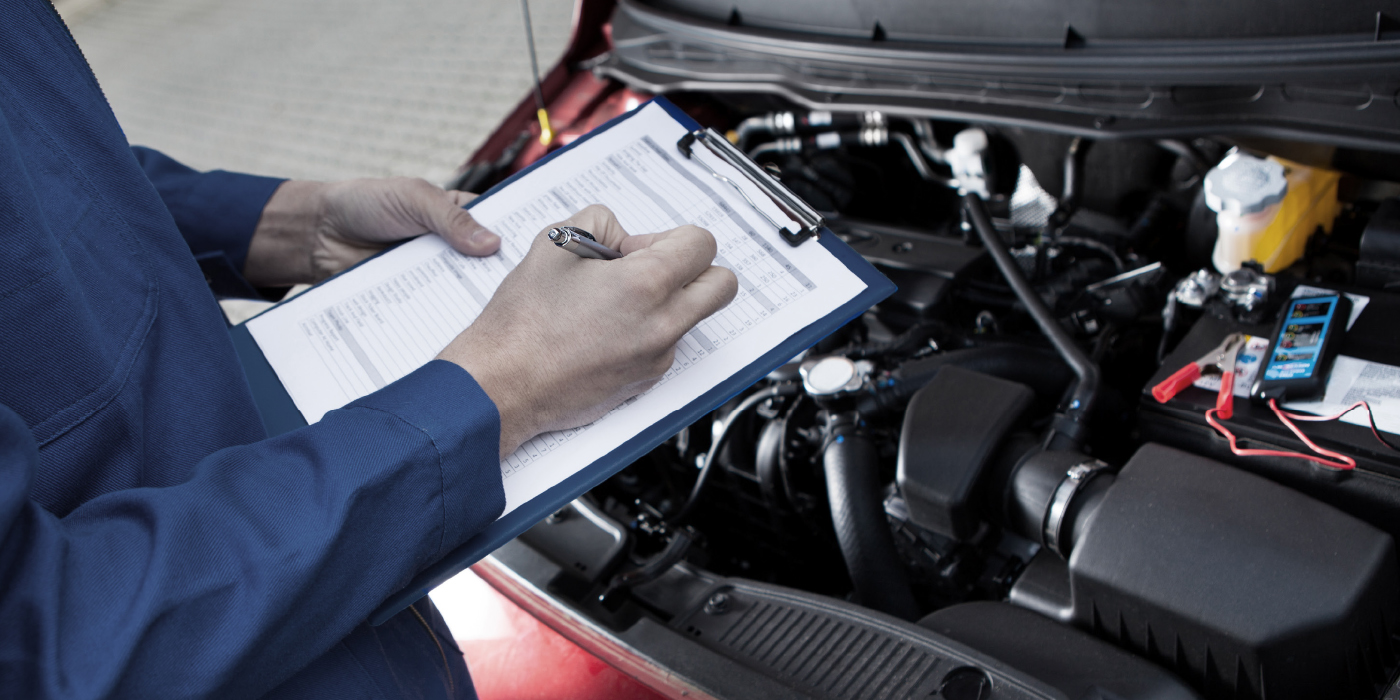
Technicians must check the vehicle’s sticker before servicing the vehicle. Failure to check the sticker could void the refrigerant recovery machine’s warranty and significantly increase the chances of using an incorrect amount of refrigerant or the wrong type or amount of PAG oil.

The relevant portions of this sticker are:
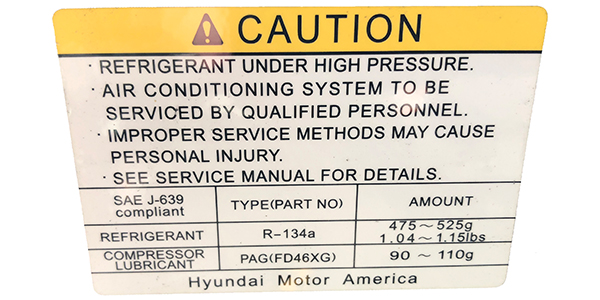
Refrigerant Type: Make sure the refrigerant type is compatible with your A/C recovery machine.

Refrigerant Amount: This is the amount of refrigerant you will tell the machine to put back into the vehicle during recharge (assuming all of it was removed in recovery, which is the normal method).

Compressor Lubricant Type: This shows the type of PAG oil required by a vehicle’s compressor. Most vehicles are 46, 100 or 150. Use the correct viscosity for the vehicle being serviced. • Compressor Lubricant Amount: This is the full amount of PAG oil the compressor can use. You only need to replace the amount that was removed during service plus 15 mL or 3 to 4 percent of the full amount shown here.

For more information about air conditioning recovery processes and equipment, visit BendPak.

You May Also Like

Duramax Diesel Turbo Codes P0290 and P2463

No matter the symptoms or damaged parts, the root cause of the failure must be diagnosed and resolved.

Duramax_Turbo_FI

Some turbocharger failures on some GM Duramax 6.6 diesel engines from 2011-2017 are quick and catastrophic. It could start with smoke from the tailpipe or even a catalytic converter clogged with oil and debris. You may notice the engine is down on power. These are easy to diagnose.

Some turbocharger failures for these engines are less dramatic and might not require a replacement unit. Instead, they start with a code and a check engine light. These are typically caught by the engine management system when it senses the turbocharger is no longer producing the expected level of boost for a given engine speed or load.

Vacuum Brake Booster Diagnostics

Vacuum brake boosters will probably be with us for a long time.

Toyota Steering Column “POP” Noise

Follow this repair procedure if the bulletin applies.

ADAS Calibration – Myths and Operation

Here’s what really goes on during an ADAS calibration.

Key Programming

You might think that key programming is a job for a locksmith or specialist, but the market is changing.

Other Posts

Power Steering Pull

Every driver has a different threshold for a pull.

Electric Power Steering

Today’s EPS systems have been refined.

For Better Customer Relations, Be A Better Listener

For a service advisor, asking questions and letting the customer explain can be a great diagnostic tool.

Chassis Diagnostic Procedures

The secret is to be quiet & listen, as the customer will tell you almost everything relevant to the repair you need to know.