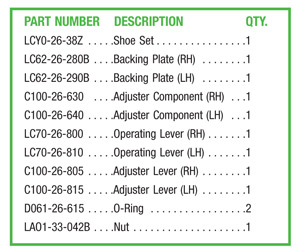
 Mazda MPV owners may complain about rear brake noise. While applying the brakes under normal stopping conditions, usually at low speeds, a metallic popping, clicking or squealing sound can be heard coming from the rear brakes. This may be caused by uneven contact between the brake lining and the brake drum. Modified rear brake parts are available to address this concern. If it’s diagnosed that this situation exists, follow the repair procedure below. See Parts Information at right.
Applicable Models:
2000-’01 MPV with VINs lower than JM3 LW28** 10 170417
Repair Procedure:
Note: The following repair procedure must be performed on both the left- and right-side brake drum assemblies.
1. Road-test the vehicle to verify the complaint.
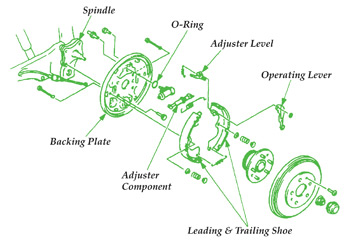 2. Remove rear brake drum assembly (See Fig. 1).
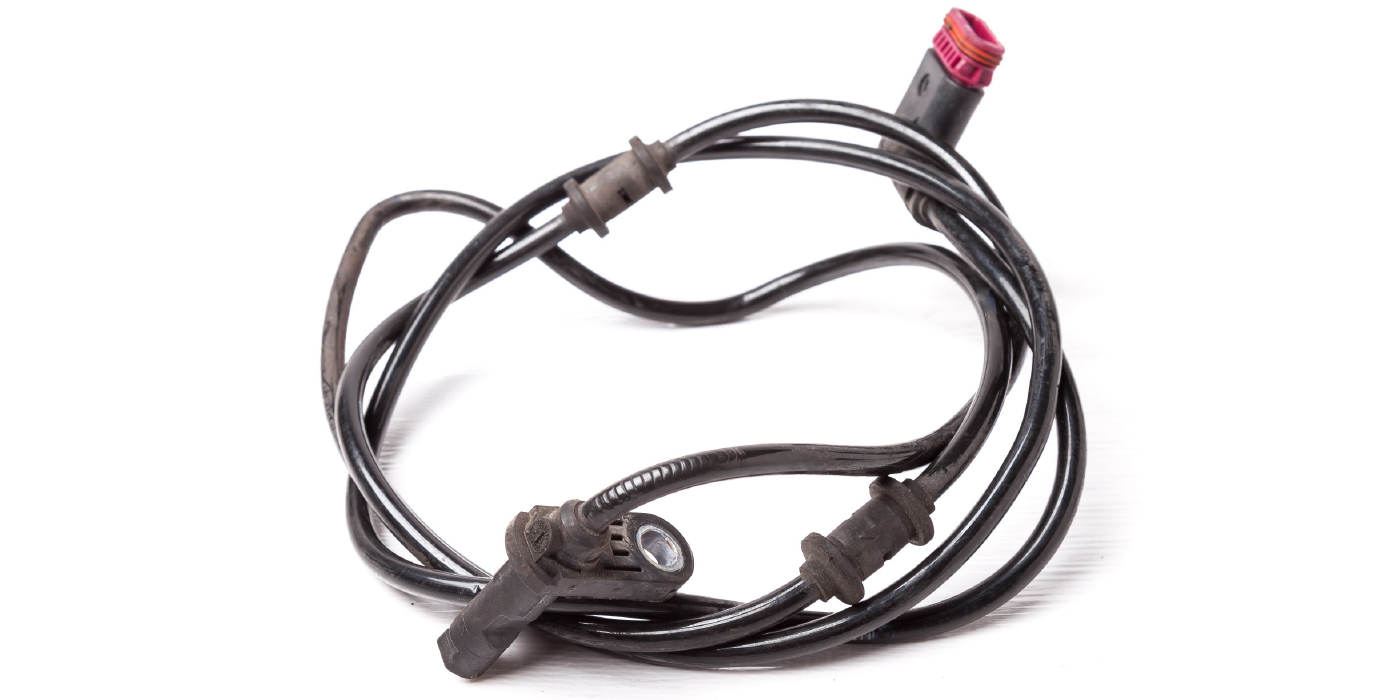
Caution: To avoid possible damage to the ABS speed sensor, hold the spindle when removing the backing plate. Do not allow the spindle to hang from the ABS sensor.
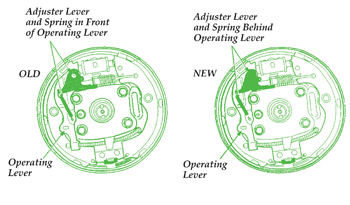 3. Install the modified parts (See Fig. 2).
Note: The new adjuster lever and spring have been moved from the front of the brake shoes to the back of the brake shoes.
4. Bleed the air from the brake hydraulic system using factory and/or industry standard-approved practices.
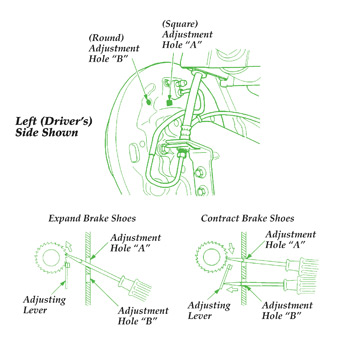 5. Adjust the rear brakes (See illustrations in Fig. 3).
a. Insert a screwdriver into adjustment hole “A” of the backing plate and turn the adjuster in the direction of the arrow (as shown) to expand shoes until the brake drum becomes difficult to turn.
b. Insert a second screwdriver into adjustment hole “B” to disengage the adjusting lever from the adjuster.
c. While pushing the adjuster lever away from the adjuster through adjustment hole “B,” contract the brake shoes by turning the adjuster in the opposite direction (as shown) until the brake shoes stop dragging.
6. Reassemble the vehicle and road-test it to verify the repair.
Written by ALLDATA Editor, Ed Dorowski and Technical/Marketing Writer Jeff Webster.
Courtesy of Alldata.
For additional information, visit www.alldata.com.