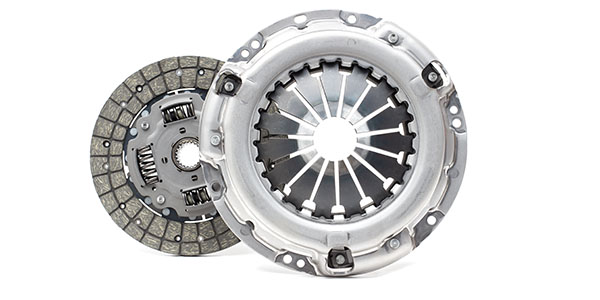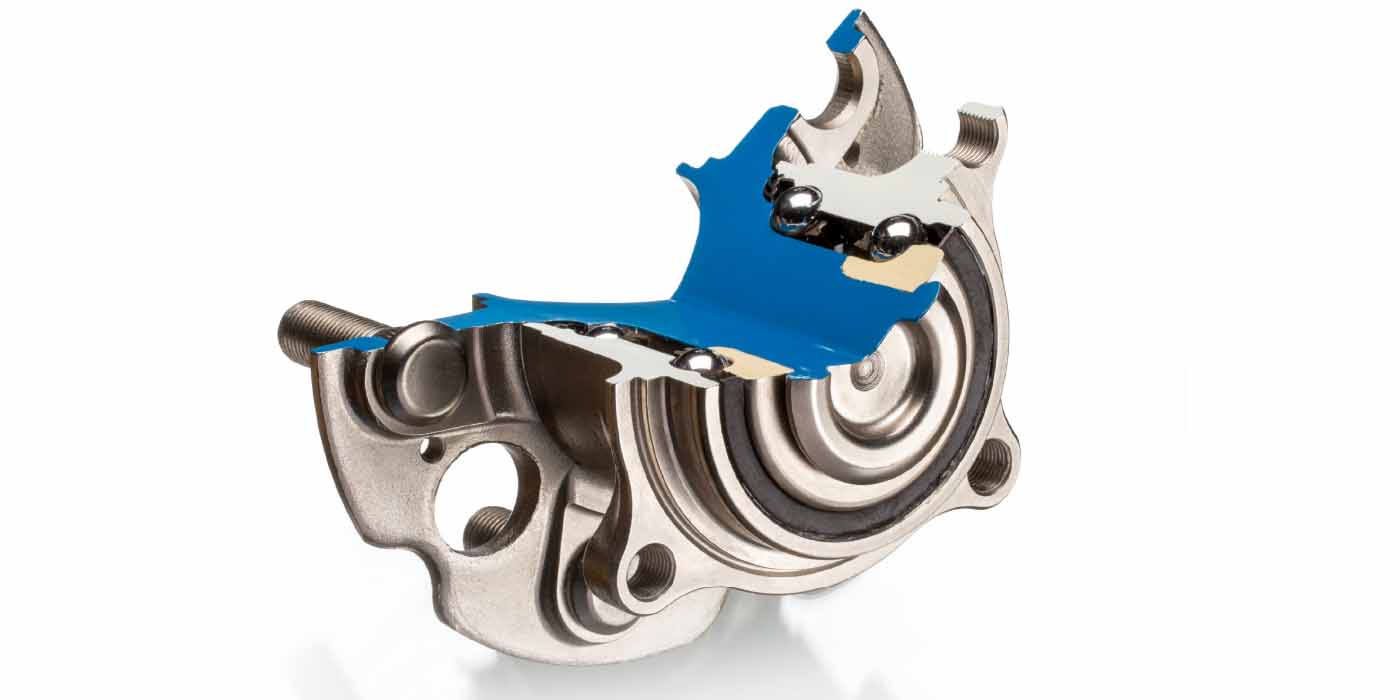
Clutch replacement is a job that normally takes a good bit of time, and we want the job to go right the first time. Whether it’s a 4-wheel drive Ford F-450 or a Chevrolet Cobalt, we don’t want to do the job twice, but that’s exactly what may happen if the clutch installation does not go right.
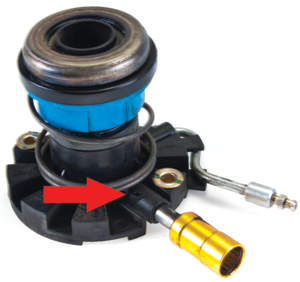
The first issue with a new clutch replacement is getting the hydraulic system bled of air, which is easily the most common problem on a new clutch install. With today’s “fluidless/dripless” quick disconnect at the clutch slave cylinder, we disconnect the line coming down from the master cylinder, take the transmission out, replace the clutch and reconnect the line, and expect things to be perfect.
However, that’s not always the case. Air gets into the hydraulic system, requiring us to bleed the system, and that can be much easer said than done.
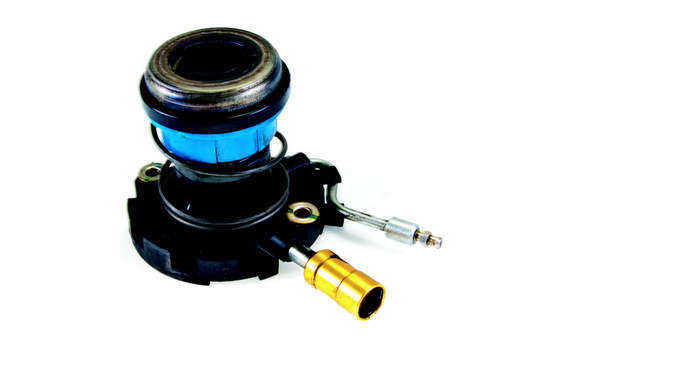
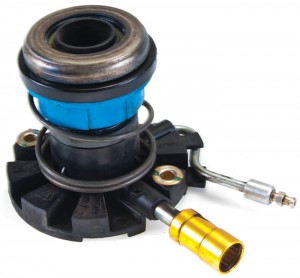
With just a few quick steps, part of an old concentric slave cylinder that normally gets thrown out can be recycled to create a bleeding tool.
1. Drive the drift pin (Fig. 1) out of the old slave cylinder.
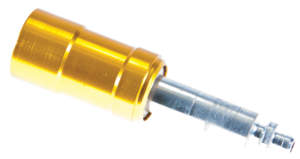
2. Pull the quick disconnect (Fig. 2) and the 2-inch piece of steel line out of the old slave cylinder.
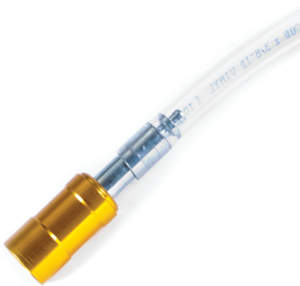
3. Get a piece of 3/8” ID hose and push it on to the end of the steel line (Fig. 3).
You now have a bleeding tool that will help in making the critical job of bleeding the hydraulic system easier.
1. Connect the tool you just made to the line coming down from the master cylinder.
2. Submerge the end of the hose in a vessel of clean fluid. Ensure that the hose always stays submerged in the fluid so that no air is drawn back into the hydraulic system.
3. Have an assistant depress the clutch pedal slowly, while keeping a close watch on the fluid level in the master cylinder reservoir. Make sure that the fluid level in the reservoir doesn’t go below the “low fluid” marks.
4. Repeat the process until all that is seen being pumped through the system is clean hydraulic fluid.
5. Disconnect the tool from the hydraulic system in the vehicle and from the quick disconnect up to the master will be bled of air.
This is a great example of recycling something we normally would throw away to make our job easier and more efficient.
Courtesy of Schaeffler Group USA