All technicians have that one repair or procedure that they just hate to do. Maybe it is replacing brake lines or changing tires. For others it’s drum brakes. Even after working on cars for over 25 years, drum brakes are still on my list of things I would rather pass off to the apprentice in the shop.
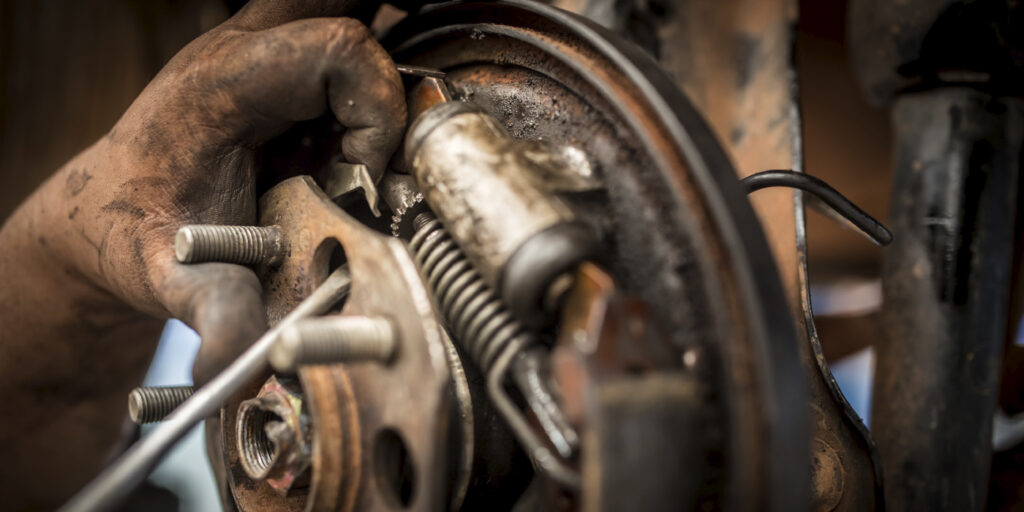
But, most newer technicians struggle with servicing drum brakes. Just looking at the array of springs and numerous other components mounted on the backing plate can be intimidating. But with some understanding of what those components do and a little practice with rear drums, any technician can handle servicing them with relative ease.
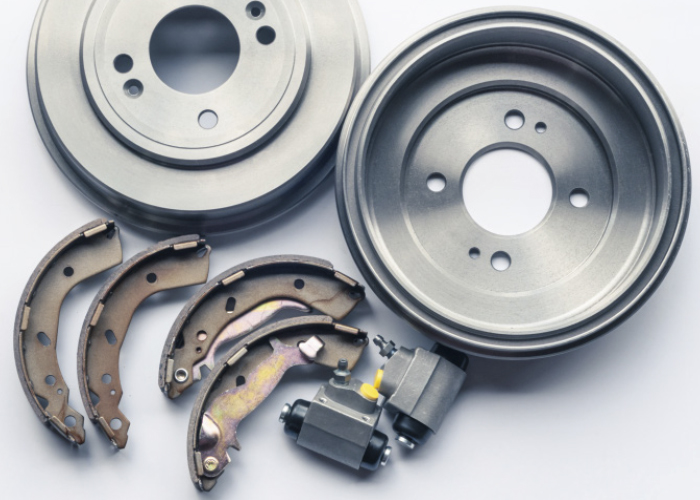
So, how do drum brakes work? The process starts off much the same as front disc brakes, with fluid making its way down to the brakes from a master cylinder. Instead of entering a caliper, however, the brake fluid goes into the wheel cylinder, located inside the cast-iron brake drum itself. The fluid pushes two pistons within the wheel cylinder body outward, forcing the brake shoes into the inner lining of the brake drum. Since the drum is attached to the hub, the friction generated then slows down the rotation of the wheel.
A spring sitting between the two pistons and another between the shoes ensures everything returns to its original position once the brake pedal is released. A threaded adjuster meanwhile will gradually unwind as the shoes wear, meaning the distance the shoes require to meet the drum surface remains consistent over time.
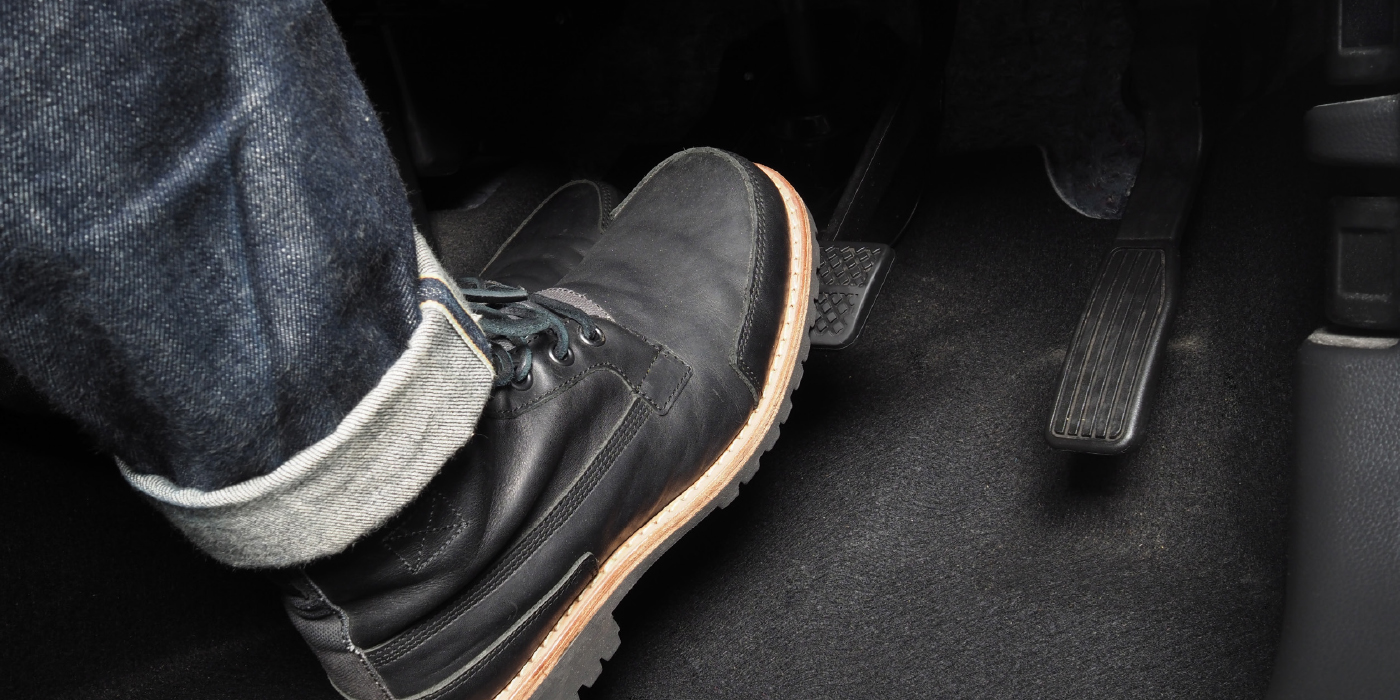
For the drum brakes to function correctly, the brake shoes must remain close to the drum without touching it. If they get too far away from the drum (as the shoes wear down, for example), the piston will require more fluid to travel that distance, and the brake pedal will sink closer to the floor when the brakes are applied. Therefore, most drum brakes have an automatic adjuster. The teeth on the automatic adjuster can wear and cause play or slipping in the lever mechanism. Also, pay attention to the buttons at the end of the adjusters that allow it to rotate and extend. If these seize, they can no longer compensate for wear.
Automatic adjusters can be serviced and lubricated. But, if there are any signs the platings or coatings have been damaged, it is a good practice to install a new hardware set. No amount of grease will restore the corrosion- resistant surface.
As for lubricants, use brake lubricant-specific products. Chassis or wheel bearing greases are not designed to withstand temperatures inside a brake drum. The grease can melt and contaminate the linings. The application of the grease is also critical. Too much grease can attract dirt and debris and cause the components to bind.
As the shoe wears down, more space will form between the shoe and the drum. Each time the car stops while in reverse, the shoe is pulled tight against the drum. When the gap gets big enough, the adjusting lever rocks enough to advance the adjuster gear by one tooth. The adjuster has threads on it, like a bolt, so that it unscrews a little bit when it turns, lengthening to fill in the gap. When the brake shoes wear a little more, the adjuster can advance again, so it always keeps the shoes close to the drum.
Some cars have an adjuster that is actuated when the emergency brake is applied. This type of adjuster can come out of adjustment if the emergency brake is not used for long periods of time. So, if your customers have this type of adjuster, you should remind them to apply the emergency brake at least once a week.
Servicing rear brakes does require the use of some special tools. Trying to use needle-nose pliers or vice-grips to remove and install brake springs is dangerous. The springs on drum brake systems are under a lot of tension and using the wrong tools can result in a spring shooting off at a high speed directly into one’s eye.
With safety in mind, brake spring pliers are necessary when replacing shoes or wheel cylinders. Also needed are brake spoons or brake drum adjuster tools. Brake spoons are curved to make it easier to get into the adjuster window when setting the gap between the brake shoes and drum contact area. You will also want to have a brake shoe hold-down spring compressor. This tool will allow for the removal and replacement of brake hold-down springs.

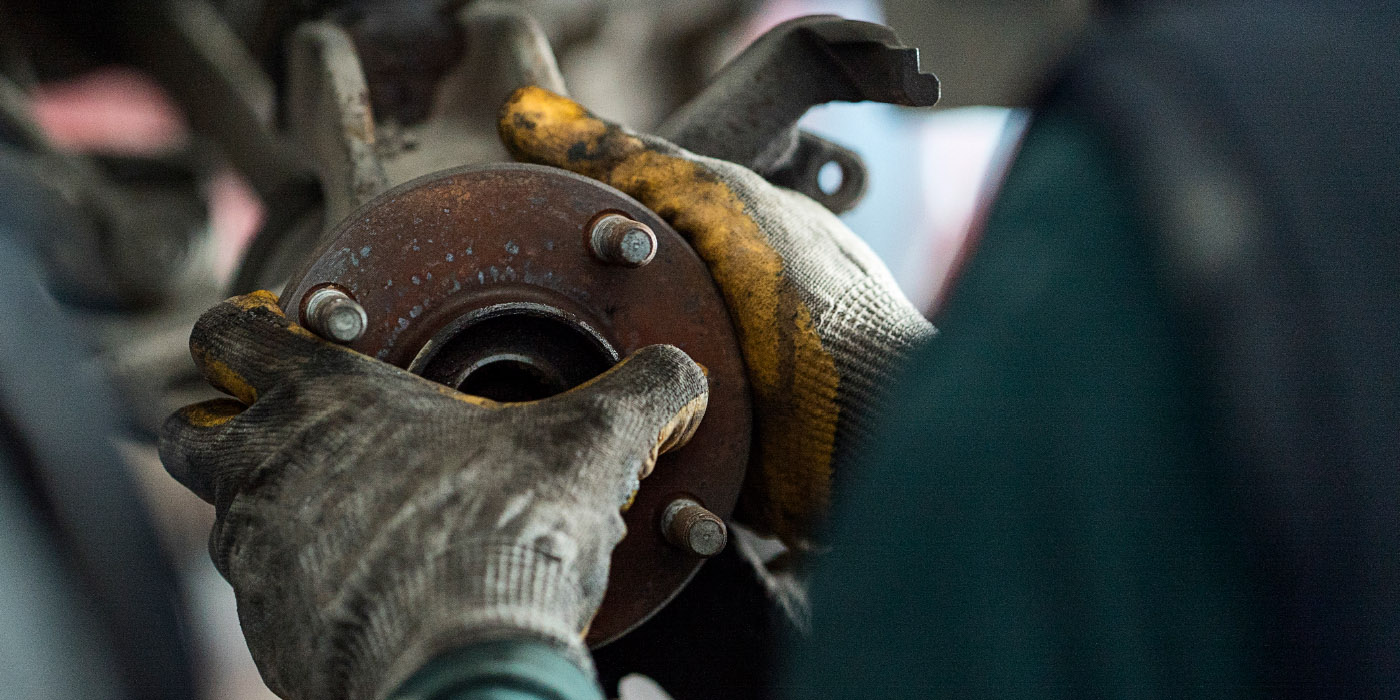
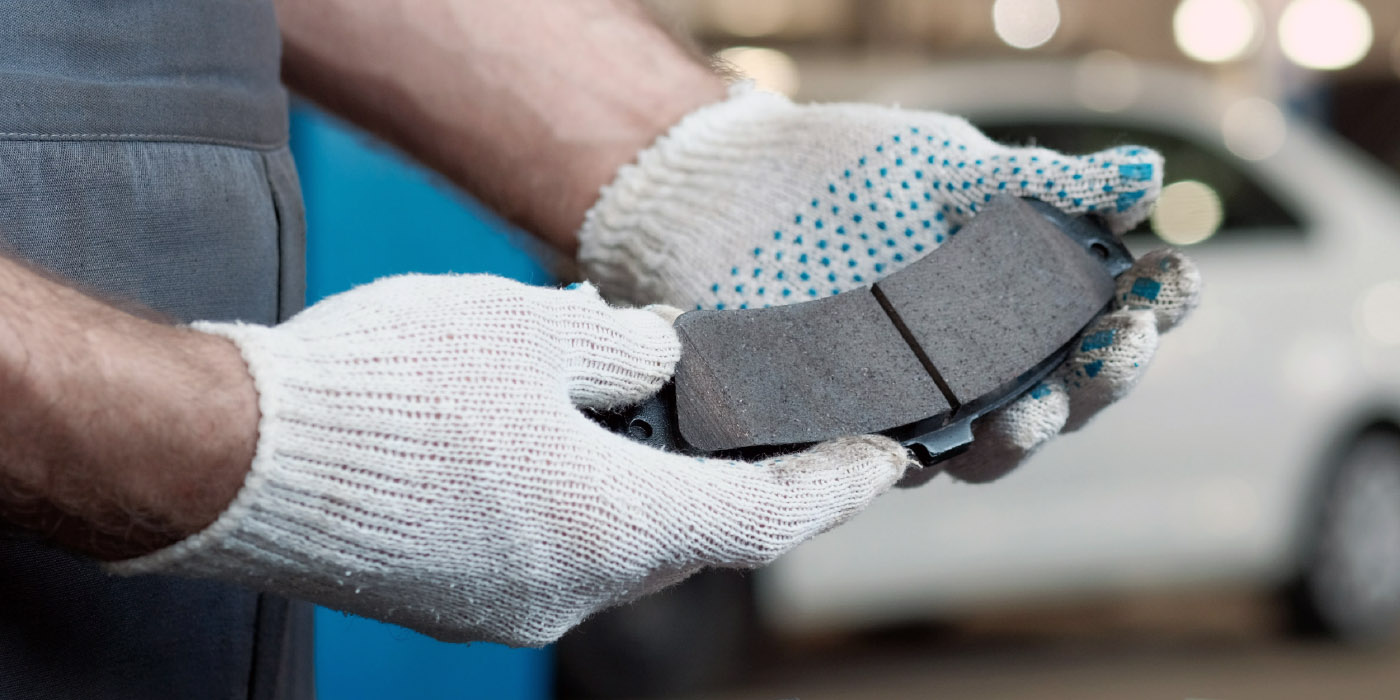
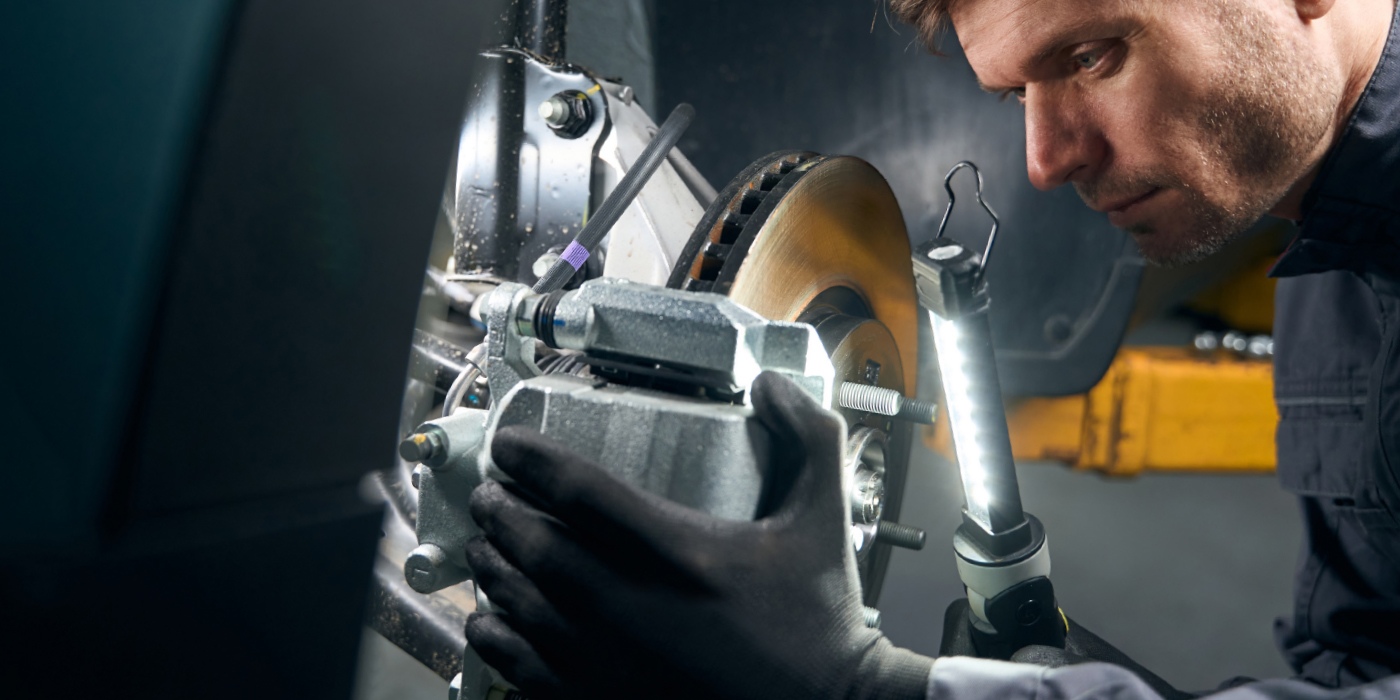
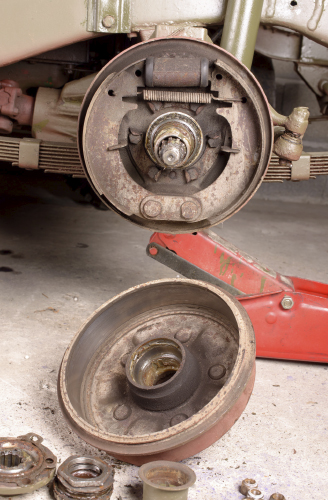
The most common service required for drum brakes is replacing the brake shoes. Some drum brakes provide an inspection hole on the back side, where you can see how much material is left on the shoe. However, it is recommended to remove the drum to perform a complete inspection on all the components inside the drum. Brake shoes should be replaced when the friction material has worn down to within 1/32˝(0.8 mm) of the rivets. If the friction material is bonded to the backing plate (no rivets), then the shoes should be replaced when they have only 1/16˝ (1.6 mm) of material left.
Just as in disc brakes, deep scores sometimes get worn into brake drums. If a worn-out brake shoe is used for too long, the rivets that hold the friction material to the backing can wear grooves into the drum. A badly scored drum can sometimes be repaired by refinishing. Where disc brakes have a minimum allowable thickness, drum brakes have a maximum allowable diameter. Since the contact surface is the inside of the drum, as you remove material from the drum brake the diameter gets bigger. A brake lathe is required to resurface the contact area of the drum. If the drum is heavily scored, damaged, warped or already over specification the drum will have to be replaced.
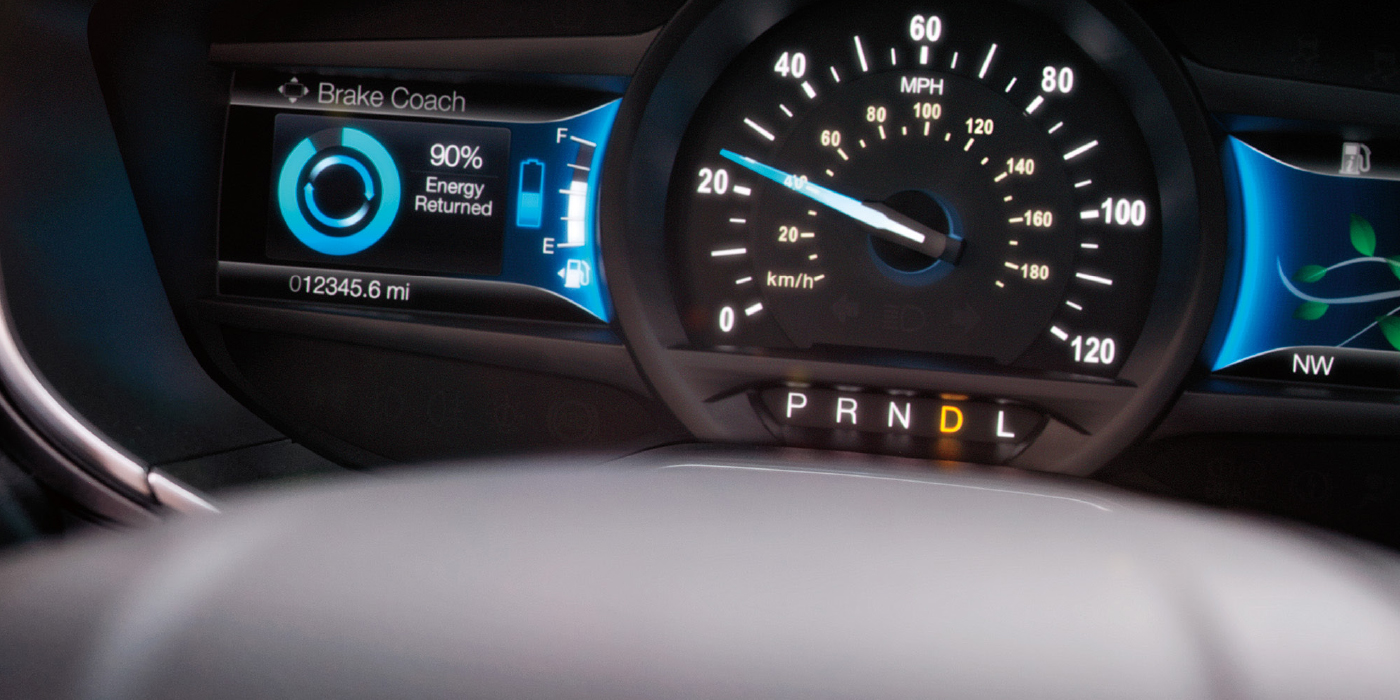
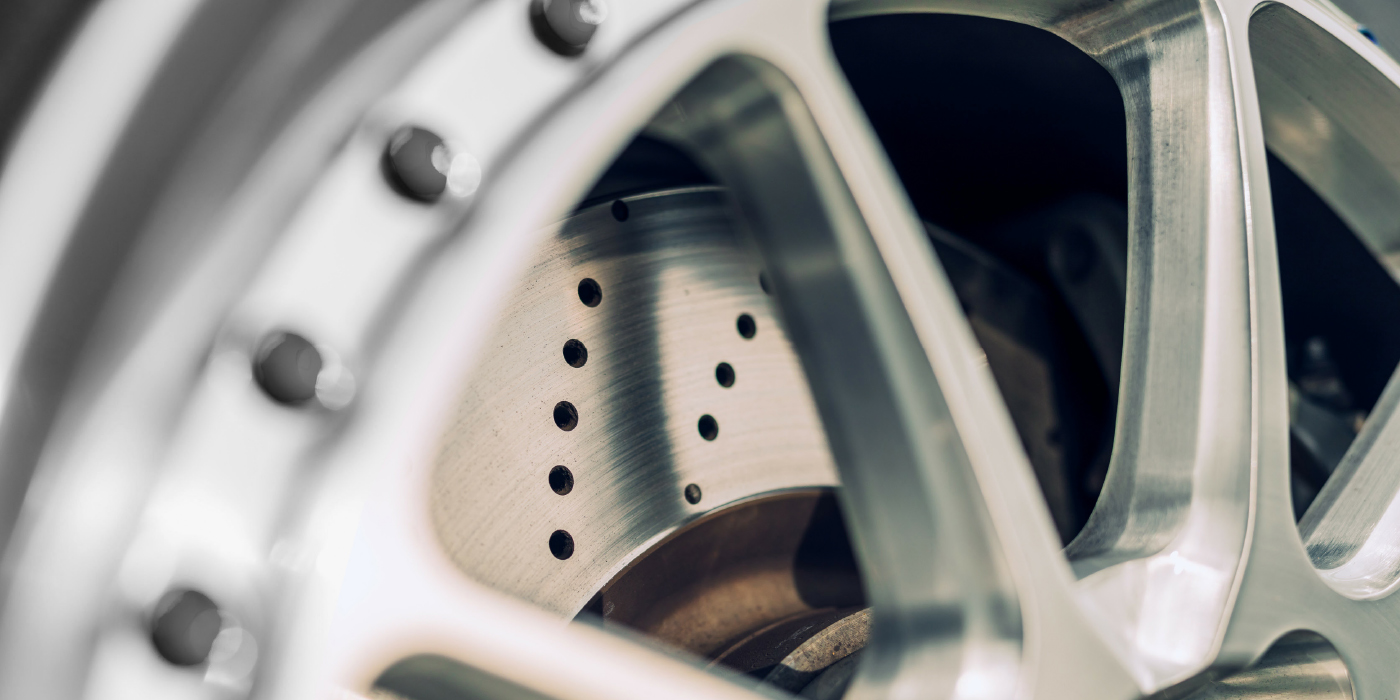
It’s not hard, then, to see why brake discs have become the preferred choice for car manufacturers, and why you don’t see performance cars running drums anymore. But the humble drum brake still has its uses for slower, less expensive cars and commercial vehicles, so it’s unlikely to be going anywhere any time soon. Some hybrid and electric vehicle manufacturers are also using drums to reduce rolling resistance and
weight.