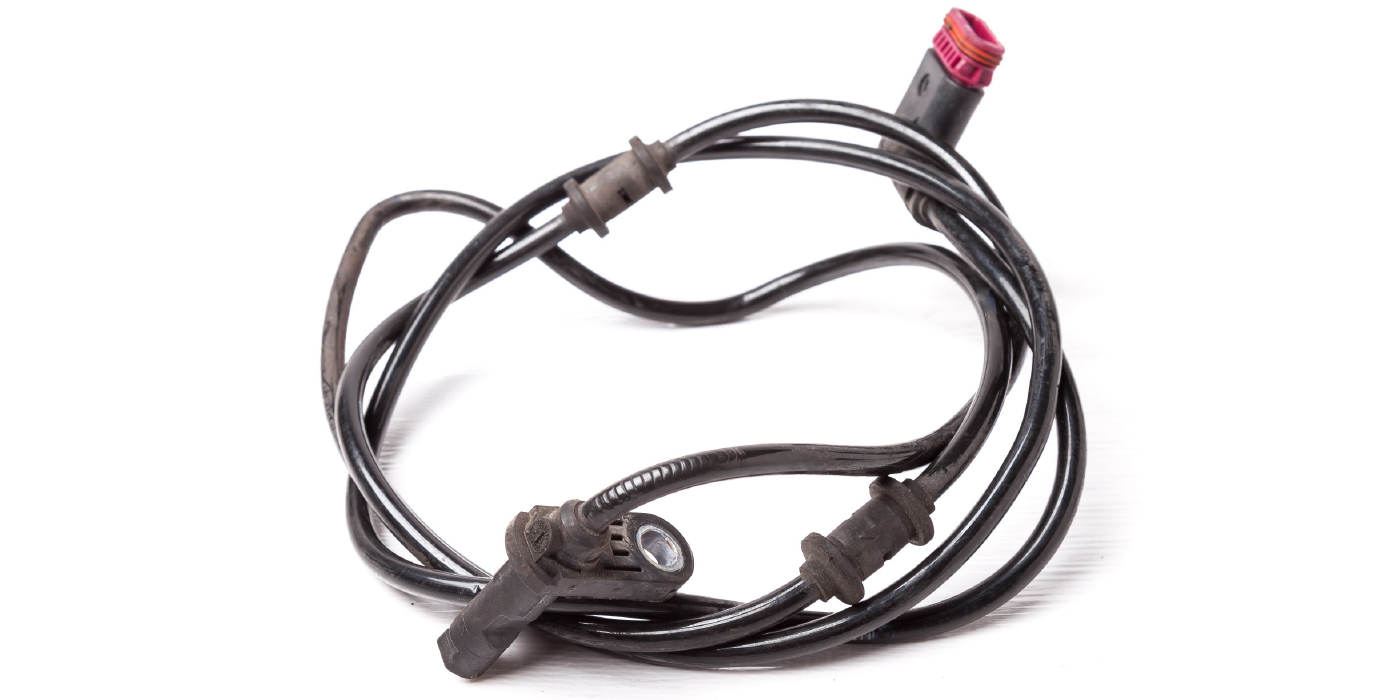
The wheel cylinder supplies the muscle for a drum brake. Most wheel cylinders are relatively simple: a pair of horizontally opposed pistons mounted inside a cast iron or aluminum housing. A brake line or hose from the master cylinder routes hydraulic pressure to the wheel cylinder, which pushes the pistons out. This forces the brake shoes against the drum to apply the brake. When the brake pedal is released, return springs on the shoes retract them from the drum and push the pistons back into the wheel cylinder.
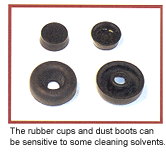
 Each piston has a cup-shaped seal that faces inward. When hydraulic pressure is exerted against the piston and seal, the lip of the seal is pushed outward and seals tightly against the inside bore of the wheel cylinder. A dust boot that keeps out brake dust and other contaminants is also on the outside of each piston.
Over time, normal wear, roughness or pitting in the bore, or nicks or cracks in the piston seal, can create paths for pressure to be lost. And once a wheel cylinder starts to leak brake fluid, it’s bad news for the brakes. That’s why the wheel cylinders should always be inspected when the brakes are relined – even if it’s only the front disc brakes that are receiving new pads.
Brake fluid leaking from a wheel cylinder will foul the brake shoes, causing a loss of friction. This, in turn, can make the brakes pull (toward the side with the good wheel cylinder), causing uneven braking and/or grabby brakes. Over time, a leaky seal will also cause the brake fluid level inside the master cylinder reservoir to drop. If not corrected, the fluid may get so low that air is drawn into the master cylinder causing increased pedal travel as well as a soft pedal.
A total seal failure will cause a sudden loss of pressure and brake failure in the affected brake circuit. On a RWD vehicle with disc/drum brakes, this usually means loss of the rear brakes. On a FWD car with a diagonally split hydraulic system, the loss of one rear drum will also cause the loss of the opposing front disc brake.
A loss of brake pressure should cause the brake warning light to come on. Until the problem is fixed, the vehicle should not be driven.
Sometimes corrosion or debris will cause a piston to jam in its bore. If the piston is stuck in and won’t budge, only one shoe will apply, causing a loss of braking force and increased pedal effort. If a piston jams in the out position and won’t retract, it will cause the shoe to drag, causing a pull to one side as well as a hot brake. Either way, immediate repairs are needed.
Inspection
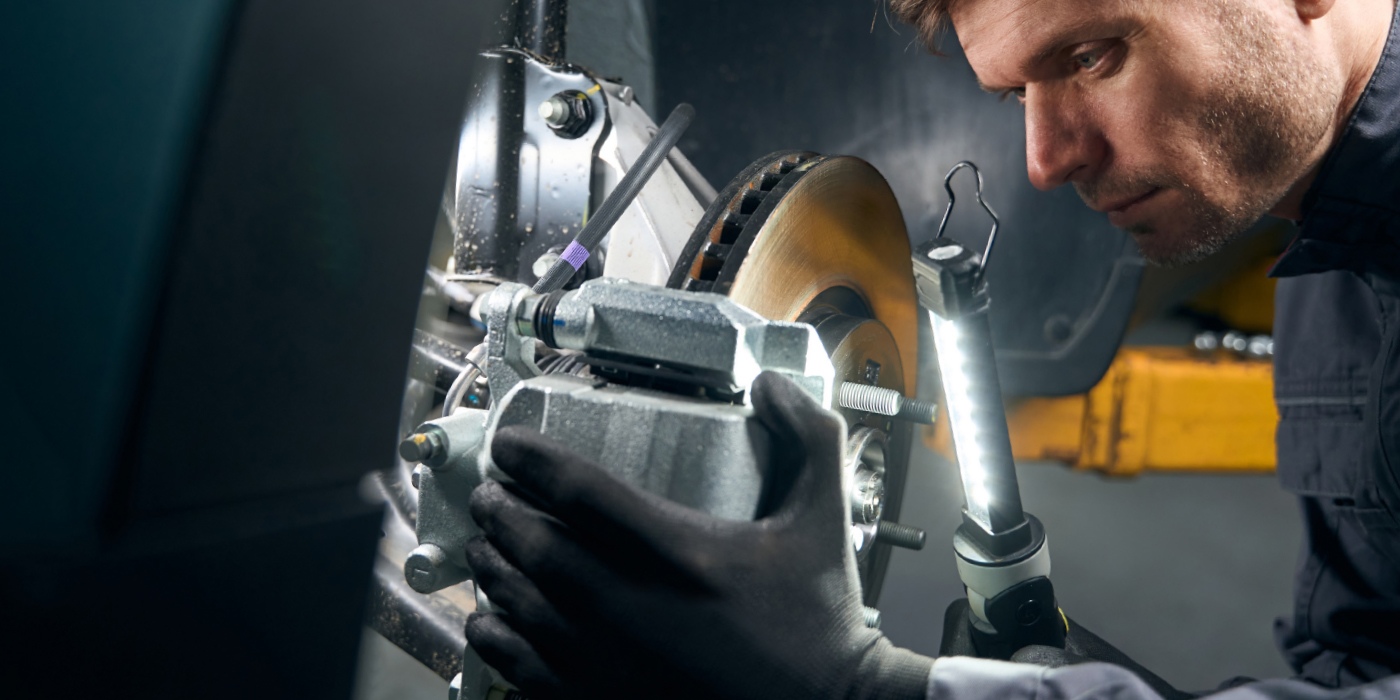
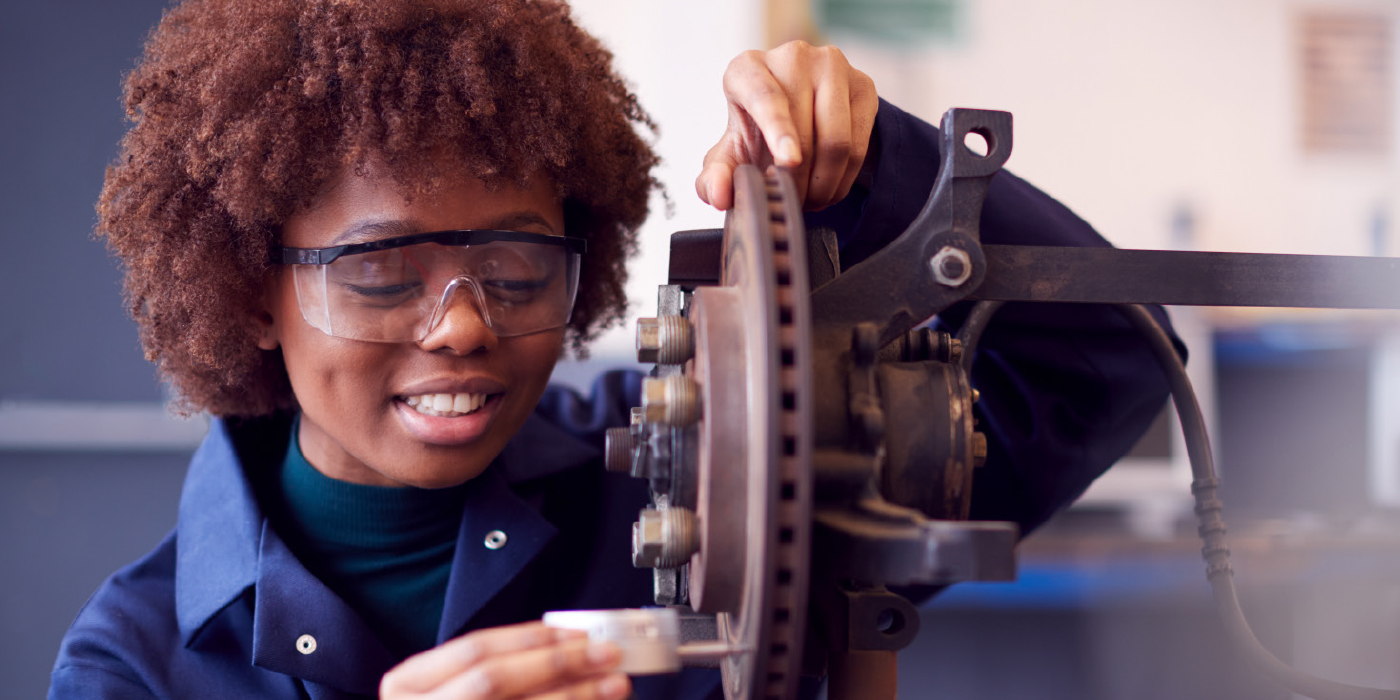
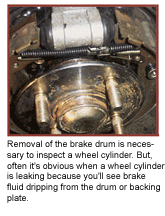
Removal of the brake drum is necessary to inspect a wheel cylinder. But, often it’s obvious when a wheel cylinder is leaking because you’ll see brake fluid dripping from the drum or backing plate.
A leaky wheel cylinder will usually leave telltale stains and wet spots on itself and the brake backing plate. The dust boots should also be inspected even if the wheel cylinder isn’t leaking because the boots keep out dust, dirt and other contaminants that can cause problems down the road.
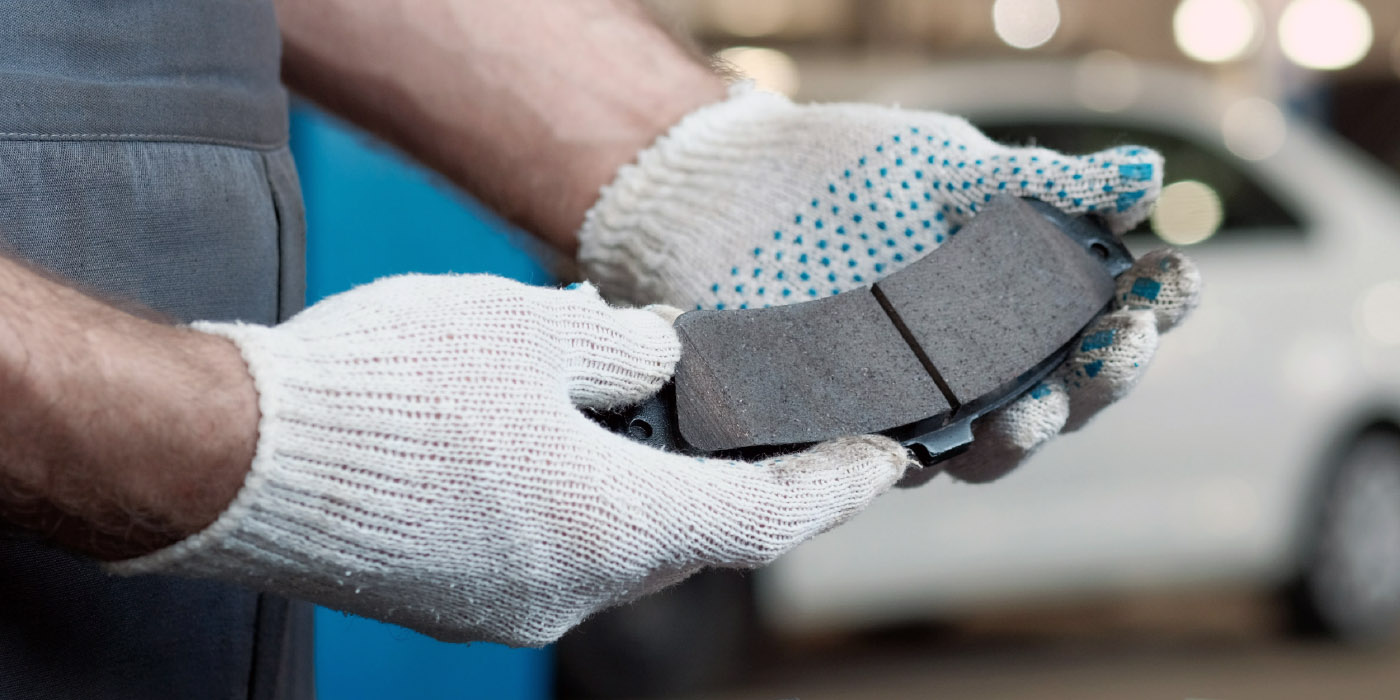
Any wheel cylinder that is found to be leaking or damaged (including ripped or cracked dust boots) should be replaced or rebuilt.
Replacement may be the only option if the cylinder bore is badly worn, pitted, deeply scratched, cracked or otherwise damaged, or the pistons can’t be reused because of wear or corrosion. A broken bleeder screw is also grounds for replacement.
Because of these risks, many technicians won’t waste their time taking a leaky wheel cylinder apart. They’ll simply replace it with a new or remanufactured unit.
Repair Kits
Repair kits typically include new piston cups, dust boots and an expander spring. A new bleeder screw should also be installed (if not included in the kit).
 Honing with a fine grit abrasive, honing stones or flexible hone can clean up minor surface corrosion and scratches in a bore. The goal is to restore a smooth surface (the smoother the better). Honing is not recommended for aluminum wheel cylinders because it removes the protective anodized finish. If an aluminum cylinder is worn or pitted, it must be replaced.
Once the cylinder has been honed, clean it thoroughly with brake fluid, denatured alcohol or brake cleaner. Never use gasoline or other petroleum solvents. Dry it thoroughly and then check the bore for maximum piston clearance using a 1/4-in. (6 mm) feeler gauge. The amount of clearance that’s allowed will depend on the diameter of the bore. Generally speaking, 0.006 in. (0.15 mm) is the limit for bores 3/4-in. to 1-3/16 in. I.D., 0.007 in. (0.18 mm) for bores 1-1/4 in. to 1-7/16 in. I.D., and 0.008 in. (0.20 mm) for bores 1-1/2 in. I.D. and up. If the piston can be inserted with the gauge in place, replace the wheel cylinder. When reassembling the wheel cylinder, make sure the piston cups face in so they’ll seal properly. The cups and inside of the bore should be lubed with brake fluid or silicone brake grease (never anything else).
When mounting the wheel cylinder on the backing plate, make sure it is held securely in place. On applications where a clip is used instead of bolts to retain the wheel cylinder, use a new clip and make sure the cylinder doesn’t rotate (a new backing plate or mounting repair kit may be needed if the original mounting hole is worn).
If the wheel cylinder is being rebuilt or replaced because it was leaking, new brake shoes will also be needed. The brake lines will also have to be bled to remove trapped air.
Applied Knowledge: Trailer Surge Brakes
Trailer surge brakes are not much different than passenger car and light truck drum brakes, and they often require the same kind of maintenance and repairs. With surge brakes, braking is automatic and requires no electrical connection between the tow vehicle and trailer (except for the lights). The surge coupler is mounted on the tongue of the trailer. Inside is a linkage connected to a hydraulic master cylinder. When the tow vehicle applies its brakes, the forward momentum of the trailer pushes on the surge coupler, causing it to slide rearward and apply pressure against the master cylinder piston rod.
The amount of pressure that’s applied to the trailer’s brakes will be proportional to the force exerted by the trailer’s tongue against the hitch on the tow vehicle. The greater the rate of deceleration, the greater the hydraulic pressure that’s applied to the trailer’s brakes. After the vehicle has stopped and starts to move again, the forward pull on the surge coupler relieves pressure on the master cylinder and releases the trailer’s brakes.
As simple as surge brakes are, they can’t tell the difference between normal braking and backing up. Consequently, they either need a free backing mechanism that releases the brakes when backing up, or a reverse solenoid wired to the tow vehicle’s backup lights to vent brake pressure when backing up.
Surge brakes are commonly used on boat trailers because electrical brakes do not hold up well in wet environments. They are also used on many rental trailers because they eliminate the need for any electrical hookups other than trailer lights. But in some states, surge brakes are not considered adequate for heavier trailers or commercial applications (like construction equipment). Electric brakes are required, which means the tow vehicle must be equipped with some type of controller to operate the trailer’s brakes.
Federal law requires all trailers with brakes to have some type of emergency “breakaway” system that will automatically apply the brakes should the trailer accidentally separate from the vehicle that’s pulling it. With surge brake systems, a cable or chain connected to the tow vehicle is typically used to apply the trailer’s brakes in an emergency.
Drum brakes are the most common type of trailer brakes, but many trailers are also equipped with disc brakes. Many drum brakes have a “uniservo” wheel cylinder with only a single piston rather than a “duoservo” brake with two pistons, like those on most cars and trucks.
Another difference you’ll find is that the springs and hardware in boat trailers are often galvanized (zinc plated) rather than painted to improve corrosion resistance. Brake shoes may also be riveted rather than bonded because waterlogged brake linings may come loose from their shoes.
What To Inspect
To check the operation of the brakes on surge/hydraulic systems, raise the trailer wheels off the ground and make sure the wheels spin freely when spun by hand. Dragging may indicate a frozen wheel cylinder, badly corroded brake parts, a plugged brake line or misadjusted drum brakes. Any looseness or roughness as the wheel spins would tell you the wheel bearings need attention.
Next, use a large screwdriver or pry bar to simulate a braking force on the surge coupler. Pushing rearward on the surge coupler should apply both brakes evenly. Maintain pressure for five to 10 seconds to make sure the master cylinder holds and is not leaking internally.
No brakes? Check the fluid level inside the master cylinder. If the level is full, air may be present in the lines, the drums may be out of adjustment or the master cylinder may be defective. If bleeding the lines or adjusting the drums doesn’t fix the problem, remove the brake line from the rear of the master cylinder and apply pressure to the surge coupler. If no fluid comes out, check for obstructions. If none are found, replace the master cylinder.
A short test drive can also be used to confirm proper brake operation and adjustment. If the coupler “clunks” when the brakes are applied, it may be experiencing excessive travel because the drums need to be adjusted to reduce shoe clearance.