this mitsubishi appears to be in good condition. loose sway bar bushings can cause squeaks and knocking noises. “/>
NON-LOAD-BEARING BUSHINGS
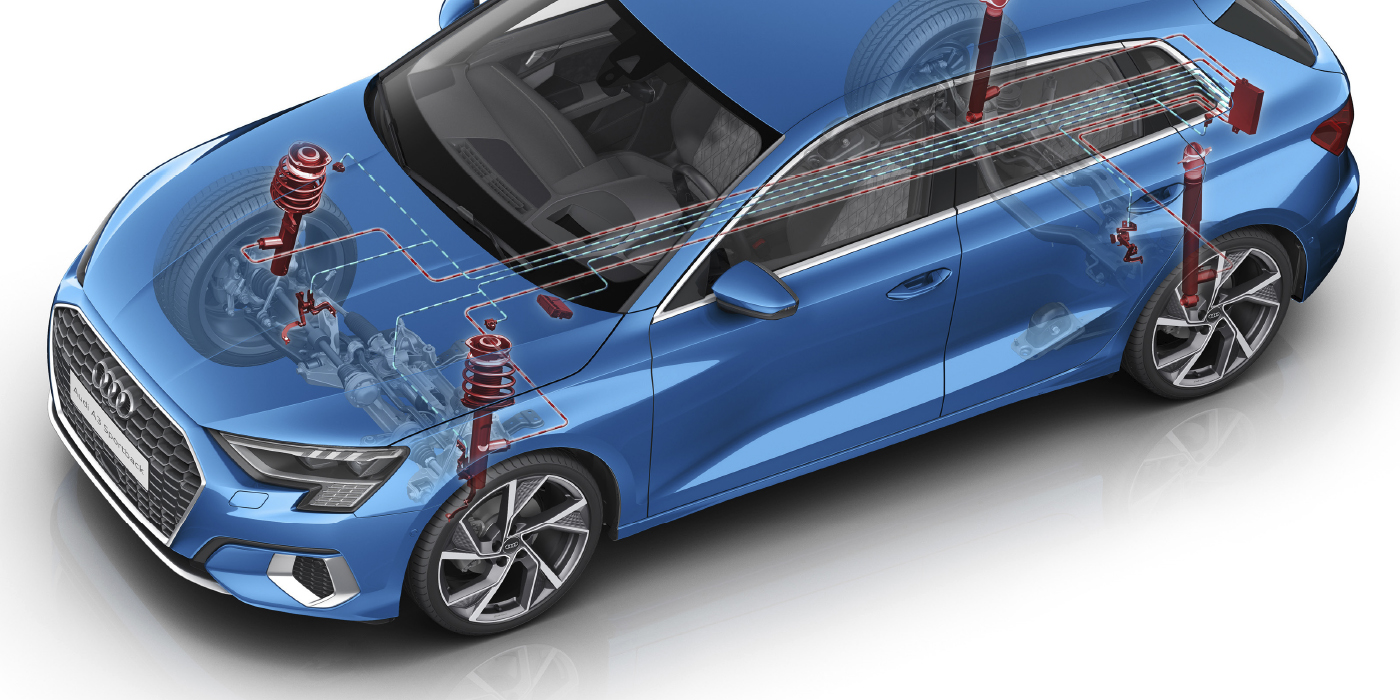
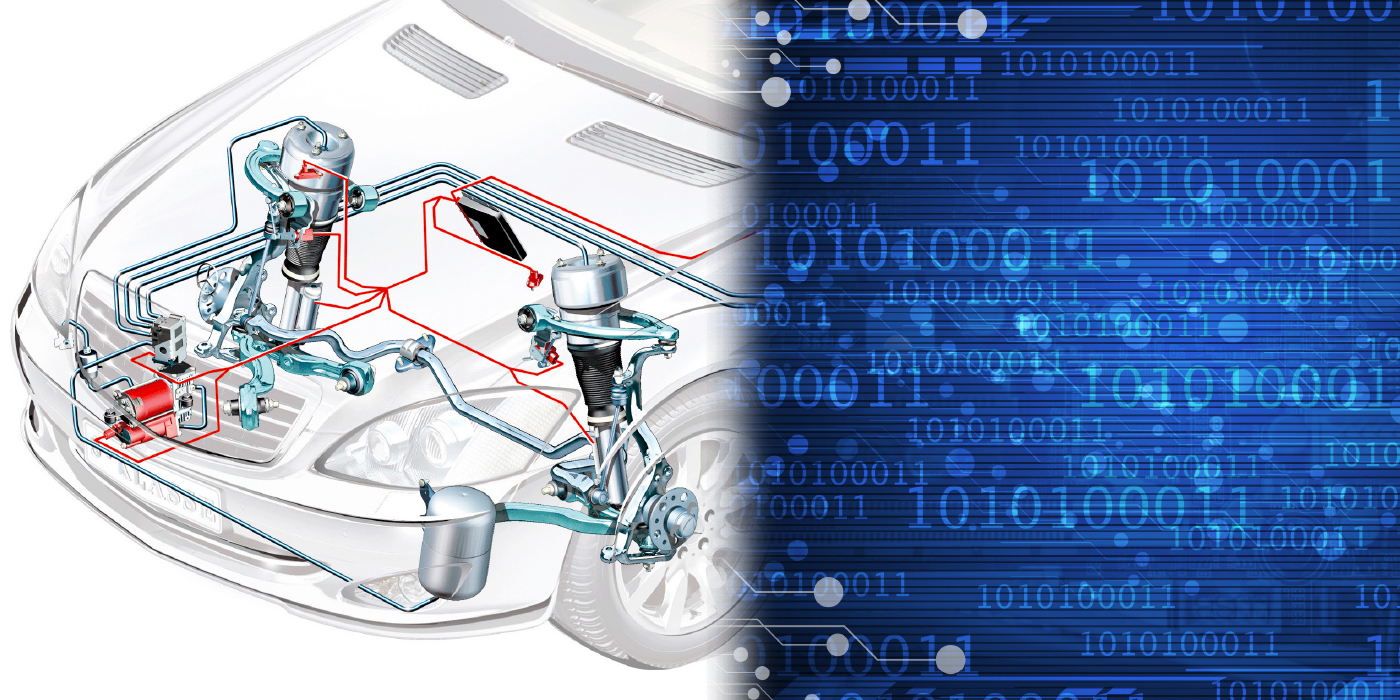
When replacing the load-bearing control arm bushings, it’s also important to inspect the condition of non-load-bearing rubber bushings. Non load-bearing bushings include sway bar, radius arm, shock absorber and steering rack mounts. Check the sway bar bushings for severe cracking, looseness and loss of compression. See Photo 3.
Because radius arm bushings are designed to absorb the fore-and-aft thrust of a lower control arm, they must have enough flexibility to compress under load. If the radius arm bushings are hardened, severely cracked or oil-soaked, they should be replaced. Worn shock absorber bushings usually cause a squeaking or knocking noise. On the other hand, loose steering rack mount bushings normally cause steering wander complaints.
BUSHING REMOVAL
Many technicians don’t like to replace control arm bushings because they are usually firmly rusted in place. One solution is to replace the complete control arm. The other, more obvious, solution is to obtain the correct tooling or use an effective substitute. 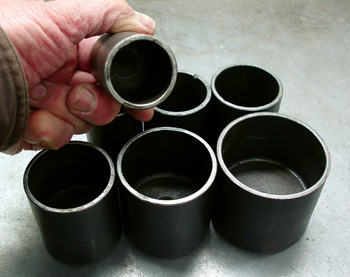
During my years in undercar service, I’ve obtained a number of tools that work relatively well for replacing suspension bushings. One tool is a set of bushing tools that can be used to press bushings in place or used with a hammer to drive bushings into a control arm. See Photo 4.
A good substitute tool is a common ball joint and universal joint pressing tool with a full complement of attachments. If the control arm can be mounted in a hydraulic press, the bushing can, in most cases, be easily removed and replaced.
An air-operated impact hammer with bushing attachments may also be used in some applications to remove and replace suspension bushings. In some cases, an exhaust cutter bit can be used with an impact hammer to peel the steel sleeve from rusted control arms. See Photo 5.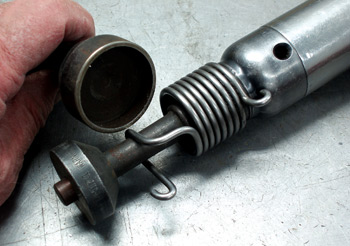
When used with skill and common sense, an acetylene torch can be used as a “last resort” to remove a badly rusted bushing from the control arms. The key point is to avoid weakening the control arm by applying excessive heat to the suspension bushing or by cutting into the base metal.
ASSEMBLY PROCEDURES
Because of their limited range of travel, it’s important to allow rubber suspension bushings to align themselves before the pivot bolts are tightened. Once the suspension assembly is attached to the chassis, the full weight of the vehicle should rest on the wheels. The next step should be to bounce the suspension fully through its entire range of travel to allow the bushings to conform to the vehicle’s weight. Only then should the pivot bolts be torqued to the chassis.
If you’re installing polyurethane bushings for a performance application, don’t forget to coat the metal surfaces with the special grease supplied with the bushings. As with rubber bushings, the chassis should be cycled through its range of travel at least a half-dozen times before the pivot bolts are tightened.
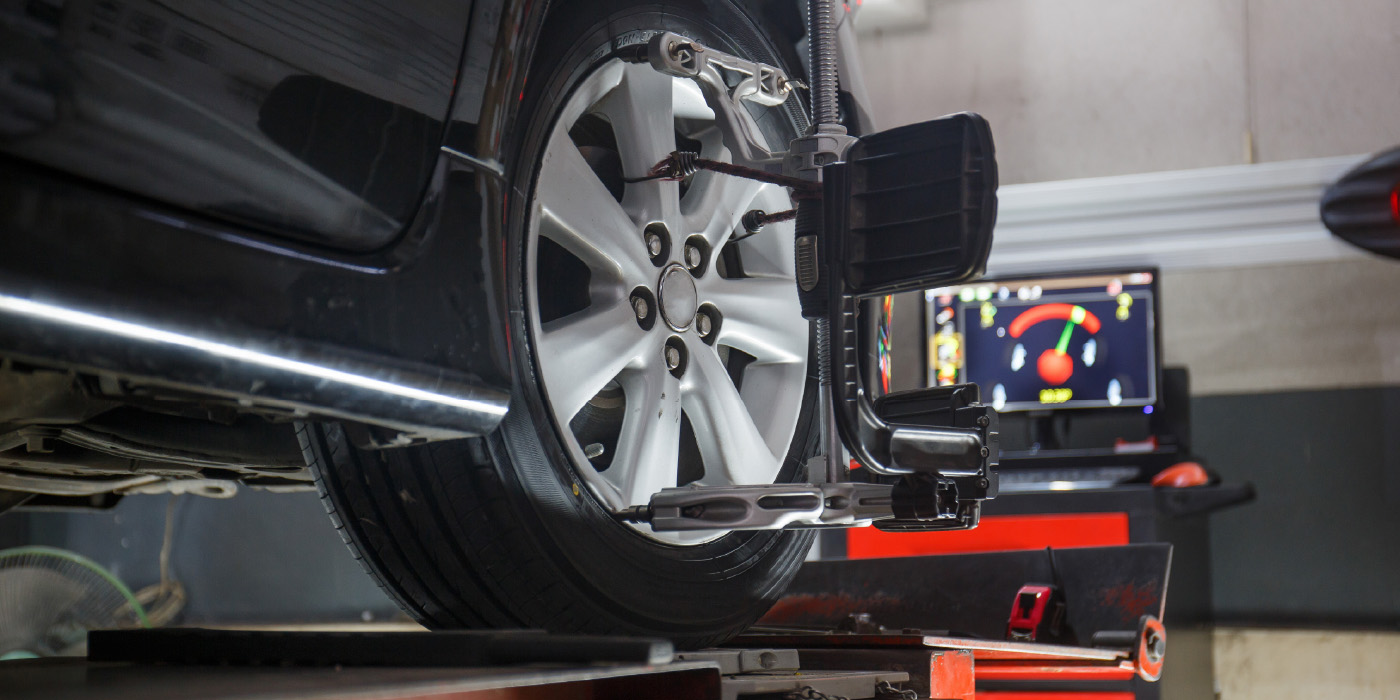
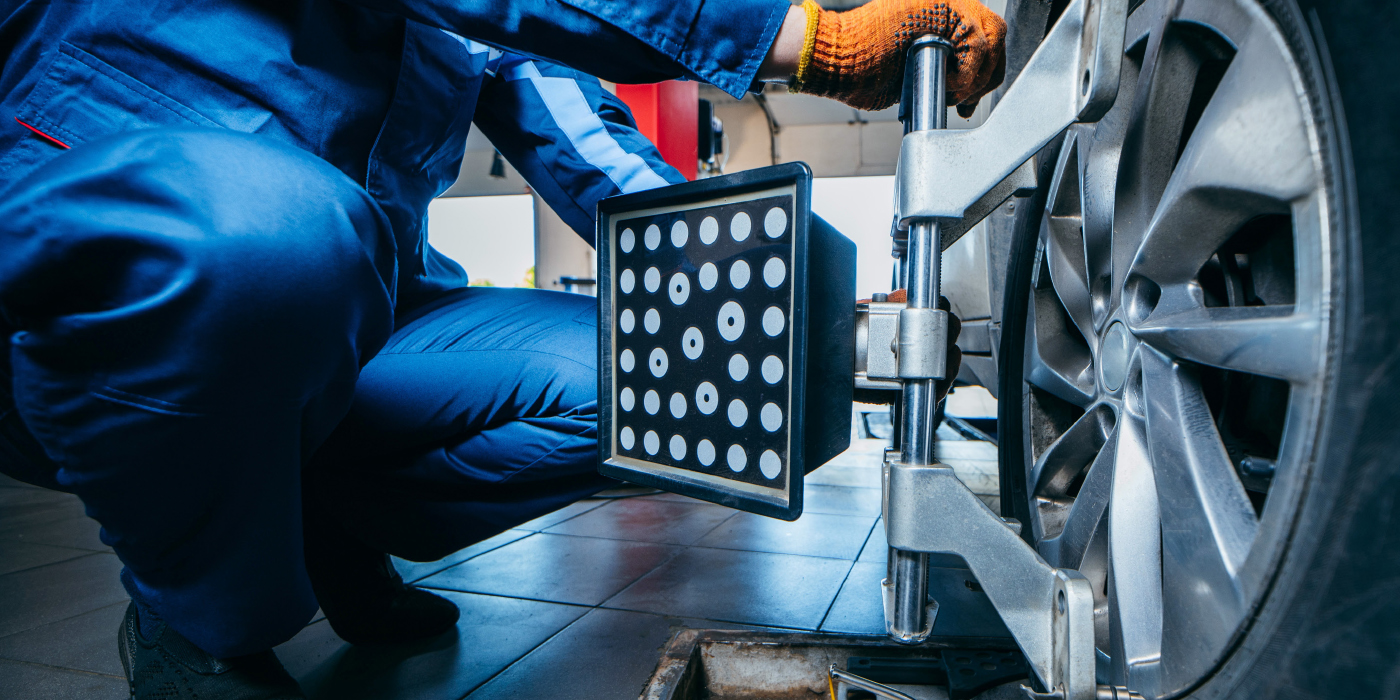
ALIGNMENT RECHECKS
After control arm bushings are replaced, they continue to conform to the vehicle’s weight and to braking and acceleration thrust. In most cases, it’s a good procedure to recommend bringing the vehicle back for an alignment check about 5,000 miles after the control arm bushings have been replaced.