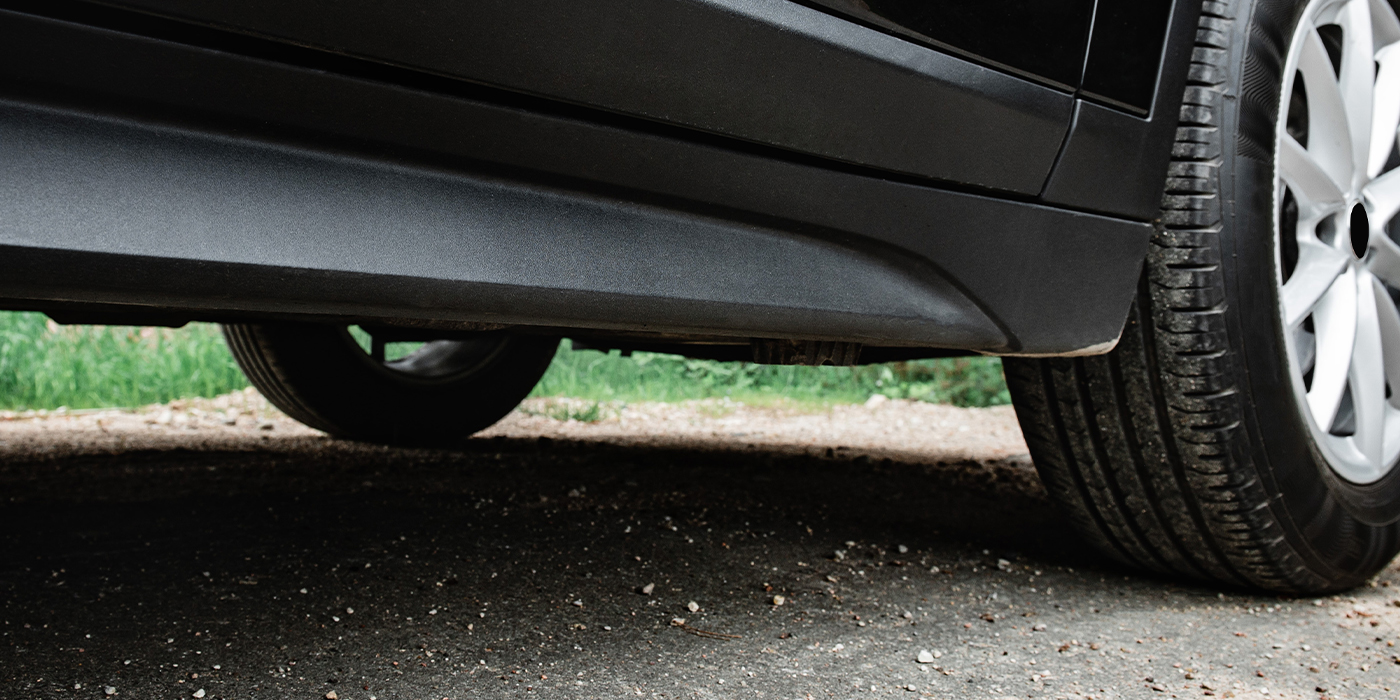
Brake and suspension repairs are the best type of routine maintenance repairs that coincide 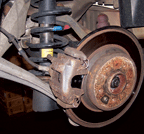 with major service intervals. Brake and suspension components that are in need of replacement could represent a significant profit center for shops when technicians take the time to perform complete chassis inspections. Worn suspension and brake components, as well as a host of other problems, are prevalent today with the increasing number of worn road surfaces, as well as poor driving habits and a lot of stop-and-go driving.
Brake squeal and pedal pulsation are common problems with Volvos. Most of the time, warped rotors are caused by overheating and other conditions including:
Hard panic stops.
Wheel nuts that were not tightened properly.
The face of the hub and rotor are rusted and out of round.
Front brakes are doing all the braking; rear pads are frozen in the calipers.
Front calipers are sticking, keeping the pads in hard contact with the rotor surface; caliper slides are frozen, causing bending of the rotor surface during braking.
A good four-wheel alignment is suggested when a customer’s Volvo requires any type of suspension repairs. In our shop, the alignment machine is checked, recalibrated and updated every six months to provide near-perfect alignments. Just last month, the hard drive in our alignment machine crashed when a customer’s car was on the alignment rack. Since there is no warning for something like this to happen, it reinforces the importance of having prompt service available and great contacts for equipment repairs. The road service tech was dispatched and within one hour he walked into the shop ready to tackle the ill-fated computer.
On the alignment rack, the turntables for the front wheels are often overlooked for binding and harsh rotation. This is a major problem that gets in the way of accurate alignments. The readings will be false, causing steering wheel pull and uneven tire wear, not to mention unhappy customers. Just last year, we upgraded to stainless steel units that resist rust and corrosion and require less maintenance.
Bent rims, worn and out-of-round tires could produce a host of vibration problems and bad road feel, and make any Volvo feel unsafe to drive. Some rims could be sent out for straightening and run true using special equipment that is quite expensive and necessary to have certified training to operate. Using this technique gives your customers a cost savings versus buying a new factory replacement wheel. The company we use is located the next town over and has free pick up and delivery with next-day turnaround service, so the down time is minimal.
In our area, we have hard winters and high salt/wet sand content scattered all over the roads. This takes its toll on hub-to-rim fit. Corrosion and rusting makes it almost impossible to remove the wheel/tire from the hub. In our shop, we remove all lug nuts and leave one in with a few threads screwed in. Then I call my son, who is 6’5” tall and 230 lbs., to pick up the dead blow hammer. This sounds like Stone Age work, but there is no other way to remove them without damaging the alloy rim. Before the wheel is bolted on the hub, we use a wire wheel on a cordless drill to clean the surfaces, and then apply lube. If they aren’t cleaned, the wheel won’t have the correct fit, causing catastrophic results should the lug nuts fall out.
BRAKE MAINTENANCE
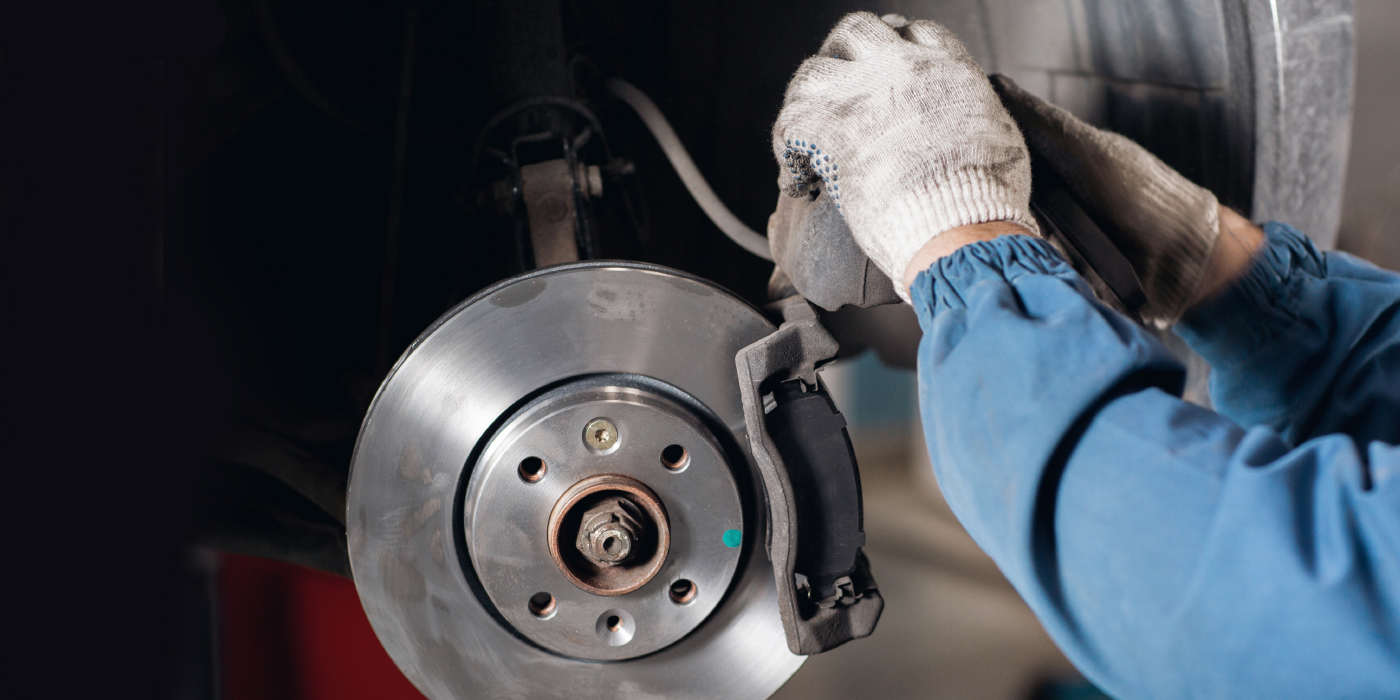
The decision to replace brake rotors or resurface them is always a concern. Preventing a comeback and working within the customer’s budget are main considerations in that decision, as is making the car safe to drive. In our shop, we are able to replace two sets of front brake pads per one set of rotors under normal driving habits. To avoid comebacks caused by pulsation and noise, I don’t recommend resurfacing the front rotors. However, the rear rotors can be set up on the brake lathe and resurfaced, turning them within the specified range stamped on the outside of the rotor’s edge.
Flushing the brake fluid is an often-overlooked problem. Volvo uses a clear type of fluid, but I’ve seen brake fluid that looks as dark as engine oil from the lack of necessary flushing. Test strips can be used to detect the amount of contamination in the system. On most Volvos, brake fluid replacement is recommended at 60,000-mile intervals.
The boiling point is around 350° F — which could be exceeded many times in high-traffic conditions. Brake fluid is hygroscopic, which means it readily absorbs moisture/water. Moisture is absorbed through all of the rubber components of the system like seals and hoses, including every time the cap of the reservoir is removed. The water content will appreciably lower the boiling point of the brake fluid. Vaporization could be a hazard because of high water content and corrosion could also result.
Corrosion and rust on brake cylinders, bores and pistons could seriously affect braking function and compromise the integrity and safety of the system. The ABS system is also affected when water is present in the system. Sticking valves and erratic function could result in high replacement costs.
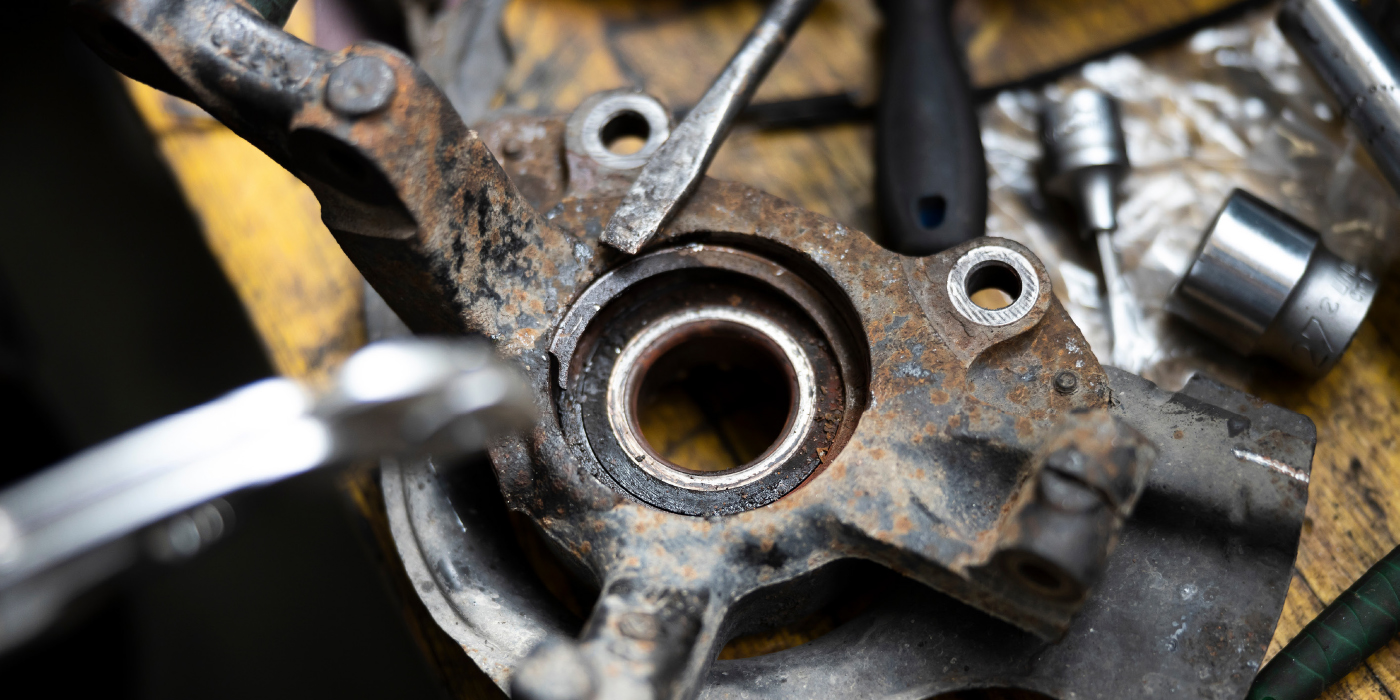
 On some Volvos, the rear brake pads tend to rust and seize in the caliper and all the braking effort is subjected to the front. The brake pads will appear to have plenty of pad material remaining, but will be frozen and destroyed as you try to remove them from the caliper. The rear rotors rust to a point of replacement and the brake pads are difficult to remove. I developed a special tool to remove the pads with ease (See Photo 1).
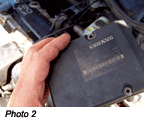
Some customer’s complain about the “ABS/trac” light going on at times. When pulling up the fault codes in the system, most of the time you get a code telling you the right rear wheel sensor is faulty, which is not the case. The problem is in the ABS control unit sending out the faulty code. Replacement of the control unit is a simple task. It’s located in the left front and attaches to the ABS valve body with four 20 Torx screws (See Photo 2).
 When installing the unit, clear all codes, then do a road test to see if the ABS system is working properly and traction control operation is functioning. It’s a good practice to check the condition of the wheel sensors for cracks in the cable wiring and rust from the brake pads and rotors. The ABS sensors are used to measure and compare rotational speeds of the wheels. When they become fouled with dirt and brake carbon, they could eventually exceed the perimeter value and trigger off the ABS fault light.
Emergency brake shoes are also overlooked when the rear brakes are repaired. It’s necessary to remove the caliper and rotor to service them. The cables should also be checked for binding and sticking. After the rotor is replaced and the shoes are OK, setting the small adjuster wheel takes a little time. At the moment when the shoes are dragging on the inside of the rotor, grab the emergency cable and tug it a few times to seat the shoes.
The front brake calipers could be rebuilt using a seal kit, as can the pistons if they are pitted.
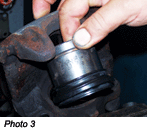 Some rubber boots get distorted and let moisture in, which can cause the piston to become pitted. When this happens, the piston will stick causing early brake pad failure. Some of the time, you can get away with just sanding the piston and the outer lip of the caliper with 600-grit sandpaper before installing a seal kit. There is a special way to install the outer boot and piston. First, install the boot on the bottom end of the piston, and then lower down on the caliper, walking in the boot lip in the groove of the caliper (See Photo 3). Then push down the piston to seat into the caliper. This is a good time to free up the bleeder screw for the final step of bleeding the brakes.
 SUSPENSION REPAIRS
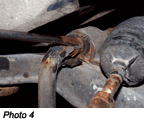
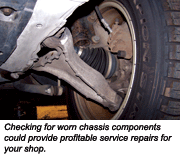
Checking for worn suspension components could provide profitable service repairs for your shop. Ball joint, subframes and sway bar links are often replaced on Volvos with more than 75,000 miles. The sway bar itself can also wear out at the mounting surface for the bushings, located at the rear of the subframe. Replacement of the bar is recommended (See Photo 4).
If you get some customer complaints of clicking noises over bumps, don’t overlook the upper strut mount bushings. Bearing failure is very rare, but costly. Most of the time a small amount of lube on the bearing does the job.
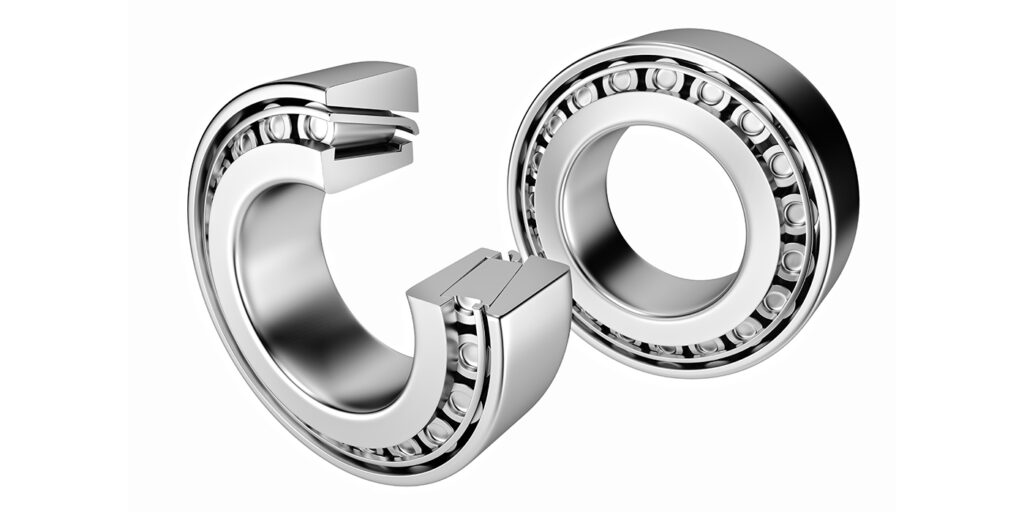
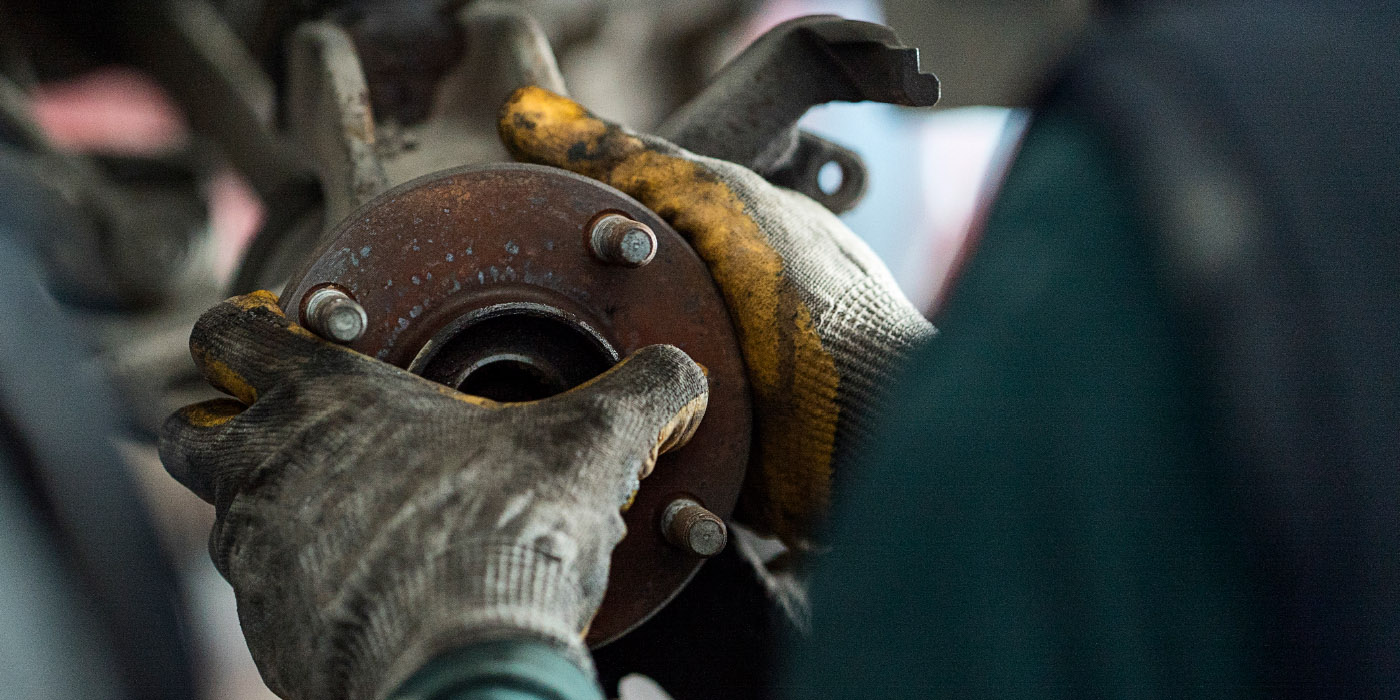
 The front struts have long-life gas/hydraulic cartridges and upper bearings that tend to hold up in the 850 and 70 Series. The wheel bearings on the front-drive Volvos are sealed units and are not serviceable. If any play or noise is noted, the complete unit has to be replaced (See Photo 5).
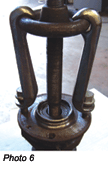
The procedure for replacing the bearing hub is a relatively easy task compared to other front-drive cars on the market. There is no use of a press and special tools are not needed. The only problem you might find in some cars is the outer CV joint shaft seized into the hub, which could be helped by using a small universal hub puller (See Photo 6).
Some complaints of a rattle from under the subframe area could result in catalytic converter failure; the rattle could be noted at all RPM ranges and with possible low performance issues as well.
 In some cases, outer tie rod ends require replacement if they are frozen to the steering rack threads. At times, it requires a lot of heat to loosen them up to adjust the toe in on the alignment machine. When the tie rod ends are heated, they tend to disintegrate and wind up in the trash. Before the car is set up on the machine, we make sure of all the adjustments are loose and free to turn for the final adjustments.
RACK FAILURE
Steering racks on the front-drive Volvos are quite durable, but you might come across one that exhibits leakage, binding or noise when under load.
The replacement procedure is different than the earlier rear-drive vehicles because of the subframe and location of the rack at the rear of the spindle.
Raise and support the engine to release pressure on the engine mounts.
Use a steering wheel puller to remove the wheel; make sure the wheel is centered and the air bag contact unit is locked.
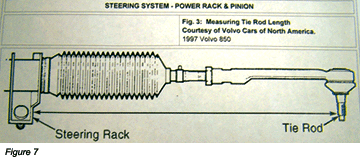
For reassembly reference, measure the length of the tie rod on one side in relation to steering gear housing (See Fig. 7).
Remove the fluid line brackets and clips at the front and rear. Locate the drain pan and disconnect the fluid lines, then pull the lines forward to clear the crash guard. Remove the five nuts holding the steering gear to the subframe.
Position the jack under the rear subframe, then remove the bolts holding the subframe brackets to the body. Lower the subframe at the rear and remove the jack. Locate the drain pan under the steering gear and disconnect both fluid lines.
Remove the steering column joint bolt. Pry the steering joint up off the rack.
Remove the steering gear engine mount bolt. Remove the steering rack assembly.
 Installation is the reverse of the removal procedure. Tighten the bolts to specs and take precautions with the air bag contact unit wiring. Flush out the old fluid if the steering rack had leaks, binding or pump noise.
The front ball joint/subframe assembly for the 850 and 70 Series is replaced as one unit, with bushings and new replacement bolts. Replacement procedures follow:
Raise the car on a lift to eye level.
Remove the pinch bolt on the lower ball joint/spindle.
Remove the two bushing bolts attaching to the lower subframe.
Using a taper ball joint remover at the spindle, strike it with a hammer or use an air chisel attachment.
On all-wheel-drive Volvos, the bushing attachment uses four bolt attachments.
Install in reverse order using new bolts that were supplied.
Some Volvos with multi-link rear suspensions, like the 700 and 900 Series, are independently suspended, allowing for improved road handling and ride. An alignment is required any time a multi-link suspension is disassembled. When measuring on the alignment machine, start on the rear suspension, setting up the camber then the toe measurement. The caster can’t be adjusted, but most of the time it’s fine. If the caster is off, replace damaged, bent or worn parts.
Complete the job with a good road test over different roads and brake pad seating, which will make a big difference in customer satisfaction and will bring back happy customers.