Tech Tip: Front Suspension Noise on Bumpy Roads

Tech Tip: Front Suspension Noise on Bumpy Roads

Some owners of 2002-'05 Sedona vehicles produced from May 1, 2001, to Aug. 31, 2005, may complain of front suspension noise over rough road surfaces at speeds between 18-31 mph. To reduce the noise, Kia has redesigned the strut mount with a modified rubber composition to improve the overall sound dampening in the affected speed range. However, all other suspension components should be checked for performance prior to installing these replacement strut mounts. Concerns with ....

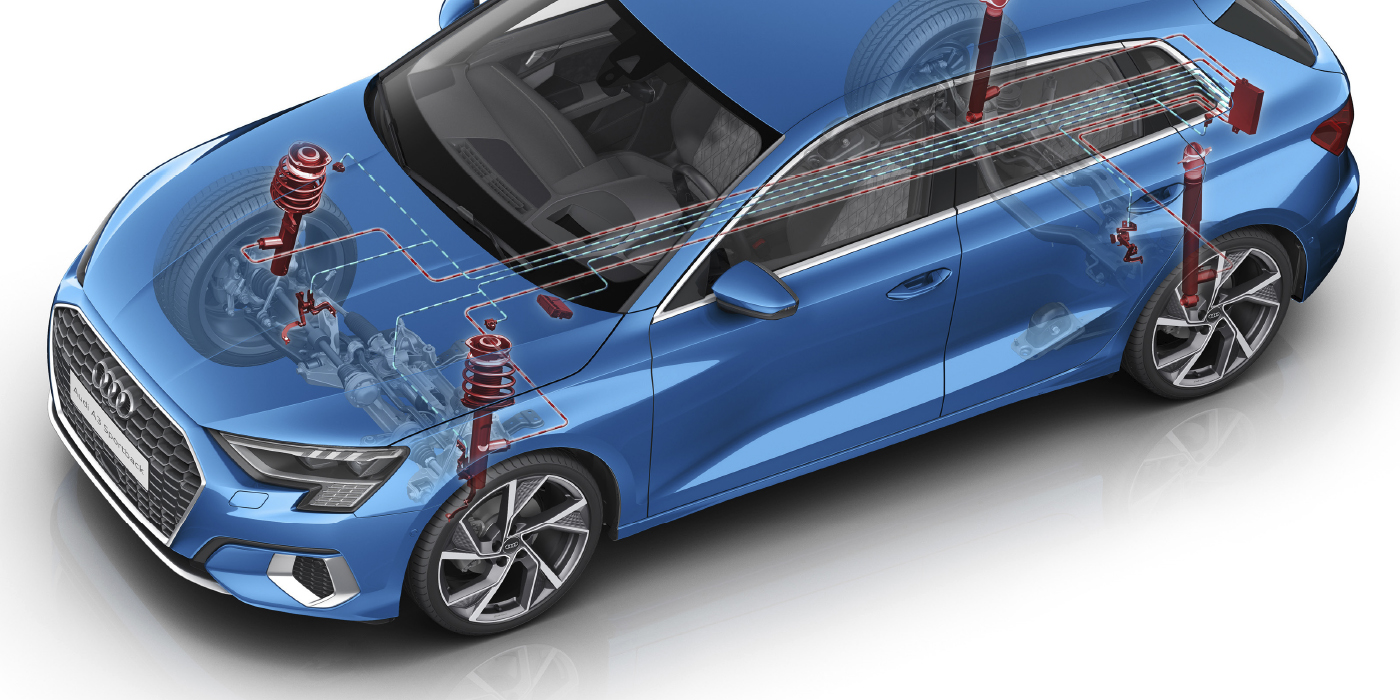
Some owners of 2002-’05 Sedona vehicles produced from May 1, 2001, to Aug. 31, 2005, may complain of front suspension noise over rough road surfaces at speeds between 18-31 mph. To reduce the noise, Kia has redesigned the strut mount with a modified rubber composition to improve the overall sound dampening in the affected speed range. However, all other suspension components should be checked for performance prior to installing these replacement strut mounts. Concerns with worn out struts and/or rubber mounting components should be addressed before installing these revised mounts.

Parts Information:

  • Strut insulator assembly, P/N Q0K52 Y34380Q

Service Procedure:

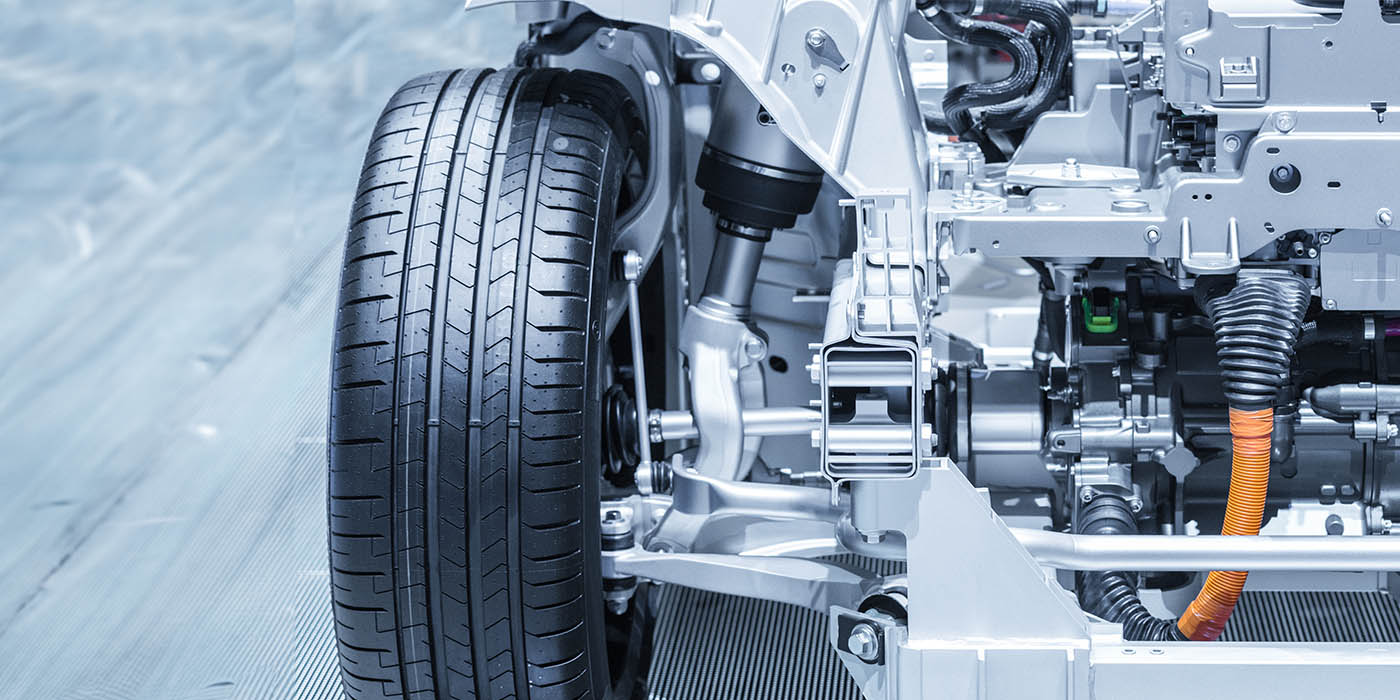
  1. Raise and properly support the vehicle.
  2. Remove the front tire and wheel assembly.
  3. Remove the two lower strut to upper steering knuckle bolts on each side.
  4. Disconnect the brake hose and ABS wheel speed sensor from the strut assembly.

Notice: Note the orientation of the mount before removal from the vehicle.

  1. Open the hood and remove the four upper strut retaining nuts.
  2. Remove the strut assembly from the vehicle. Mount the strut assembly into the strut compressor.
  3. Compress the strut assembly using manufacturers’ instructions provided with the tool and replace the upper strut mount assembly as required. Torque the strut-to-strut mount nut to 88-101 lbs.-ft. (120-137 Nm).

Notice: Position the dimple to match mount orientation as removed in Step 5.

  1. Install the strut assembly into the vehicle. Tighten the four upper mount nuts to 33-46 lbs.-ft. (46-62 Nm).
  2. Connect the brake hose and ABS speed sensor to their retaining bracket.
  3. Install the two lower strut to upper steering knuckle bolts and nuts, and tighten to 65-79 lbs.-ft. (88-108 Nm).
  4. Install the wheel and tire assembly. Tighten the lug nuts to 65-79 lbs.-ft. (88-108 Nm).
  5. Repeat the procedure for the other side, if necessary.
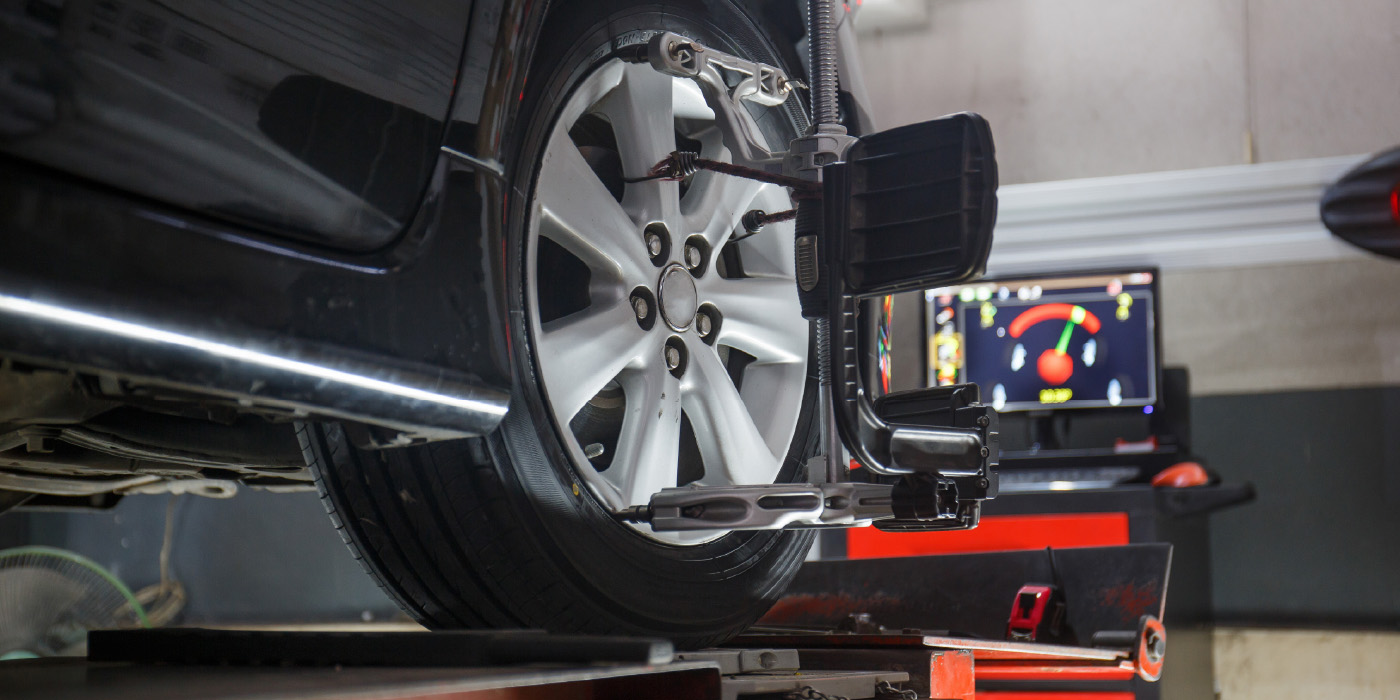
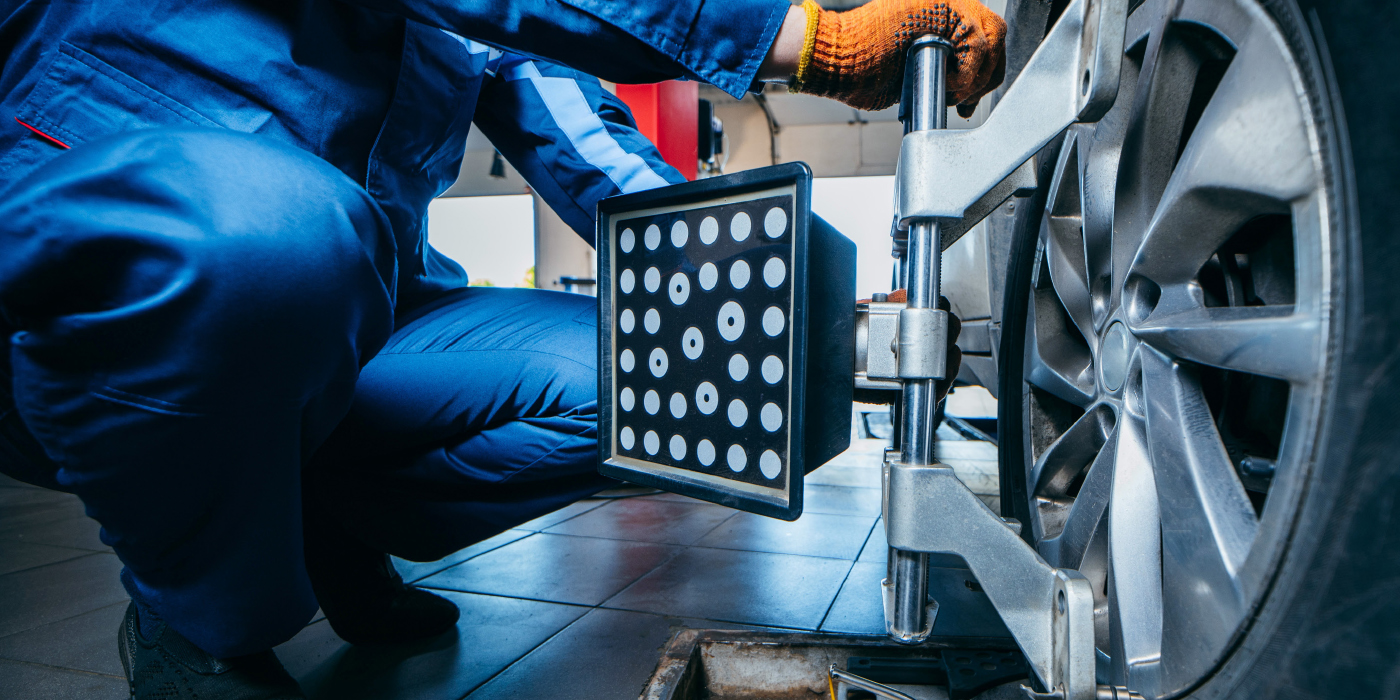
  6. Perform a wheel alignment.

Courtesy of IDENTIFIX.

For additional information, visit www.identifix.com.

You May Also Like

Ride Height Sensors

If one of these sensors is replaced, it must be calibrated after it is installed.

Ride-height sensors not only measure the position of the suspension, but also the rate of movement. They are supplied with a voltage of around 5 volts. The signal voltage is changed as a magnet moves past a coil. Most sensors have three wires — ground, power and signal.

Internally, it is difficult to damage one of these sensors. Externally, the linkage that connects the sensor to the suspension arm can also be damaged. The connector can be damaged and cause a short or open and a code will be set. If one of these sensors is replaced, it must be calibrated after it is installed.

Ride Control For Electric Vehicles

Replacement units are available from sources other than the dealer.

Brake Pad Edge Codes

The “Edge Code” can tell you information about a brake pad’s friction material.

Chassis Parts and Alignment Angles

Knowing why the adjustment is required is critical to performing the total alignment.

Suspension Upgrades – Selling Shocks and Struts

The question customers fail to ask is, what is “best” for their vehicle?

Other Posts

Air Ride Suspension Diagnostics

The key to understanding the logic of air ride systems is using service information.

Steering Angle Sensor Operations

It is important for the ABS/ESC module to receive two signals to verify the steering wheel’s position.

Chassis Alignment

The source of the complaint can be the angles, electronics or tires.

Laying Out Your Shop for ADAS/EV Repairs

With so many vehicles equipped with some form of ADAS, rethinking your electronics layout or plan might be in order.