Tech Tip: Steering System Flush Procedure

Tech Tip: Steering System Flush Procedure

Fine particles can enter a hydraulic system because of mechanical stress on the steering components. As a consequence, it is recommended to flush the entire hydraulic system when replacing the power steering pump. A few vehicle manufacturers have installed a drain bolt in the area of the steering gear. The disadvantage is that it is not possible to drain all the fluid here. A residual quantity always remains in the system.

Fine particles can enter a hydraulic system because of mechanical stress on the steering components. As a consequence, it is recommended to flush the entire hydraulic system when replacing the power steering pump.
 
A few vehicle manufacturers have installed a drain bolt in the area of the steering gear. The disadvantage is that it is not possible to drain all the fluid here. A residual quantity always remains in the system.  
Procedure:
1. Raise the vehicle’s front wheels off the ground. Raising the wheels will allow for lower resistance (in steps 9 and 12) when turning the wheels back and forth while flushing the system. It will also prevent the hydraulic fluid from foaming.
 
2. Remove the power steering reservoir cap.
 
3. Remove the return line on the reservoir, making sure to collect all the fluid being drained out. 
 
4. Disconnect the feed line from the reservoir and remove the reservoir from the vehicle.
 
5. With the reservoir removed, clean the inside with a suitable cleaner. Brake cleaner is recommended. If equipped with an in-line filter, be sure to clean or replace the filter.
 
6. Reinstall the reservoir and attach the fluid feed line, but do not attach the return line. With a suitable plug, plug off the location on the reservoir where the return line should be connected.
 
7. Fill the reservoir with the correct fluid, allowing the fluid level to stabilize. Once the fluid has stabilized, start the vehicle.
 
8. With the engine running, collect the fluid that will be flowing out of the return line.
 
9. Keeping the engine running, turn the wheel back and forth from stop to stop. Do this 10 to 12 times until the fluid runs clean. 
 
Very important: Always make sure to keep the reservoir full. Do not allow the reservoir to run dry as this will damage the pump and create air in the system.
 
10. Once the system is flushed, turn off the engine. Remove the plug on the reservoir and reconnect the return line. (Collect the fluid that will run out of the reservoir when the plug is removed and dispose of properly.)
 
11. Top off the reservoir with additional, clean fluid and allow fluid level to stabilize.  
 
12. Once complete, start the engine and turn the wheel stop to stop 20 times to bleed air from the system. While the system is being bled, make sure the fluid level does not go below the fill line.
 
13. Lower the vehicle, verify the fluid is at the correct operating level, then reinstall the power steering reservoir cap.
 
14. Check for any leaks and test drive to verify proper operation.
Important!
It is essential to comply with the vehicle manufacturer’s installation instructions and only to use the hydraulic fluids approved for the respective vehicle. The specification is found in the owner’s manual.
Important!
Hydraulic fluid may not enter the soil. Disposal must take place via the supplier of the materials or a special refuse collection point.
 
Courtesy of Schaeffler Group USA.

You May Also Like

Buick Encore Alignment Service

Alignments are key to the health of the tires and some of the advanced safety systems like automatic emergency braking and lane keeping.

The 2012-2022 Buick Encore is based on the Gamma II platform that is shared with the Chevy Trax. This has been the best-selling Buick for several years. Like a lot of modern vehicles, the alignment specs are tight with almost no adjustments built in except for toe. However, alignments are key to the health of the tires and some of the advanced safety systems like automatic emergency braking and lane keeping.
Front Suspension
The front suspension on the Encore has a single lower control arm and MacPherson struts. Some models have a suspension dampener on the front bolt of the lower control arm. The part helps to control vibration that could be transmitted to the subframe. If the caster is out of specification, look at the bushings on the lower control arm for damage. Camber can be adjusted by installing cam bolts in the lower hole of the strut mount. This should give ±1.75 degrees of adjustability. Inspection of the lower control arm is a critical part of aligning the Encore. The arm can be bent due to curb strikes and the bushings can quickly deteriorate. Also, inspect the sway bar links for any signs the ends have play.
Rear Suspension
The Encore comes in front-wheel-drive and all-wheel-drive versions. Both versions use a trailing arm beam axle. The camber and toe for the front-wheel-drive version can be adjusted with shims. Unfortunately, there are no adjustments for the all-wheel-drive version. If camber or toe are out of specification in the rear, look for a damaged wheel. If the thrust angle is out of specifications, inspect the trailing arm bushings.

Live Axle Wheel Bearing Service

Replacing rear wheel bearings on a live axle rear suspension requires a few extra steps when compared to a unitized bearing.
Ride Height Sensors

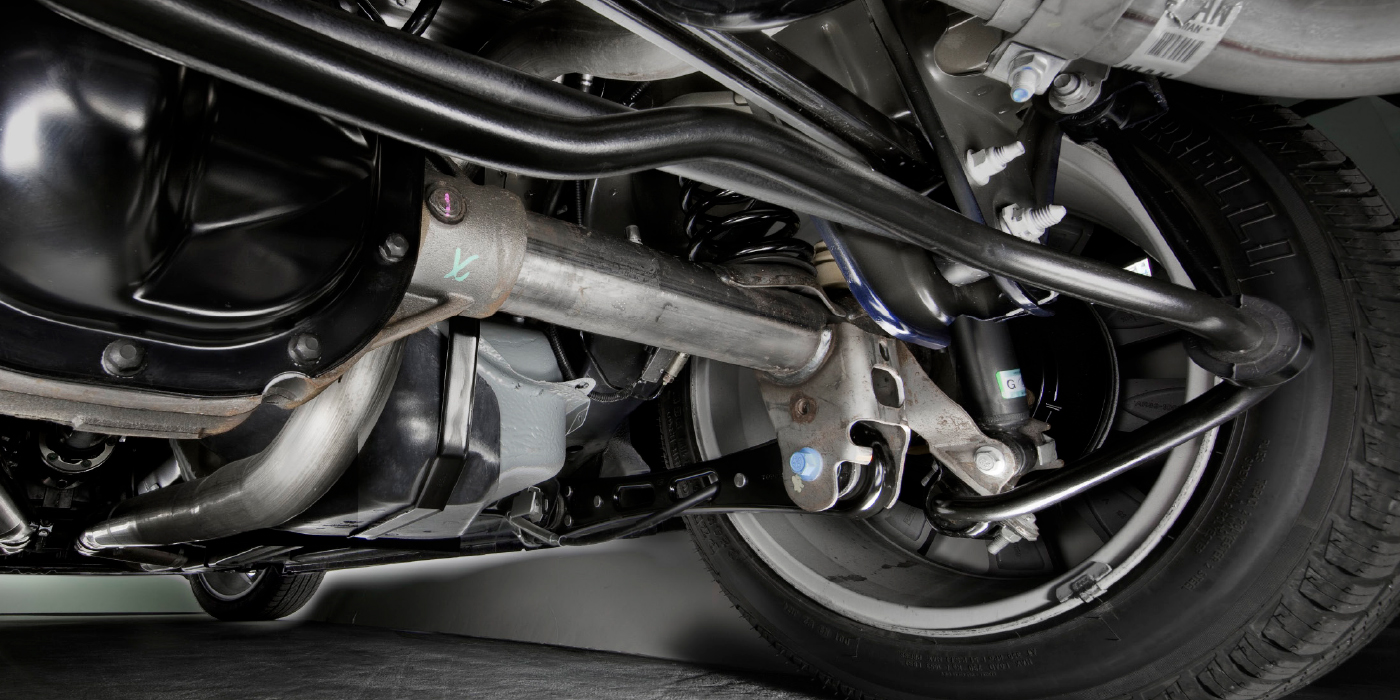
If one of these sensors is replaced, it must be calibrated after it is installed.
Ride Control For Electric Vehicles

Replacement units are available from sources other than the dealer.
Brake Pad Edge Codes

The “Edge Code” can tell you information about a brake pad’s friction material.

Other Posts

We Want Your Thoughts On Electronic Power Steering

Your opinion matters us and can be profitable for you too! Share your ideas with us.

Chassis Parts and Alignment Angles

Knowing why the adjustment is required is critical to performing the total alignment.
Suspension Upgrades – Selling Shocks and Struts

The question customers fail to ask is, what is “best” for their vehicle?

Air Ride Suspension Diagnostics

The key to understanding the logic of air ride systems is using service information.