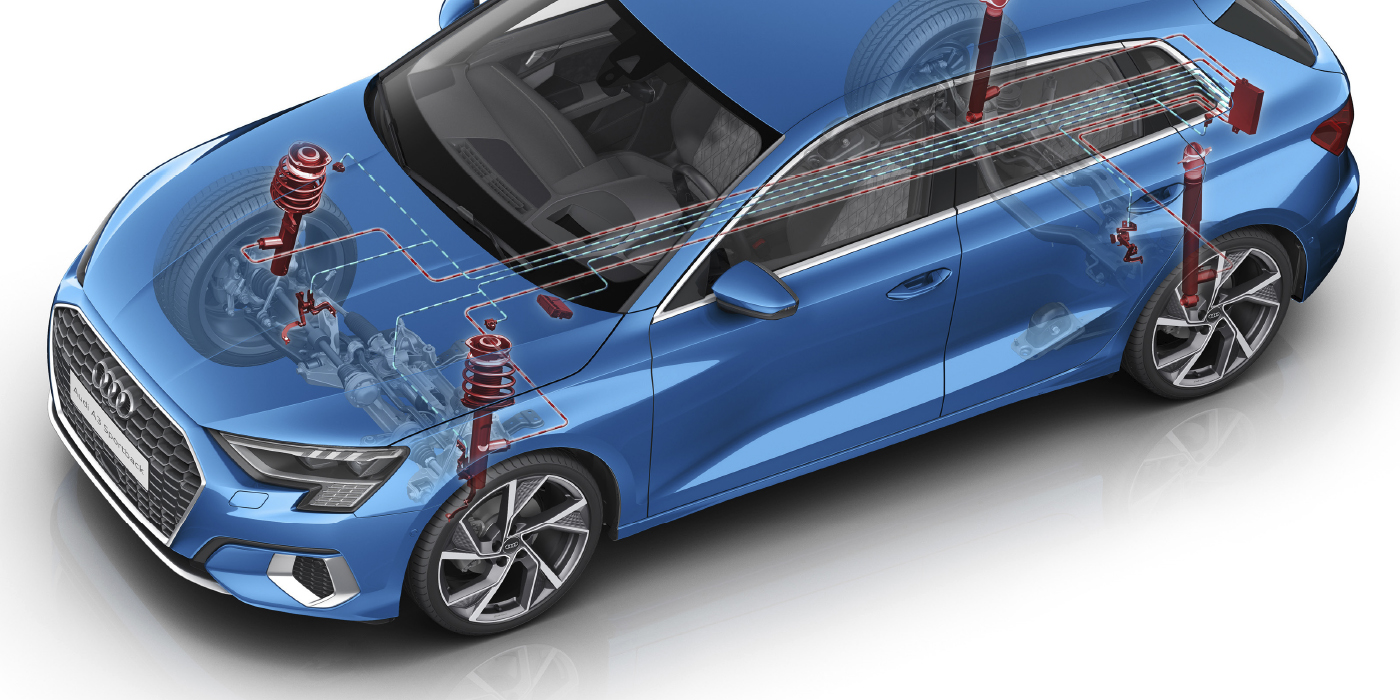
Some Santa Fe vehicles may exhibit noise caused by contact between the lower central arm steering stop bracket and the knuckle stop when driving at low speeds with the steering wheel fully turned.
Applicable Vehicles:
– CM (VIN starting with KM8): Produced from Job #1 to July 23, 2008
– CMA (VIN starting with 5NM): Produced from Job #1 to June 9, 2008
Service Procedure:
Note: Before conducting the procedure, verify that the vehicle may be affected by identifying the VIN.
A. Knuckle Stop Contact Inspection
1. Test-drive at low speed with the steering wheel fully turned to one side to inspect for noise. Repeat with the steering wheel fully turned to the other side.
Note: If no noise occurs, no further procedure is needed. If any contact noise occurs, repair this condition according to the following procedures.
Note: It is not necessary to repair knuckle stops on both sides. Repair only the knuckle stops that cause the contact noise.
Note: If contact marks are found on the knuckle stop or the stop bracket without any contact noise occurring, do not conduct this repair procedure. Repair only the knuckle stops where contact noise originates.
Caution: Do not grind the knuckle stop to be shorter than specified in step B2.
B. Santa Fe Knuckle Stop Contact Repair

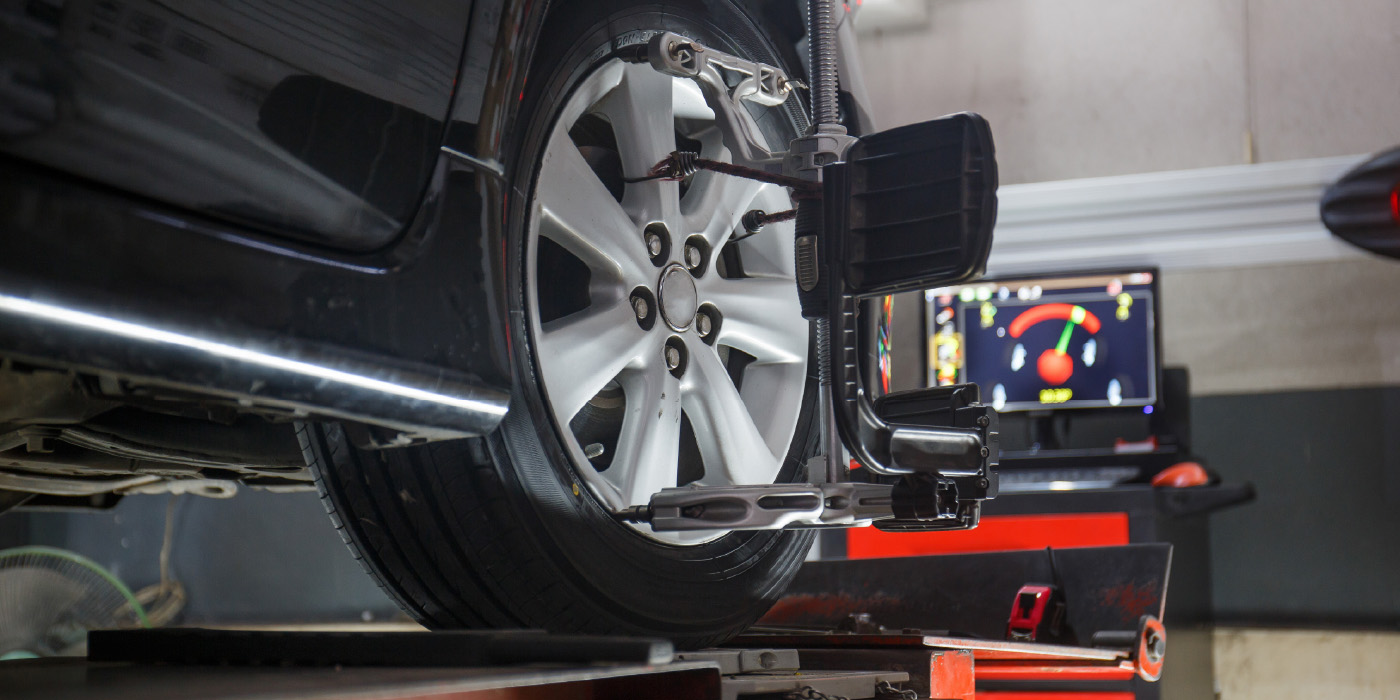
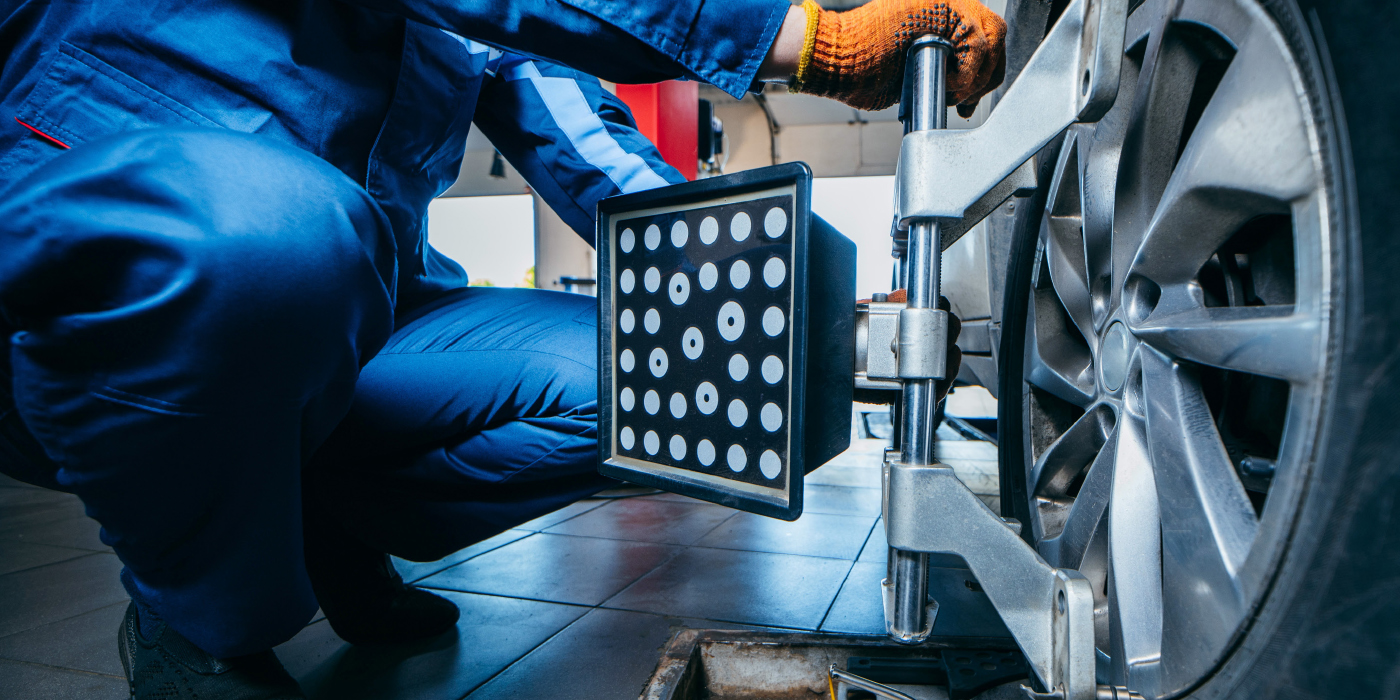
1. Lift up the vehicle and locate the knuckle stop (Fig. 1, A) and lower arm stop bracket (Fig. 1, B).
2. Draw a line (Fig. 2, D) at a point, 3 mm from the end of the knuckle stop (Fig. 2, C), with a sharp end tool as shown in the drawing below.

3. Grind the end of the knuckle stop to the line marked in step B2.
Warning: Be sure to wear protective goggles when grinding.
Caution: Make sure to keep the specified grinding length. If not, the knuckle stop may not function properly.
Caution: Do not damage other components.
4. Test-drive the vehicle according to step 1 to verify that no contact noise occurs.
Courtesy of Mitchell 1.