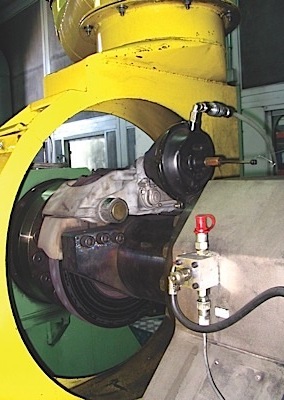
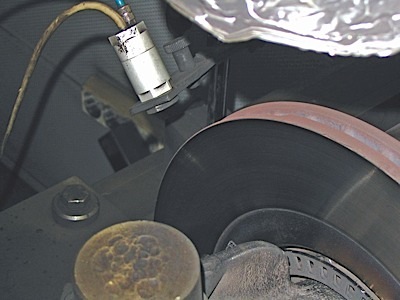
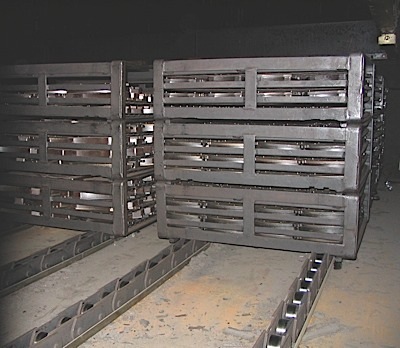
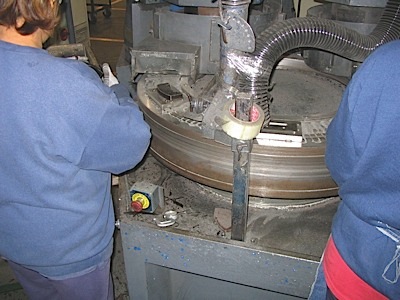
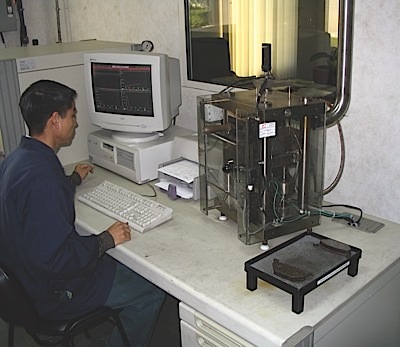
2. The brake dynamometer is a critical component of the development process. Before an application makes it into a catalog, it will spend many hours on a dyno to verify its performance.
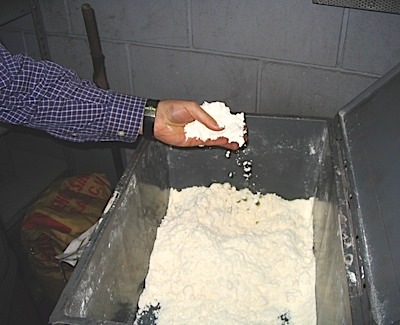
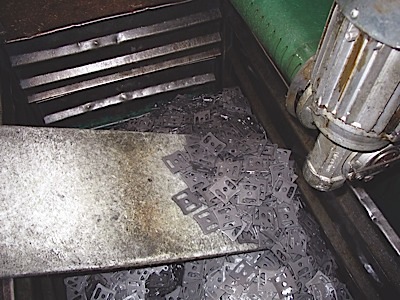
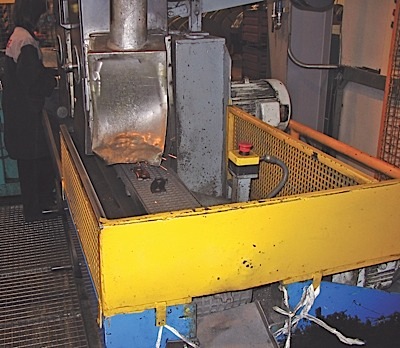
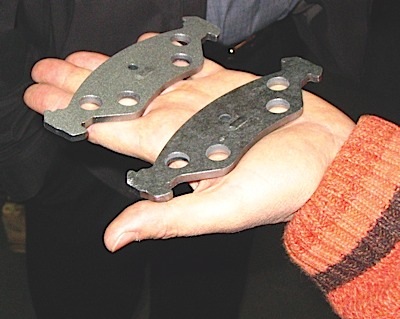
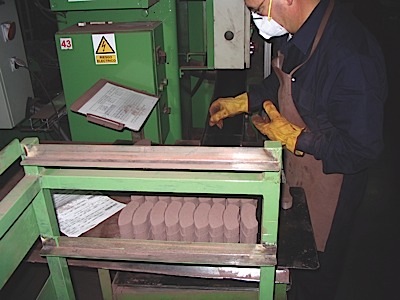
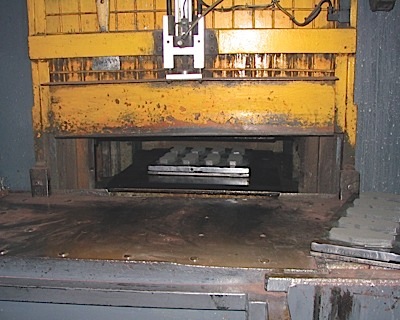
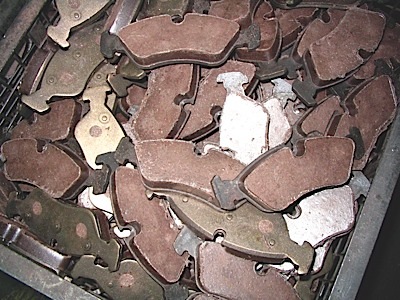
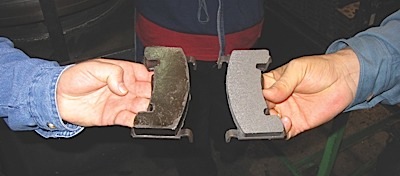
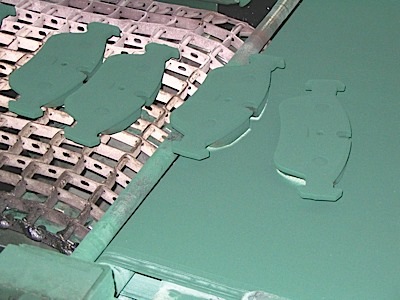
Even with zero moving parts, the common replacement brake pad is one of the most difficult to engineer and manufacture components on a vehicle. From the initial design to the final packaging, we look at what it takes to make a brake pad.


dd