CC:
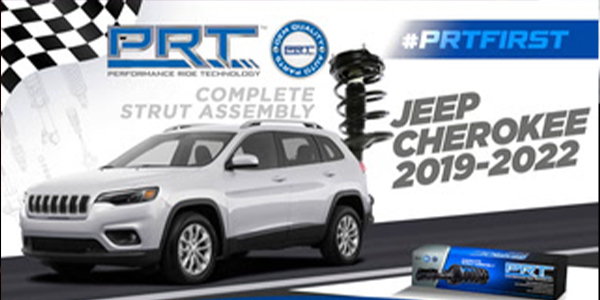
PRT, the first-to market-choice for complete strut assemblies, for one of the best selling SUVs on the national scene, the 2019 to 2022 Jeep Cherokee.
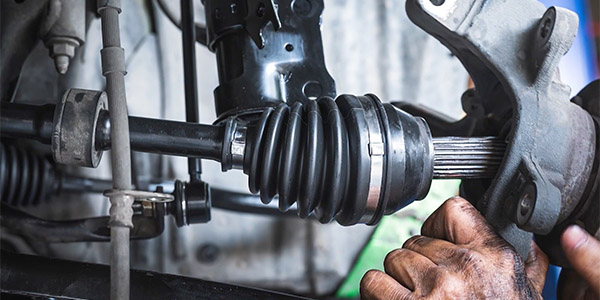
The coverage applies to the front right and front left positions, and fits all wheel drive versions. This video covers the installation. Remove the axle nut. A new nut should be used during assembly. Detach the caliper and bracket and hang it in the wheel well. Remove the brake rotor. Unfasten the bolt that holds the wheel speed sensor in the knuckle. Detach the harness and place it out of harm’s way.
Disconnect the sway bar link from the tab on the strut. Unfasten the nut on the outer tie rod stud and separate the tie rod from the knuckle. You might need to remove the brake rotor dust shield to access the lower ball joint. Remove the nut and press the stud out using a Pitmam arm puller. Be careful not to damage the boot on the ball joint. Press the drive shaft out of the splines.
Pull down on the control arm with a pry bar to free the stud. Remove the clip on the upper strut mount and lower the strut from the vehicle. Remove the pinch bolt that secures the strut to the knuckle. The PRT unit matches the original unit for fit, form, and function. The new unit spring matches the original, not only for the application, but drivetrain and trim level. This ensures the ride height is the same as the original.
Install the new strut into the boar on the knuckle. The hole in the tab will line up with the holes for the pinch bolt. Tighten the bolt to 77 ft/lbs. Position the strut and knuckle into the wheel well. You might need an assistant or a jack to hold the assembly in place while you maneuver the stud into the bore on the lower control arm. Install the new clip on the upper strut mount.
Next, tighten the nut on the lower ball joint and torque to 22 ft/lbs, and turn 95 degrees. Insert the outer tie rod and torque the nut to 60 ft/lbs. Attach the sway bar link to the tab on the strut. Tighten the nut to 45 ft/lbs. Install the brake rotor dust shield, and install the brake rotor. Position the brake caliper on the knuckle and torque the bolts to 85 ft/lbs. Place the brake hose into the brackets on the strut. Install a new axle nut. Torque the nut to 144 ft/lbs. Insert the wheel speed sensor into the knuckle. Stake the nut to the axle. Install the wheel and tighten the lug nuts to 95 ft/lbs. Align the vehicle before returning it to the customer.
Go for a test drive.
PRT or Performance Ride Technology shares its heritage with one of the largest manufacturers of shocks, struts, and complete strut assemblies in the world. PRT products are produced and tested under the strictest OE quality processes required by leading automakers in five modern and fully-automated plants, using the latest technology available. With more than 27 years of expertise in ride control and suspension product manufacturing, conducting business in more than 67 countries worldwide, with a strong presence in OE and OES developments, PRT is a leading presence in the global aftermarket business. Quality, complete coverage, advanced features, and built-in profit potential for customers are synonymous with PRT. Performance Ride Technology is in our DNA.
This video is sponsored by PRT.

