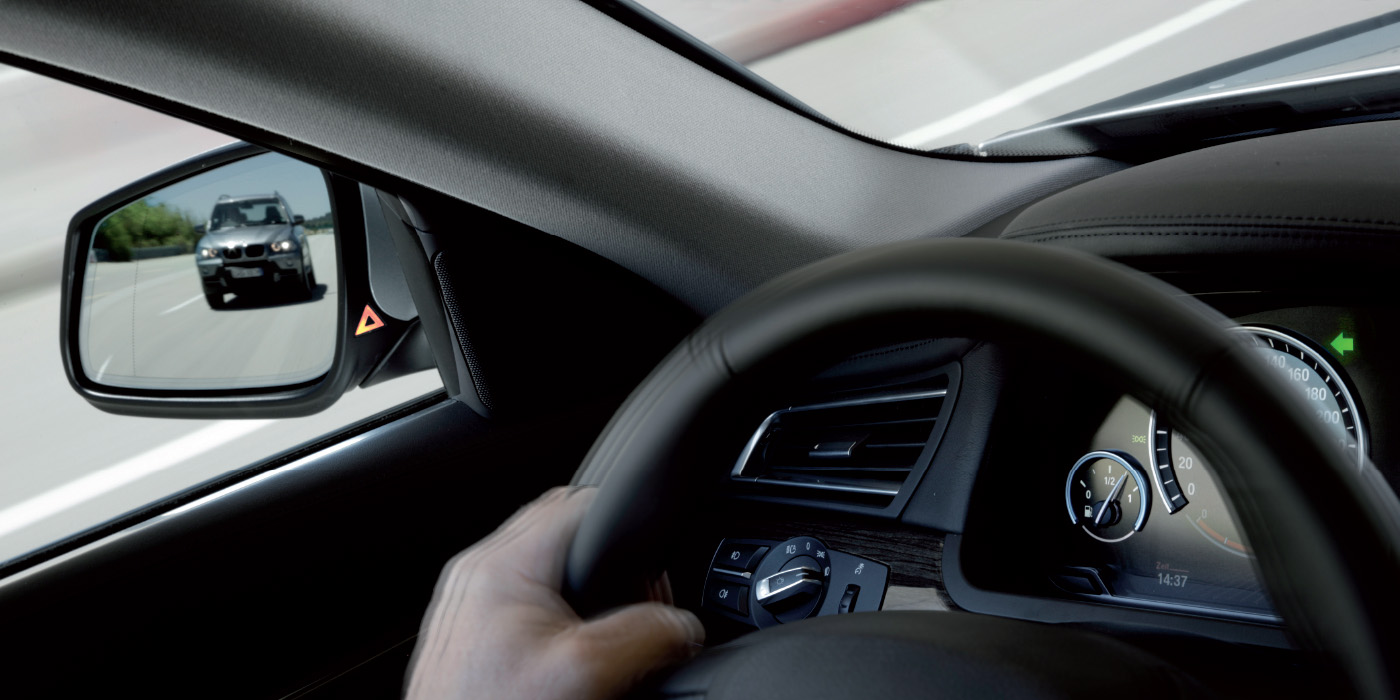
As a traveling salesman, Gerry spends a lot of time on the road in his 2002 Chevrolet Camaro. Just last week he was in Southern California when he started having transmission problems. Gerry called and said that the MIL lamp came on and the car wasn’t shifting correctly. I suggested he take the car to a local transmission shop owned by a friend of mine. I also prepared Gerry for what may be an expensive repair.
Some customers may comment on any of the following conditions:
- An illuminated MIL where DTC P0757 is found as a history code in the PCM or TCM.
- No 3rd and 4th gear.
- The transmission does not shift correctly.
- The transmission feels like it shifts to Neutral or a loss of drive occurs.
- The vehicle free wheels above 48 km/h (30 mph). High RPM needed to overcome the free wheeling.
This condition may be caused by any of the following:
1. Chips or debris plugging the bleed orifice of the 2-3 shift solenoid (367). This will cause the transmission to stay in 2nd gear when 3rd gear is commanded and return to 1st gear when 4th gear is commanded.
2. A 2-3 shift valve (368) or 2-3 shuttle valve (369) that is stuck, restricted and/or hung-up in its bore.
3. This condition may also be an indication of a damaged 2-4 band or 3-4 clutches. This clutch damage may generate debris causing the 2-3 shift valve line-up to stick in the valve body bore and set DTC P0757.
Applicable Vehicles:
• 2007 and Prior GM Passenger Cars and Light Duty Trucks
• 2003-2007 HUMMER H2
• 2006-2007 HUMMER H3
• 2005-2007 Saab 9-7X with 4L60-E/4L65-E/4L70-E Automatic Transmission (RPOs M30/M32/M70)
Repair Procedure:
(Review safety procedures in the ALLDATA system before beginning) 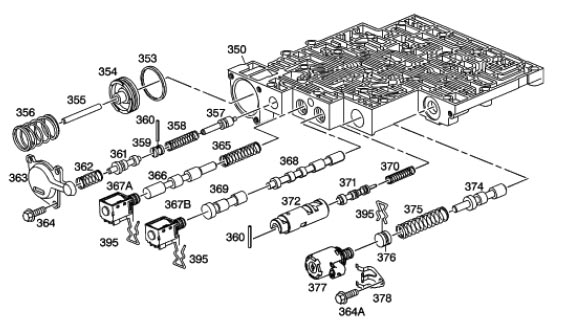 1. Inspect the condition of the transmission fluid for signs of overheat or a burnt odor. If either is noted, the transmission should be disassembled for further investigation and repaired as needed.
2. Inspect the inside of the oil pan for signs of clutch friction material. A small amount of friction material in the bottom of the pan is normal. If a large amount of clutch material is noted in the fluid or bottom pan, the transmission should be disassembled for further investigation and repaired as needed.
3. Inspect and clean the 2-3 shift valve (368), the 2-3 shuttle valve (369) and the valve bore of debris/metal chips.
4. Inspect and clean the 2-3 shift solenoid (367B) opening of debris/metal chips. While inspecting the 2-3 shift solenoid (367B), look for a screen over the solenoid opening. If the solenoid DOES NOT have a screen, replace the solenoid. All current GMSPO stock shift solenoids have a screen over the solenoid opening.
5. If clutch debris is found, it is also very important to inspect the pressure control (PC) solenoid valve fluid screens. Clean or replace the PC solenoid as necessary.
6. It is also important to flush and flow check the transmission oil cooler using special tool J 45096. Refer to "Automatic Transmission Oil Cooler Flushing and Flow Test" for the procedure.
Written by ALLDATA Technical Editor, Eric Seifert. Eric is an ASE certified Master Technician and Engine Machinist. He is a graduate of the De Anza College Automotive Technology Program, with 20 years of independent shop and parts store experience.
For additional information, visit www.alldata.com.