Applies To: All 2000 Odysseys
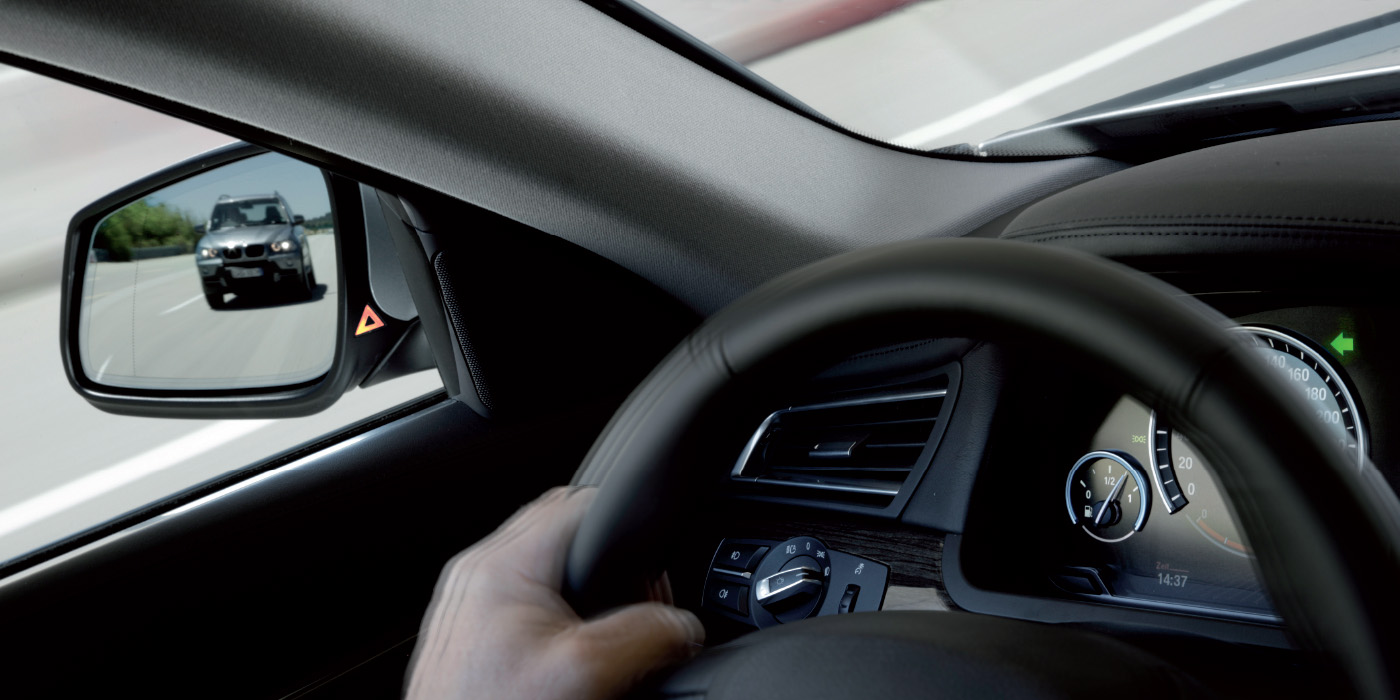
Symptom: The vehicle drifts to the right at highway speeds.
Probable Cause: Uneven front caster or camber settings.
Corrective Action: Shift the front subframe.
Diagnosis:
1. Inspect the tires for uneven or abnormal tire wear and set the tire pressure to 35 psi cold.
2. Test-drive the vehicle at 55 mph on a road with very little crown. Use a stopwatch to determine how long the vehicle takes to make a complete lane change.
• If the vehicle takes six seconds or more to change lanes, the drift is normal. Return the vehicle to the customer, and explain that the drift is normal. Use information from this tip as needed.
• If the vehicle takes less than six seconds to change lanes, go to the Repair Procedure.
Repair Procedure:
1. Raise the vehicle on a hoist and inspect the front suspension for any damage.
• If there is any suspension damage, replace the damaged parts and check the wheel alignment.
• If there is no suspension damage, go to step 2.
2. Swap the front tires from side to side, and test-drive the vehicle as you did in the diagnosis section.
• If the vehicle now takes six seconds or more to change lanes, the drift is normal. Return the vehicle to the customer, and explain that the drift is normal. Use information from this tip as needed.
• If swapping tires did not have an effect on vehicle lane-change time, go to step 3.
3. Loosen the four subframe mounting bolts and the six bracket mounting bolts.
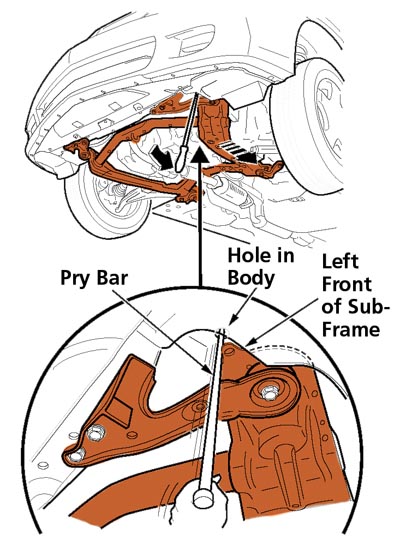
4. On the right side of the subframe, insert a long pry bar between the subframe and the body (See Fig. 1), then shift the right side of the subframe forward; if it’s already forward, go to step 5.
5. Use the pry bar to shift the left side of the subframe all the way to the rear of the vehicle. See Fig. 2.
 6. Torque the four subframe mounting bolts to 103 Nm (76 lb.-ft.). Torque the six bracket mounting bolts to 74 Nm (54 lb.-ft.).
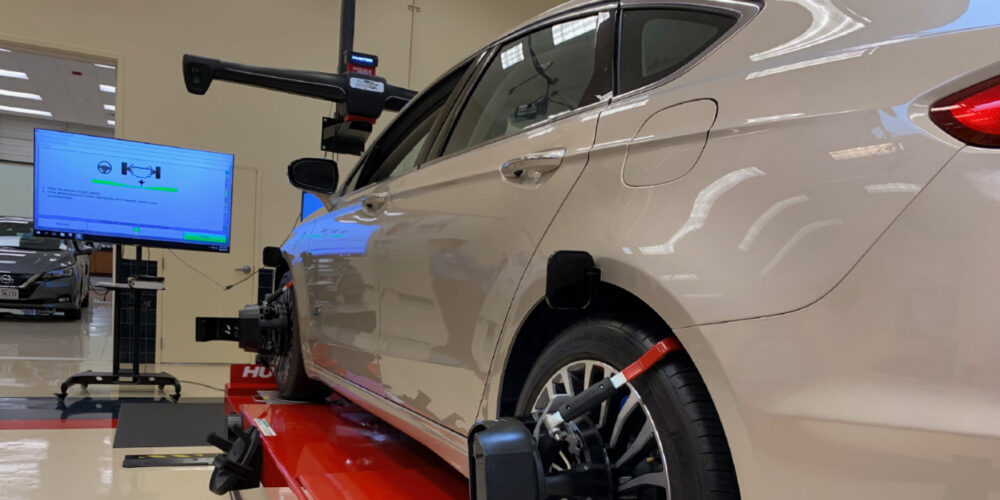
7. Check the wheel alignment. Left and right caster should now be equal, or more positive on the right side. Left and right camber should be equal. Total toe should be 0 to 2.0 mm.
Note: A vehicle will pull to the side that has more positive camber, and to the side that has more negative caster.
8. Test-drive the vehicle to verify the drift is gone.
Technical service bulletin courtesy of: Honda Parts Express.
For additional information, visit www.honda.com.