When a wheel bearing goes out on a FWD car or minivan, it may or may not give much warning. Typical clues include noise from the vicinity of the wheel, possibly some steering wander or looseness in the steering, and/or some abnormal tread wear on the front tires. Also, an ABS light could illuminate.
Any time a customer has one of these complaints, you should carefully inspect the front tires, suspension and steering linkage to find out what’s causing the problem. If the problem turns out to be play or roughness in the front wheel bearings, the fix is a new set of bearings.
As a rule, there should be no play on most FWD cars, but up to .010 inch of play in the front bearings may be acceptable on RWD cars and trucks with adjustable bearings.
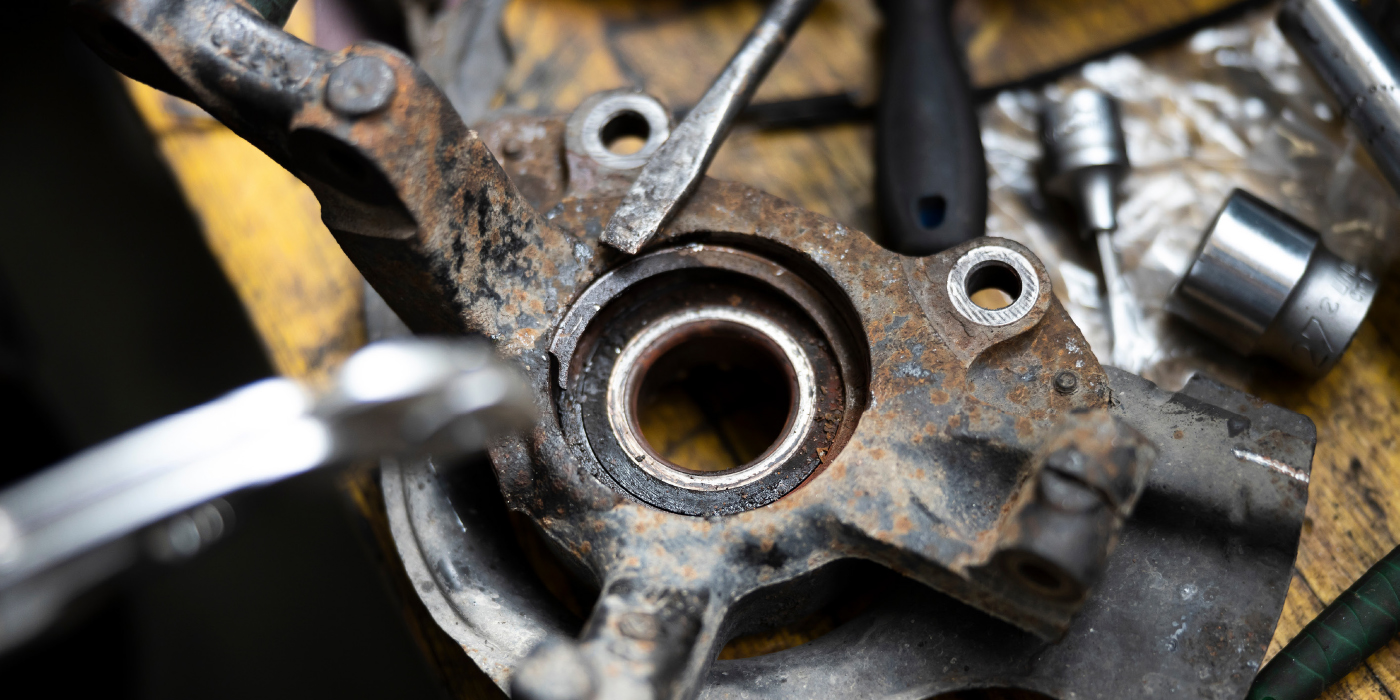
Bearings are very sensitive to hits and bumps. If the bearing or the seal in some way is damaged, it will lead to a reduced lifetime. A clean environment is very important when changing bearings. Particles entering the bearing will also reduce the lifetime of the bearing. It is most likely that the bearing dropped on a floor (or mishandled in a similar way) is severely damaged and should be replaced.
Some wheel bearings have the capacity, under normal conditions, to last the lifetime of the car. Abnormal loadings or hits when driving, as well as influence from other components can cause damage to occur. The damage gradually becomes worse and sooner or later the bearing breaks down.
SEALED BEARINGS
If there’s play in sealed bearings, replacement is necessary. Depending on what type of bearings are used, installation may be relatively easy or a chore. Sealed wheel bearings that bolt to the knuckle or can be easily separated from the knuckle shouldn’t give you much trouble.
On the inside of some bearing assemblies, there is a finger to help keep dirt and other contaminants out of the bearings. Be careful not to bend or damage this during installation. Also, make sure the mating surfaces in the knuckle are clean and free of nicks before installing the new bearing. Inspect the splines on the CV shaft for damage.
If the vehicle uses a prevailing torque hub nut, don’t reuse the old hub nut on the axle. Install a new one and torque to specifications. It is nearly impossible to give a general torque specification for a locking nut. There can be large differences depending on bearing type and housing. Use the torque given by the car manufacturer’s recommendations.
PRESS FIT BEARINGS
Press fit wheel bearings can give you fits because they are pressed into the knuckle, making them much more difficult to replace.
You have two alternatives here: remove the knuckle and use a hydraulic ram to push the bearings out of the knuckle, or buy some special wheel bearing service tools that can do the job with the knuckle in place.
The latter can be a real time saver because you don’t have to pull the knuckle. A puller kit can cut the job to about 20 minutes per wheel, and, depending on the application, can also eliminate the risk of damaging the lower ball joint or tie rod end if these parts don’t have to be disconnected.
Applications that typically require removing the knuckle or using a wheel bearing puller kit include older Japanese cars, such as 1986-91 Toyota Camry, 1986-94 Toyota Celica, 1987-94 Toyota Corolla, 1992-94 Lexus ES300, 1985-94 Nissans, 1988-94 Mazdas and 1986-94 Honda and Acura. Others include 1973-94 Audis (except 100LS), 1985-88 Chevy Nova, most 1979-90 Chrysler FWD cars, 1995 Chrysler Neon, 1991-94 Saturns, 1975-94 VWs, plus various Ford FWD cars.
CAPTURED ROTOR WHEEL BEARINGS
The hardest ones to replace are typically the front wheel bearings on older Japanese FWD cars with captured rotors. Besides having to pull the hub to remove the rotor, the bearings may have spacers or shims inside the knuckle housing that must be measured and sized to get the proper fit when new bearings are installed. 
The basic service procedure for press fit bearings goes like this:
Loosen the hub nut with the wheel on the ground.
Raise the car and remove the wheel.
Remove the hub nut and discard it (use a new one for installation).
Remove the brake caliper from the knuckle.
If the rotor is the captured variety behind the hub, use a hub puller to remove the hub and rotor. Otherwise pull off the rotor.
If the knuckle has to be removed, mark the position of the cam bolts on the struts (if used) to maintain wheel alignment. Then disconnect the tie rod end and lower ball joint from the knuckle. Remove the knuckle and use a hydraulic ram to carefully press out the old bearings. Note the position of any spacers or shims that are used, and measure the thickness as required to maintain the specified clearances. Clean the knuckle cavity and inspect for any damage. Then install new grease seals, bearings, spacers and/or shims as needed.
If you have a wheel bearing hub puller kit that can extract the bearings without having to remove the knuckle, mount the puller and push or pull the bearings out of the knuckle using the appropriate adapters.
When you install the new bearings, use a new grease seal and be sure you position any flingers, spacers or shims that are required in the right position to maintain proper clearances.
Locking rings must be replaced by new ones during mounting because they are often seriously damaged during dismounting. The locking rings should be considered as safety features, as they help to secure the position of the bearing.
It is nearly impossible to give a general torque specification for a locking nut. There can be large differences depending on bearing type and housing. Use the torque given by the car manufacturer’s recommendations.
The key to FWD wheel bearing service is to do it right the first time, and to do it efficiently without wasting a lot of time. A wheel bearing puller kit can do just that and allow you to finish the job more quickly.