Models:
• 2001 — 2003 (RS) Town & Country Voyager/Caravan.
Note: This bulletin applies to vehicles equipped with rear drum brakes.
Symptom/Condition
A cyclic swoosh, squawk, squeak or grunt sound from the rear of the vehicle may be heard during medium to light brake application on vehicles equipped with rear drum brakes. The sound will be related to the speed at which the tire/wheel turns (one sound per revolution of the tire/wheel).
Diagnosis
If the vehicle operator describes the subject Symptom/Condition, test drive the vehicle to verify. Perform the Repair Procedure if the symptom/condition is experienced during the test drive.
Parts
• Lubricant, Wheel Cylinder — Part No. 04883068.
• Plug, Backing Plate — Part No. 04238721.
• Sealer RTV — 05010884AA.
Repair Procedure
1. Raise the vehicle on a suitable hoist.
2. Remove the rear tire/wheel assembly.
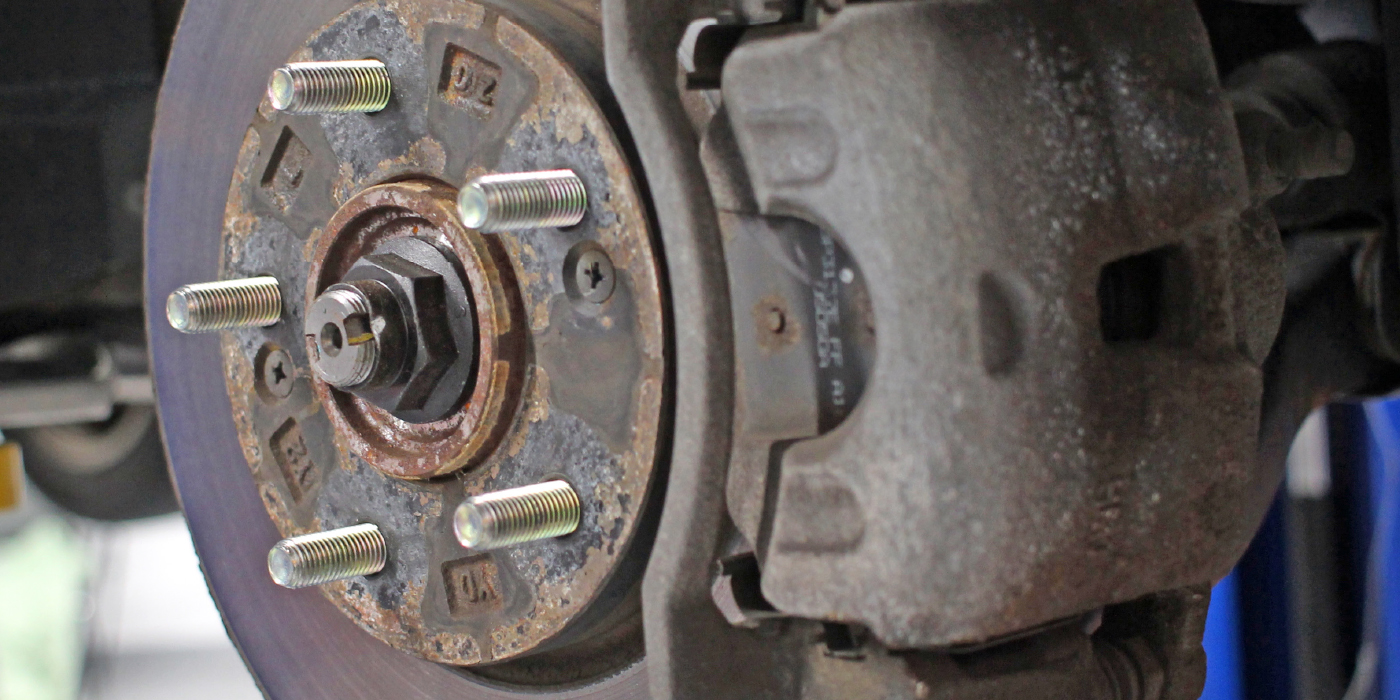
3. Remove the rear brake drum.
4. Remove both rear brake shoes from backing plate using the procedures outlined in the appropriate Town & Country, Caravan and Voyager Service Manual.
5. Clean the area around the wheel cylinder boots.
6. Peel back the edge of both wheel cylinder boots to separate them from groove in casting. Remove the boots and attached pistons from the wheel cylinder.
Caution: The wheel cylinder lubricant should not be used for any purpose in the vehicle brake system other than as described in this TSB.
7. Apply lubricant liberally to the surfaces of the pistons and inside the bore of wheel cylinder without disturbing rubber cup seals. Presence of small amounts of corrosion visible inside the bore of the wheel cylinder can be ignored provided there is no evidence of leakage of brake fluid past the rubber cup seals. Do not confuse traces of assembly fluid from the factory with brake fluid leakage.
8. Install the pistons and boots to the wheel cylinder. Make sure that the boots seal properly onto the casting groove all the way around the wheel cylinder. With your fingers, shuttle pistons back and forth in the wheel cylinder bore to distribute lubricant. Do not allow the boots to become dislodged from wheel cylinder casting groove.
9. Insure the wheel cylinder is sealed to the backing plate. If not, seal around the perimeter of the wheel cylinder using a small bead of RTV (p/n 05010884AA).
10. Install the brake shoes using the procedures outlined in the appropriate Town & Country, Caravan and Voyager Service Manual.
Note: Insure both (2) inspection and adjustment plugs (p/n 04238721) are present in the backing plate.
11. Wipe any spilled fluid from the outside of the wheel cylinder, as well as any other brake parts, including the linings.
12. Repeat Step 2 through 10 for the other brake assembly.
13. Install the brake drums and rear tire/wheel assemblies. Torque the lug nuts to 135 Nm (100 ft. lbs.)
14. Lower the vehicle.
Technical service bulletin courtesy of Mitchell 1.
For more information on Mitchell 1 products and services, automotive professionals can log onto the company’s website at www.mitchell1.com.

