The below procedures may help determine the root cause of bearing failure and eliminate future premature failures.
Inspect Bearings Prior to and During Removal
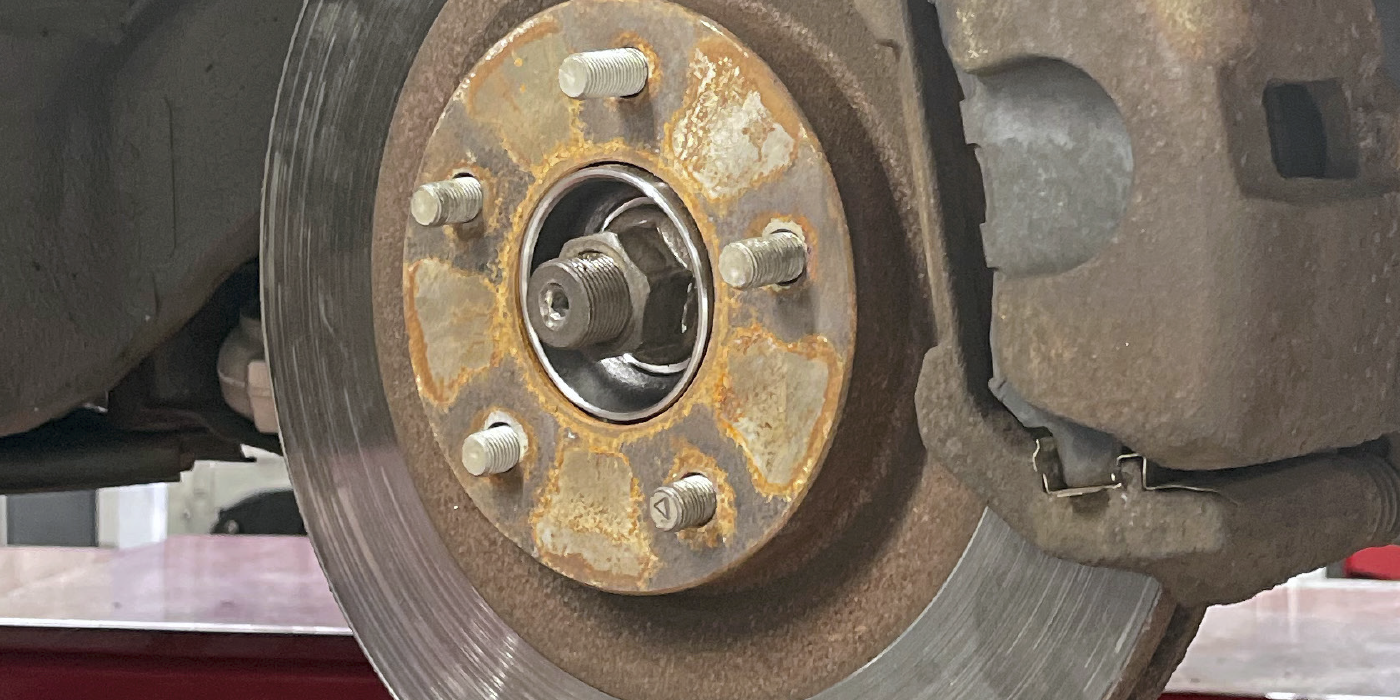
Dirt, moisture and inadequate lubrication may indicate a damaged seal or that the bearing was installed without an adjacent seal.
Look for any sign of indentations on the outer or inner ring of the bearing. Denting signs indicate a hammer may have been used directly on the bearing during installation. Small fragments can infiltrate the bearing and can lead to particle contamination of the bearing.
Look to see if the bearing was properly seated. Misalignment will cause early failure.
Rust spots at the contact points of a press-fit bearing may indicate that the lubricant is not the same as that used on the rest of the vehicle, or that lubrication was inadequate during installation. Evidence of excessive heat and wear on a press-fit bearing may indicate that the press-fit of the inner race over the shaft is too tight.
Evidence of friction, overheating, excessive wear or contact erosion between the shaft and the inner race on a slip-fit bearing may indicate that the slip-fit is too loose.
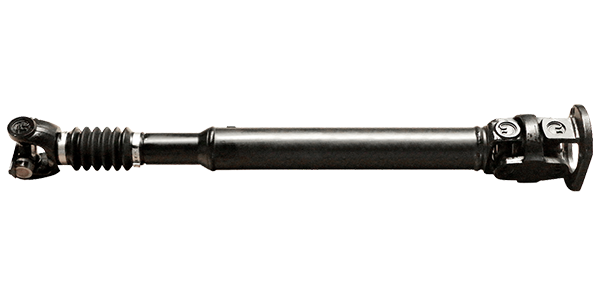
Removal and Installation of Bearings
Use only recommended tools for removal and installation of seals and bearings.
Work only with clean tools, hands and environments to avoid contamination of the bearing.
Shaft seats and housing bores should be clean, smooth and have the correct dimensions.
Leave bearings packaged until ready for assembly. Do not remove lubricant.
Use only manufacturer-recommend greases. Also consult the vehicle service manual to see if additional grease should be added to the bearing; this may vary by bearing type.
Lubricate the race that will be press-fit and the shaft or housing seat on which it will sit.
Mount the bearing onto the shaft with the rounded corner of the race going on first.
Apply even, driving pressure directly only to the race being press-fit. Make sure the pressure is straight and square.
Never hammer directly on races or rollers. Do not use a wooden or soft metal mallet, as chips or splinters may enter the bearing.
Use quick taps rather than heavy ones.
Be sure all driving accessories and fixtures have straight, square ends.
Drive races solidly up against the shoulder of the shaft and housing.
Verifying Correct Adjustment
Ensure that the bearing is seated squarely on the shaft and has not been cocked or misaligned when mounted.
Pre-load bearings with correct specification when it is necessary to hold shafts, gears or spindles absolutely rigid.
Consult the vehicle manual to determine whether to use a single or double adjusting nut.
Inspect the endplay with a dial indicator. Wheel bearings in automobiles often are set with an endplay of .001 inch to .010 inch.
Courtesy of SKF