An oxygen sensor test can be used to assist technicians in verifying the oxygen sensor operation, but it should not be the only test used to determine if a sensor should be replaced. Most scan tools have an oxygen sensor tests function (also known as Mode $05), which allows a technician to view the data readings for the oxygen sensor(s).
Before running the Oxygen Sensor Tests, ensure the engine and oxygen sensor are at normal operating temperature.
Enter the Oxygen Sensor Tests mode of the scan tool. Refer to the owner’s manual, if necessary. Follow the prompts to choose the sensor to be tested and initiate the test sequence. The data readings for the selected sensor will be displayed.
Replacement: Tech Tips
When replacing oxygen sensor(s), please keep these tips in mind:
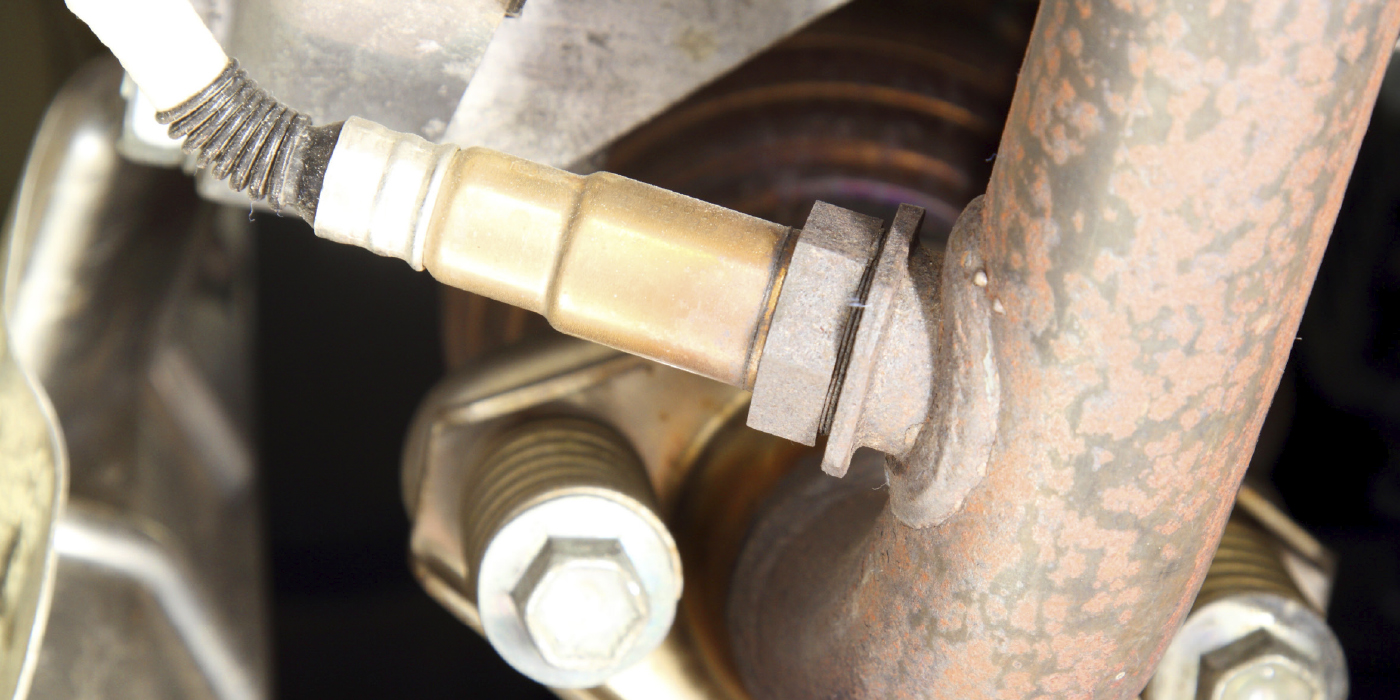
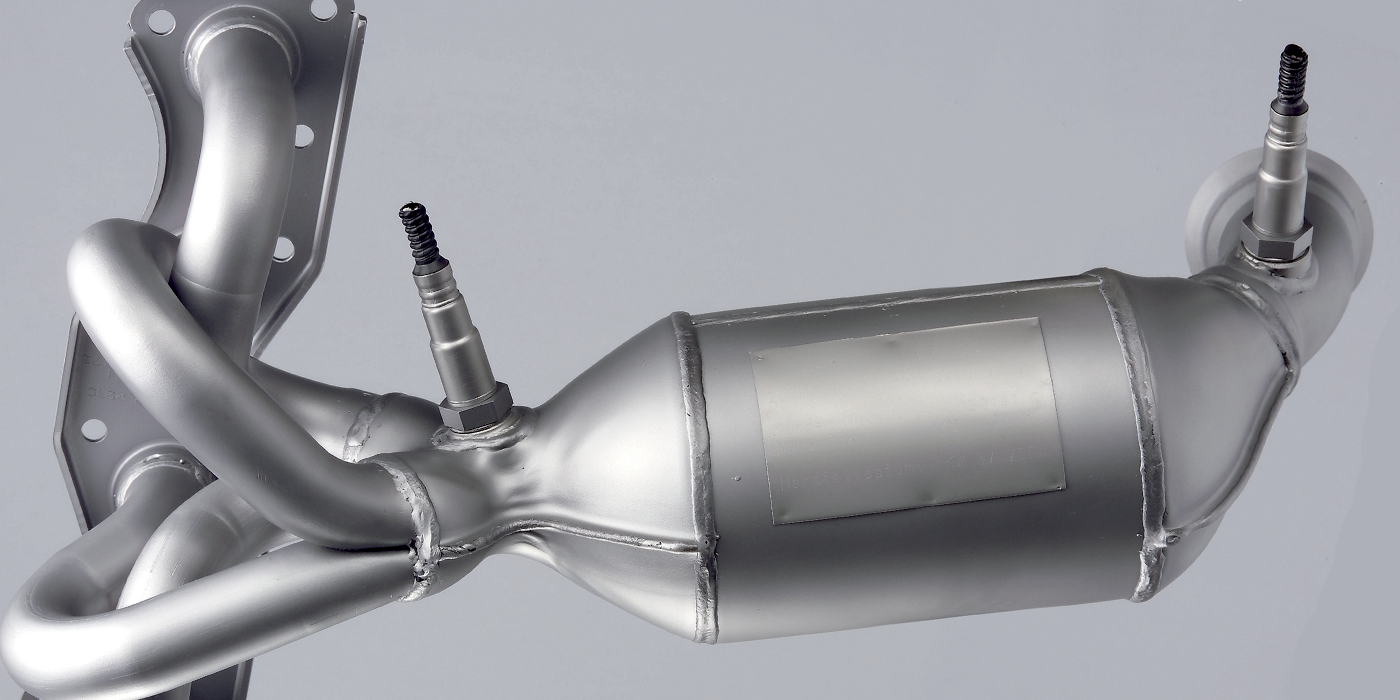
• Newer vehicles have multiple oxygen sensors. After determining a sensor needs replacement, be sure to correctly identify it before replacing it.
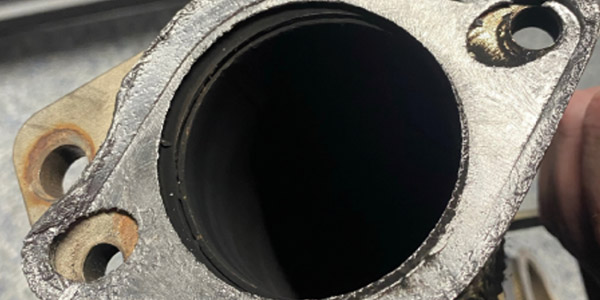
• Unplug the wire connection and spray penetrating lubricant onto the threaded connection to assist in removal.
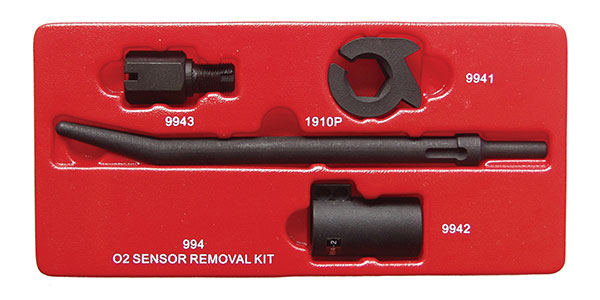
• Use an appropriate oxygen sensor tool to assist in removing the sensor.
• Use anti-seize on the threads of the new sensor. Many new sensors may have anti-seize installed on the threads from the factory. If not, there may be anti-seize included with the sensor, which should be applied to the threads of the sensor.
• Tighten the sensor to the correct torque. Consult the appropriate service information for this value, if necessary.
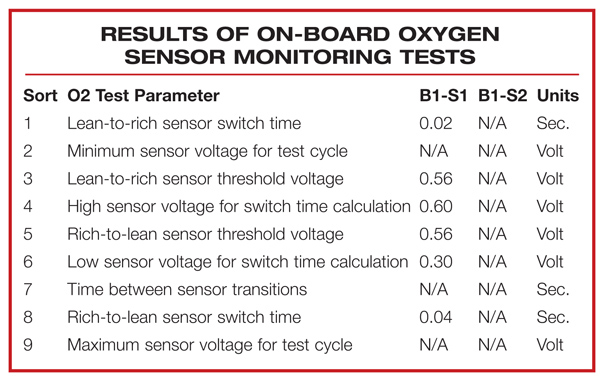
After performing the repairs, the effectiveness of the repairs can be confirmed utilizing Mode $06 data. After driving the vehicle to get it to operating temperature and allowing the OBD II system to test the system and components, a technician can view the test results using Mode $06 on his scan tool.
Mode $06 is the actual system test data that OBD II looks at when it decides to set a pending code or a current fault code. If the test data is within the limits established by the vehicle manufacturer, the item gets a PASS and no codes are set. But if a value is out of range, OBD II flags it with a FAIL and monitors the component until the system monitor has run at least twice. Then, if the problem still exists, a DTC is set and the MIL illuminates.
Courtesy of Delphi Product & Service Solutions.