Alignment Angles Provide First-Hand Clues
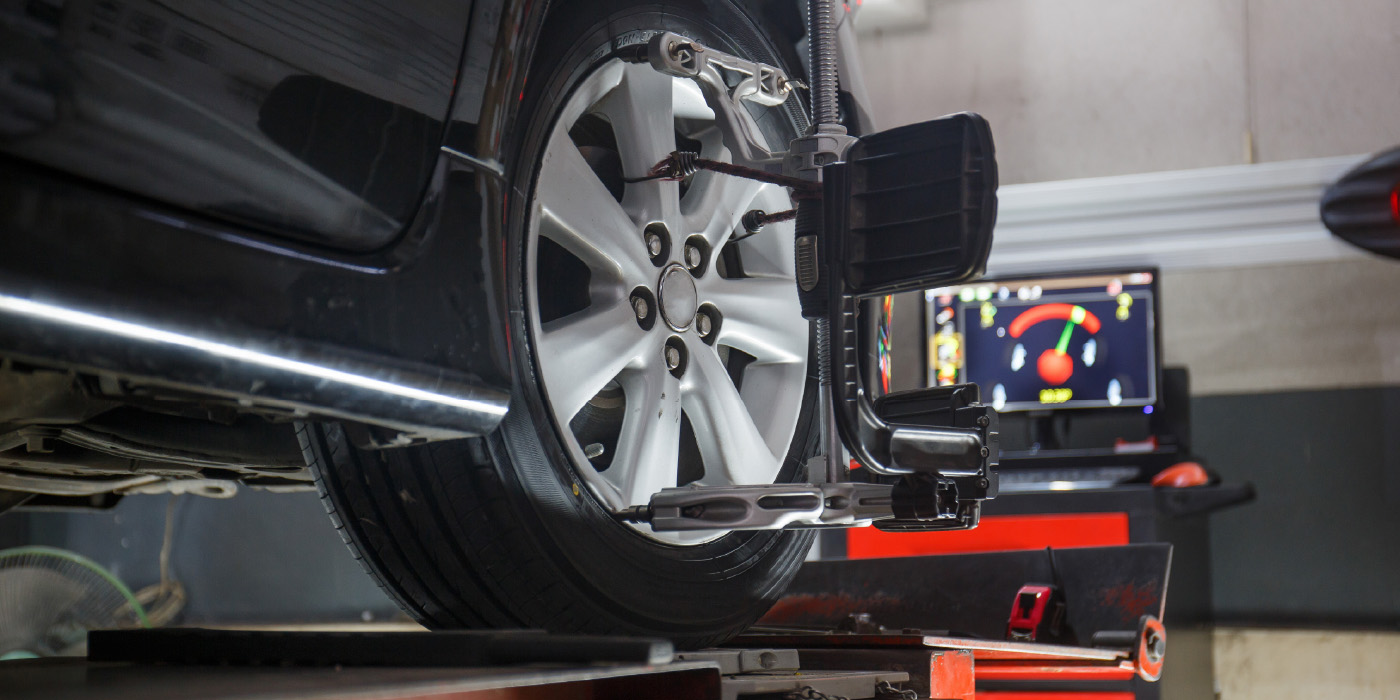
You’ve seen it a hundred times. A vehicle comes in with abnormal wear on a front tire. It looks like camber wear. One shoulder is badly worn, but the other front tire appears to be OK. You put it on your alignment machine and check camber and toe. Sure enough, camber on the wheel with the worn tire is out of specifications. You visually inspect the suspension for obvious signs of wear or damage like collapsed control arm bushings, a bad ball joint or a weak or broken spring, but you find nothing. You assume the front end is out of adjustment, so you reset camber to specifications and send the customer on his or her way.
Did you fix the problem?
Probably not. If camber, caster or toe are out of specifications, there is usually a reason why. Something may be bent, worn or mislocated. Normal driving usually won’t knock the wheels out of alignment or damage the suspension. But normal driving also involves encounters with the unexpected, which often includes potholes, curbs, railroad crossings (which are famous for being rough), parking lot speed bumps and other things that jar and stress the suspension. For this reason, periodic alignment checks are a good way to ensure proper wheel alignment and to detect damaged, worn or bent parts that might need attention.
Take a bent steering arm, for example. A bent arm will change toe alignment. Toe misalignment can scrub the rubber off a set of tires as fast as any lead-footed teenager with an attitude. Only 1/8-inch of toe misalignment produces scrub equivalent to dragging the tire sideways 28 feet for every mile that’s traveled! So if you see a feathered wear pattern on the tires or what looks like camber wear on the inside or outside shoulders of both front tires (radials primarily), toe is probably out of alignment. Shoulder wear on both outside edges can be caused by toe-in while shoulder wear on both inside edges can result from toe-out.
Toe misalignment is most often due to worn tie rod ends, but it can also be caused by bent steering arms, a bent tie rod, or even a bent spindle, control arm or strut. If toe is off, therefore, don’t assume a simple adjustment is all that’s needed. Visually inspect the steering linkage and suspension for any obvious signs of damage, check the tie rod ends for play, check the suspension bushings, and then hook up your alignment equipment and check toe, camber, caster, SAI and toe-out on turns.
Checking toe-out on turns will tell you whether or not a vehicle has a bent steering arm. When the wheels are turned the same number of degrees to the right and the left, the change in toe-out should be the same on both sides. If it’s not, one or both arms are probably bent.
Measuring the distance between each control arm and wheel is another way to find a bent steering arm. Both distances should be the same on both sides of the vehicle. If one arm is closer or further from the wheel than the other, it will not allow equal toe changes on both sides when the wheels are steered.
Pulling down the suspension and checking for uneven toe changes side-to-side is yet another “trick” that can be used to find this kind of “hidden” damage. If a steering arm is bent, one side will show a greater toe change than the other.
If you find evidence of a bent arm (unequal toe-out change or a difference in the distance from the steering arm to the wheel side-to-side), it may not be obvious which arm is the one that’s bent. You may have to compare steering arm-to-wheel measurements on another vehicle of the same year, make and model to determine which arm is bent. You could also ask your customer if he or she recalls hitting anything (like a curb), or if the vehicle has been involved in an accident (if so, which side?). In many instances, the bent arm will be the one on the right passenger side because the right wheel is more apt to hit a curb than the left wheel.
CAMBER CLUES
Tire wear can also be affected by camber. Excessive camber loads one side of the tread more heavily than the other, resulting in uneven wear. Camber wear typically produces uneven wear on one side of the tire tread. If the inside of the tread is worn off, the wheel has too much negative camber. A worn outer tread indicates too much positive camber.
Camber can also affect directional stability. A vehicle will lead toward the side with the most camber. So always compare camber readings on both sides. More than half a degree difference can cause a steering pull.
If camber is off on one side only, a close encounter with a pothole or curb may have bent a spindle, control arm or strut. A shift in the position of a strut tower can cause the same thing. A shift in the position of a crossmember, on the other hand, will usually change camber on both sides. In MacPherson strut suspensions, the position of the upper strut tower is critical. Too far in and the wheel will have too much negative camber. Too far out and it will have too much positive camber. A bent strut or spindle can affect camber as can a bent control arm, a mislocated crossmember or an off-center engine cradle in a FWD car.
One way to identify hidden damage that may be affecting camber is to do a “jounce/rebound camber check.” Raise the suspension four inches and read camber on both sides. Then compress the suspension four inches and read the camber angles for both wheels again.
Different side-to-side camber readings with a jounce/rebound camber check usually indicates a bent strut that needs to be replaced or straightened. If the readings are the same, a check of the “steering axis inclination” (SAI) angle side-to-side should also be made.
SAI, THE DIAGNOSTIC ANGLE
SAI is a “built-in” angle that can help you detect all kinds of hidden damage. SAI is the angle of the steering axis and runs from the center of the upper ball joints or strut towers through the center of the lower ball joints. SAI should always be the same on both sides. A difference of more than a degree usually indicates a mispositioned strut tower, bent spindle or control arm.
It’s important to always check SAI even if no specs are provided because unequal SAI side-to-side (even if camber is within specs) can contribute to torque steer, brake pull during sudden stops and even bump steer. You can zero in on the hidden damage (a bent or mislocated strut, bent control arm and/or bent spindle) by comparing the SAI angle, camber reading and “included angle” (the angle between camber and SAI). See the above SAI diagnosis chart.
Here’s another way to check for strut problems. Loosen the two camber adjustment cam bolts on the strut (if provided), push the steering knuckles in as far as they’ll go toward negative camber and measure the distance between the strut and brake rotor on both sides. Then compare readings. If both distances are the same, you can rule out misalignment at the bottom end of the strut or a bent spindle. If they’re different, one of the struts is bent.
Bending a strut to “realign” the front end is no answer because you shouldn’t fix one problem by creating another. Bending a strut may bring camber back into range ‹ assuming the wheel isn’t off more than one and a half degrees (which is the maximum limit for bending any strut). But bending a perfectly good strut to compensate for misalignment elsewhere is going to create unequal camber changes side-to-side during jounce and rebound, which may create a bump-steer condition. There is also a risk of weakening the strut, which may lead to strut failure later.
To check for a bent strut shaft, loosen the large shaft nut at the top of each strut and rotate the shaft 360° while keeping an eye on the camber reading. If the shaft is bent, the top of the wheel will wobble in and out, and the camber reading will change as the shaft turns. No change in the camber reading means there’s nothing wrong with the strut. A strut with a bent shaft must be replaced. There’s no way to safely straighten this kind of damage because attempting to bend a hardened shaft will likely crack it.

