Adjusting or setting the pre-load for some wheel bearings can feel like a leap of faith. If you don’t get it right, the bearing could turn to molten metal or the wheel could come off the vehicle. But, if you understand what is happening behind the axle or wheel nut, you can gain some confidence.
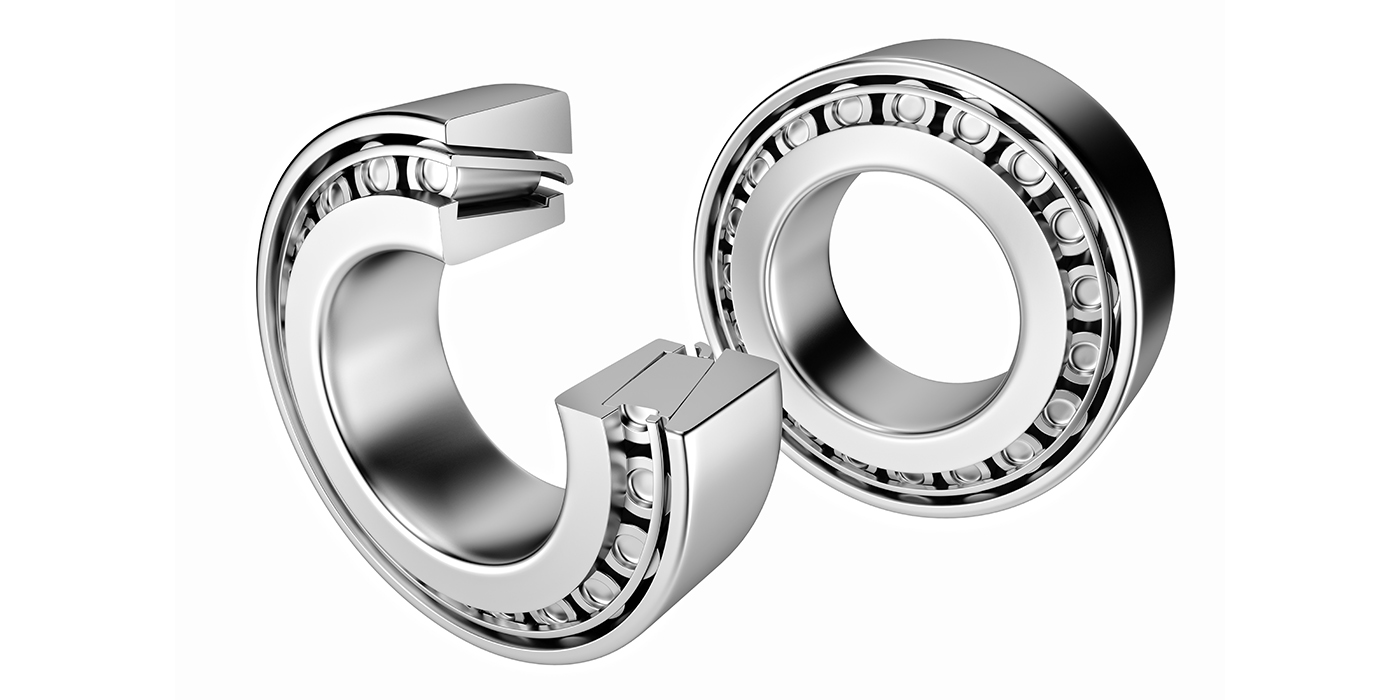
Tapered Roller Bearings
It is rare to find tapered roller bearings on a late model car or truck. Tapered roller bearings can carry a heavy load because of a larger contact patch between the rollers and races.
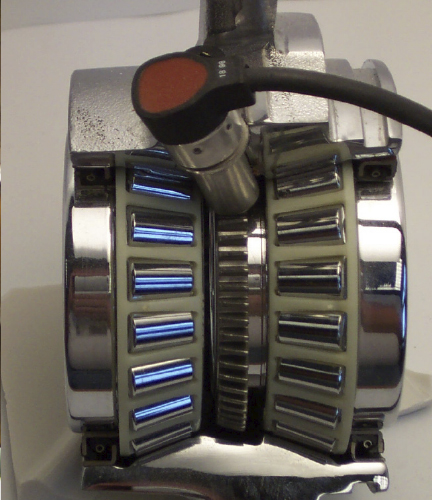
Excessive tightening of the adjustment nut, otherwise known as excessive pre-load, can cause the rapid deep spalling shown in these pictures. This deep spalling occurs when the direct contact between rollers and raceway caused by excessive pre-load superheats the bearing, softening the material, and allowing chunks to be torn away from the raceway and rollers during operation.
On the other side of the spectrum, loosening the adjustment nut too much will cause excessive end play in the bearings, allowing a rocking motion that disrupts the even distribution of force along the rollers.
The key then is to hit the sweet spot between too much end play and not enough. This means achieving an endplay between .001 inches and .005 inches. To help, Timken has established an easily measurable three-step adjustment procedure.
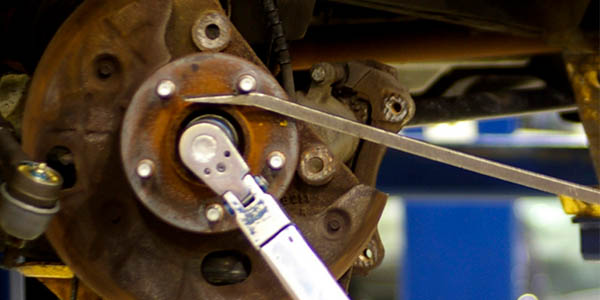
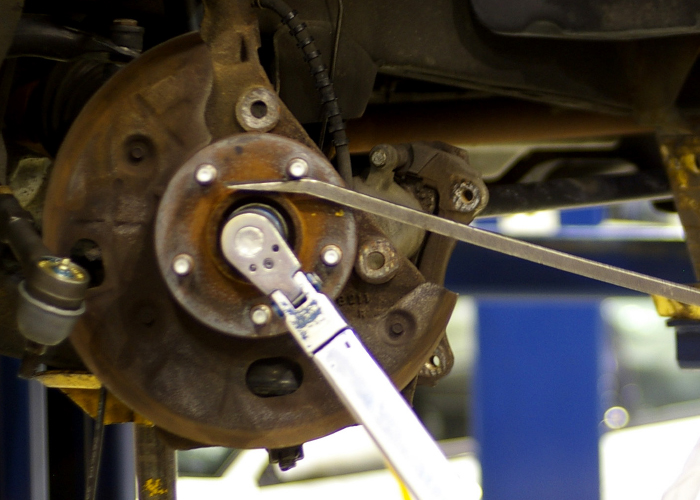
While rotating the rotor to ensure proper seating of the rollers, induce pre-load by using a torque wrench to tighten the adjusting nut to 50-foot pounds. Then loosen the adjusting nut one full turn. At the same time, you need to continue to rotate this rotor, re-torque the nut, this time to 10-foot pounds. Once again, loosen the adjusting nut, this time by only 1/6 to 1/4 turn. When step one is complete, place the bottle cap type stamping over the adjusting nut and properly install and secure the cotter pin to prevent the nut from backing off.
Use a dial indicator to measure end play. Mount the indicator’s base as close to the center of the hub rotor as possible. With the indicator tip against the end of the spindle, set the indicator to zero. Grasp the rotor at 3 o’clock and 9 o’clock and begin oscillating the rotor back and forth. While oscillating, push the rotor in and read the dial indicator. Then pull the rotor while still oscillating and reread the dial indicator. The bearing end play is equal to the total indicator movement, which should be between .001 and .005 inches.
Ball or Roller Bearings
Ball-bearing style wheel bearings are different than tapered roller bearings. You are not adjusting the rolling elements and races. You are setting the initial load and path for the ball bearings and races.
These types of bearings are often called Gen 1 wheel bearings. The pre-load is set by tightening an axle nut that brings the inner races closer together. When the races come closer together, the balls come in contact with the outer races. The pressure between the two inner races and outer races set the pre-load and the paths of the bearings.
How much pre-load is required can vary depending the size of the bearing’s diameter and size and number of the ball bearings. Also, some manufacturers can have different assembly procedures.
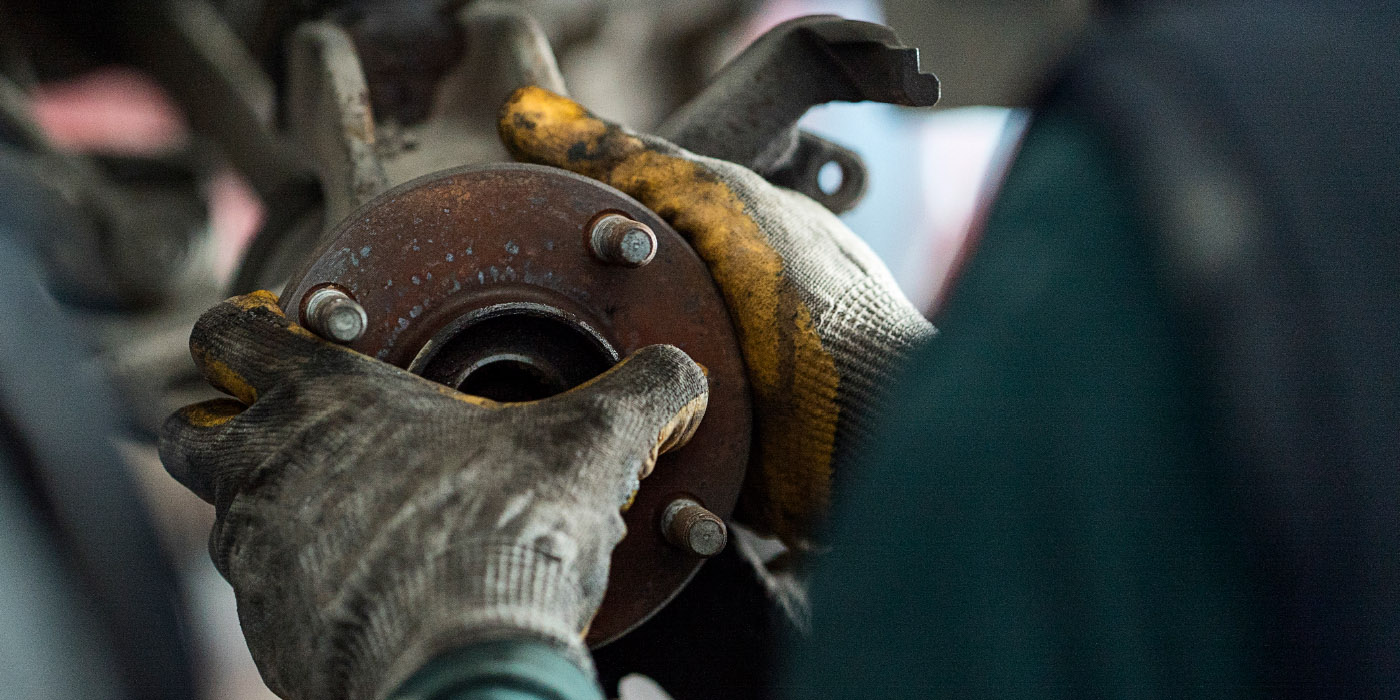
Hub Units
Many hub units do not require an adjustment or pre-load procedure. The pre-load is set at the factory through a process called orbital forming. This process cold presses the inboard flange and inner race so the bearing is pre-loaded.
Why Do They Fail?
When any bearing fails, the majority of the time it starts on the inside. Damage to the races, rolling elements or cages causes the internal temperature inside the bearings to increase. As the damaged area grows due to spalling or brinelling, the grease inside the bearing exceeds the maximum temperature. When the grease is heated, it oxidizes, and its lubricating properties are lost. Externally, when the seal fails, it causes a loss of lubrication, and the grease inside might becomes contaminated. The knockout punch comes when the bearing overheats, and the remaining lubricant becomes oxidized.