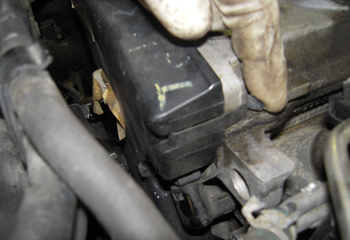
/10645717311jpg_00000057414.jpg” border=”0″ ” align=”right” alt=”photo 17″/>the two bolts (see Photo 16) that hold the side bracket to the mount and the three bolts that hold the mount in (see Photo 17).
 11. Remove the two clips (see Photo 18) that hold the upper timing cover on, and then remove the bracket to which the engine mount was attached. There are three bolts (see
 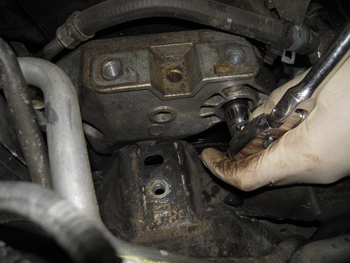 Photo 19) that hold it on and you may have to raise the engine slightly to get it out of the way.
 12. There aren’t really any special procedures to do a timing belt on this model, so just line up
 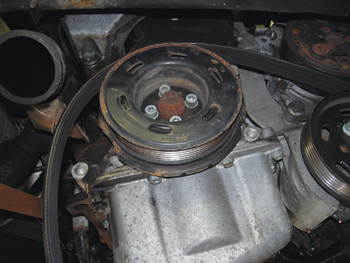 the timing marks. We put a dab of Wite-Out on the marks so it’s easier to see them (see Photo 20). We then remove the four Allen bolts (see Photo 21) that hold the crank pulley
 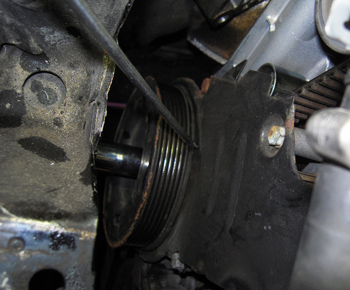 on, and the four bolts that hold the lower timing cover on (see Photos 22 and 23). We can
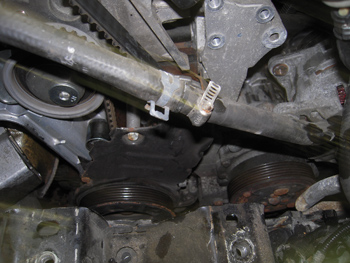
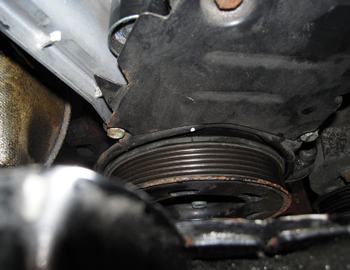
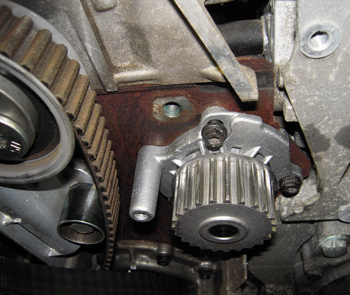
 now see the timing belt, tensioner and roller and the water pump (see Photo 24).
13. Normally, we are installing all new parts so we can unbolt the tensioner and just take the belt 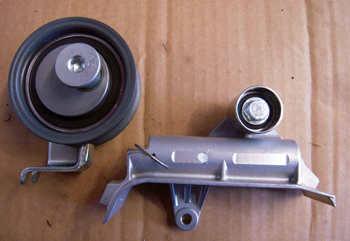 off. A new tensioner comes collapsed, so once the new parts are installed and we make sure the timing marks are aligned, we just pull the pin (see Photo 25) on the tensioner and we’re good to go. It’s important to check the engine code to make sure you get the correct parts because VW and Audi made several variations of the 1.8L and 2.0L motors.
14. We will reuse all of our parts (except the water pump) because they were installed 20,000 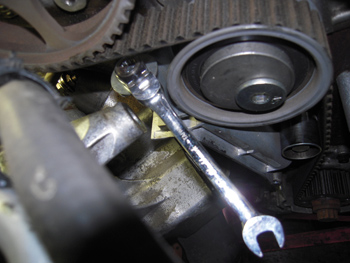 miles ago, so we need to collapse the tensioner (see Photo 26) to remove and reinstall the belt. The factory tool part number is T10092. It’s basically a 5mm x 0.8 bolt that is 60 mm long and a large washer. Either works well. Slowly screw the bolt in until the belt slides off the water pump.
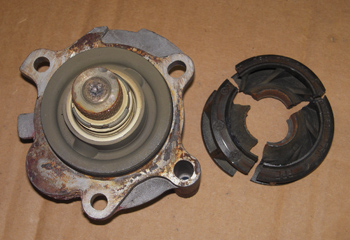 15. Remove the three bolts that hold the water pump in and remove it. We can see the impeller came out in pieces (see Photo 27). Clean up all the mating surfaces and install the
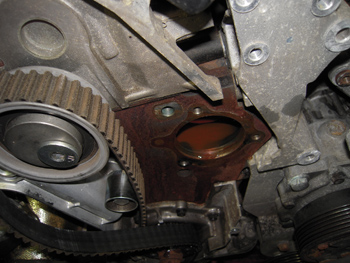
 new pump (see Photos 28 and 29). Hook up your airlift and make sure the thermostat and water pump won’t leak (see Photo 30). If everything checks out OK, refill the cooling
  system and double check for leaks. We don’t want a comeback because of a pinched or cut O-ring.
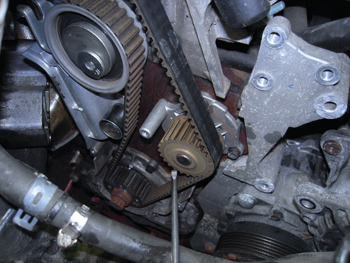
16. Everything looks leak-free, so we reinstalled our timing belt and checked our marks (see 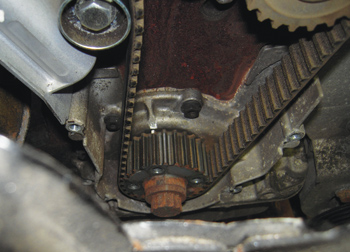 Photo 31). Unscrew the tensioner to tension the belt, and then rotate the engine over two times and recheck the marks. If everything lines up, reinstall the lower timing cover and crank
 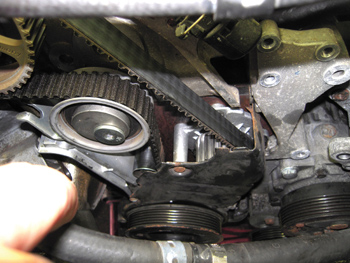 pulley (see Photo 32). Install the belt cover and intercooler tube and make sure the rubber couplers and clamps are secure. Even a small leak can give you driveability problems and a check engine light. Torque the wheel and let’s finish putting it all back together.
17. Reinstall the upper engine mounting bracket and the upper timing belt cover. Install the engine mount and bracket and hook up the power steering reservoir and coolant reservoir.
18. Reinstall the alternator and serpentine belt tensioner and belt.
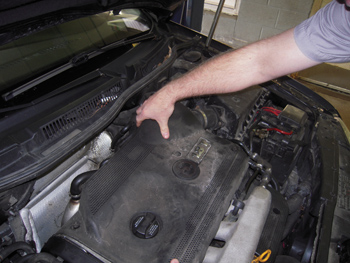 19. Put the throttle body back on and hook up the air duct. We put the engine covers back on and we are ready to start it up (see Photo 33). The car runs great and I’m ready to send it out as a loaner.
We’ve done hundreds of these water pumps over the years and there are many variations of timing belt setups, depending on manufacture date, engine code and where the car was made. That’s why it’s so important to get the engine code when looking up the parts. The code is usually stamped on the cylinder head and is also on the engine sticker on the timing cover. You can also get it by running the VIN number.
What’s most important is to educate your customer about the importance of doing the complete job. They may remember the low price they paid, but will quickly forget your recommendation to replace the water pump, or your warning that they will have to pay the labor again should the water pump fail. Worse yet, the tensioner or a roller could fail and cause a catastrophic engine failure a year after the timing belt was done, and you know who would get the blame for that.
So, get a timing belt display from one of your suppliers and save some worn out or broken parts to show your customers. It’s easy to sell the complete job with a little show and tell.