Coolant pump seals are designed to use coolant as a lubricant. This design intentionally uses a small amount of coolant to coat the seals during pump operation. Any excess coolant that accumulates will exit the weep hole when the engine cools down. Minute traces of coolant or lubricant residue around the weep hole is not evidence of a faulty pump. Do not confuse a leaking coolant pump with one that is functioning as designed.
Guidelines for Coolant Pump Replacement:
- A validated customer complaint describing visible coolant leakage.
- A validated customer complaint that the coolant level warning lamp has come on or that the coolant level in the reservoir is low, which was traced to coolant pump leakage rather than to some other cooling system component.
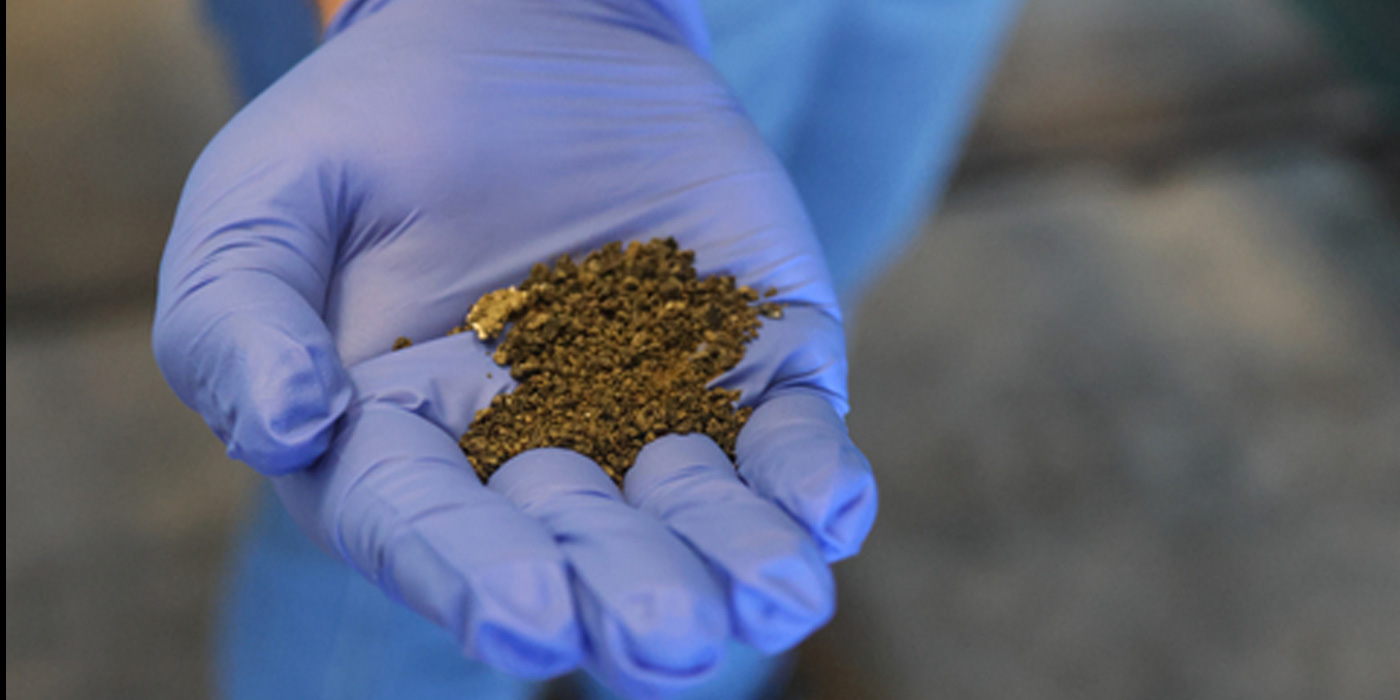
- The presence of coolant residue buildup. This residue is a gray-green scum that accumulates in a mass like melted wax near the weep hole or spreads out in a film over much of the coolant pump surface. In some cases, this film is accompanied by traces of white powder on the pump and adjacent component surfaces.
Pumps Have Been Incorrectly Replaced Because of:
- Slight discoloration or stains appearing near the weep hole (this is normal to the pump design).
- Lubricant residue appearing as wavy irregular lines of dirty grease beneath weep hole. This grease appears on some pumps as a result of the impeller seal installation as performed at the factory.
- A single droplet of coolant appearing at the weep hole (this is normal to the pump design).
- Note: Do not replace the coolant pump without a valid reason. Before replacing, verify by testing that a legitimate pump leak exists.
Troubleshooting Safety Precautions
- Warning: When the engine reaches operating temperature, the engine coolant will be under pressure with temperatures in excess of 200° F. Use extreme care when opening a hot cooling system so the pressure can be harmlessly relieved. Reduce the risk of personal injury or component damage by observing the following recommendations:
- Switch off the ignition and allow the engine to cool down.
- Protect face, hands and arms against escaping fluid and steam by covering the cap with a large thick rag while loosening.
- Slowly and carefully turn the cap to allow excess pressure to escape before completely removing.
- Do not siphon coolant with your mouth. Antifreeze is poisonous.
- Attach pressure tester VAG 1274 (or equivalent with a range of 23 psi minimum) in place of the cap using the appropriate adaptors.
- Apply approximately 1.2 bar (18 psi) of pressure to the system.
Caution: Do not apply pressure via the tester to a cold engine and then run engine to increase the temperature. The temperature increase will raise the coolant pressure beyond the cooling system design limits.
Do not run the engine while performing a pressure test. There is no pressure relief when the VAG 1274 pressure tester is installed.
Do not exceed the system pressure of 1.2 to 1.5 bar (18-22 psi).
Troubleshooting
1. After pressurizing, carefully inspect the following for visible coolant leaks or a drop in pressure:
- Coolant hoses, clamps and connections;
- Cylinder head gasket;
- Coolant pump gaskets, O-rings and seals;
- Heater core and associated clamps and hoses; and
- Internal cracks in the cylinder head or engine block (should create a pressure drop).
2. Repair any coolant pump leaks using gaskets, O-rings or seals as necessary, but do not replace the pump unless it has been verified as being faulty.
3. Pressurize the coolant system again and re-inspect for coolant leaks.
4. Pressure test the coolant cap. It must release at 1.2 to 1.6 bar (18 to 23 psi).
Note: Vanagon coolant caps release pressure differently than other designs. See page 19.18 of the Vanagon Repair Manual for checking procedure.
5. Top up coolant level as necessary. Only use Volkswagen recommended phosphate-free antifreeze ZVW 237 102 in a proportion of 50% water and 50% antifreeze.
Coolant Level Warning Light
If the coolant level is low and the coolant warning light does not come on, proceed as follows:
1. Verify that the coolant level warning light functions properly by either removing the level sensor from the coolant or by removing some coolant from the expansion tank until the sensor is no longer submerged.
2. Start the engine. The coolant level warning light must come on. If not, repair as necessary and then top up engine coolant to proper level.
Courtesy of ALLDATA.
For additional information, visit www.alldata.com.


