Tech Tip: Removing A Rear Rotor Stuck On The Parking Brake

Tech Tip: Removing A Rear Rotor Stuck On The Parking Brake

If you are having trouble removing a drum-in-hat rotor, don't just take a hammer to it. You may have to adjust the parking brake and back it off the rotor in order to remove the rear rotor.

Figure 1

If you are having trouble removing a drum-in-hat rotor, don’t just take a hammer to it. You may have to adjust the parking brake and back it off the rotor in order to remove the rear rotor.

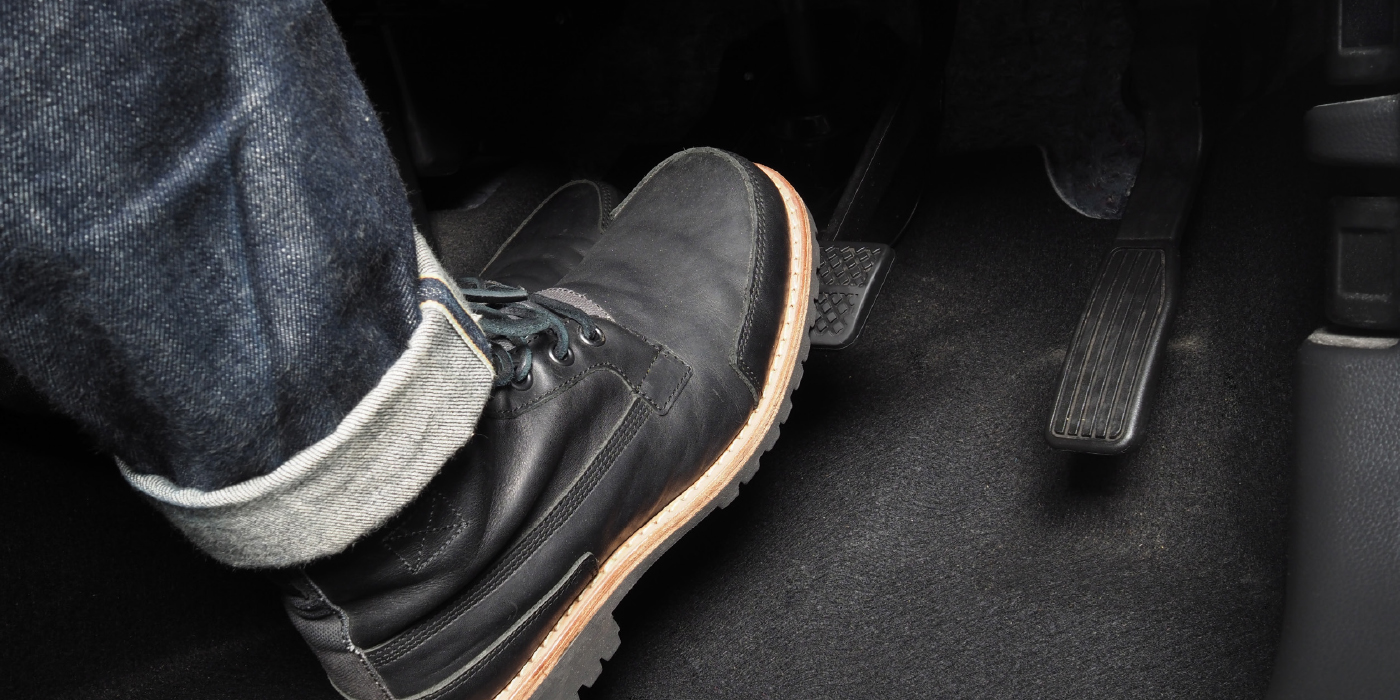
This problem is common in vehicles where drivers don’t often use the parking brake. When the parking brake isn’t used, rust and corrosion build up inside the drum. This causes the drum-in-hat rotor to stick to the parking brake. Therefore, to remove the rotor, you have to back the parking brake off the drum lining.

Figure 2

Repair Procedure:
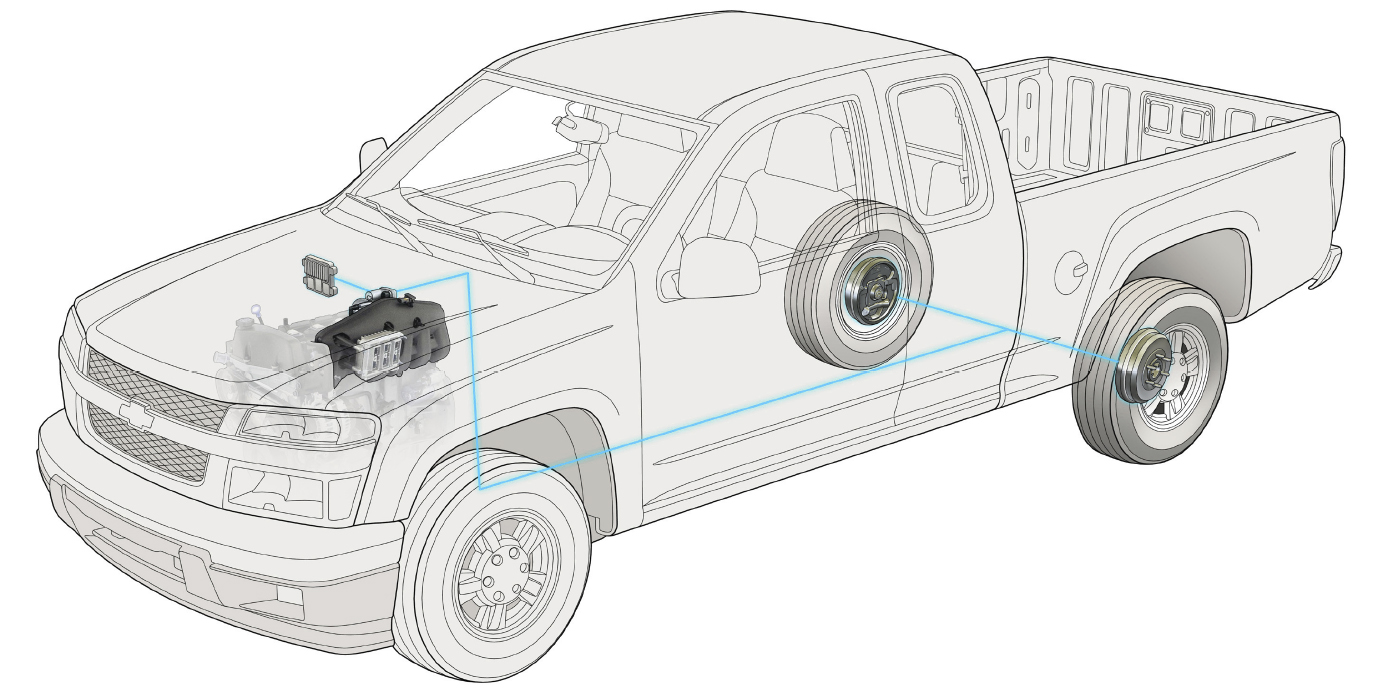
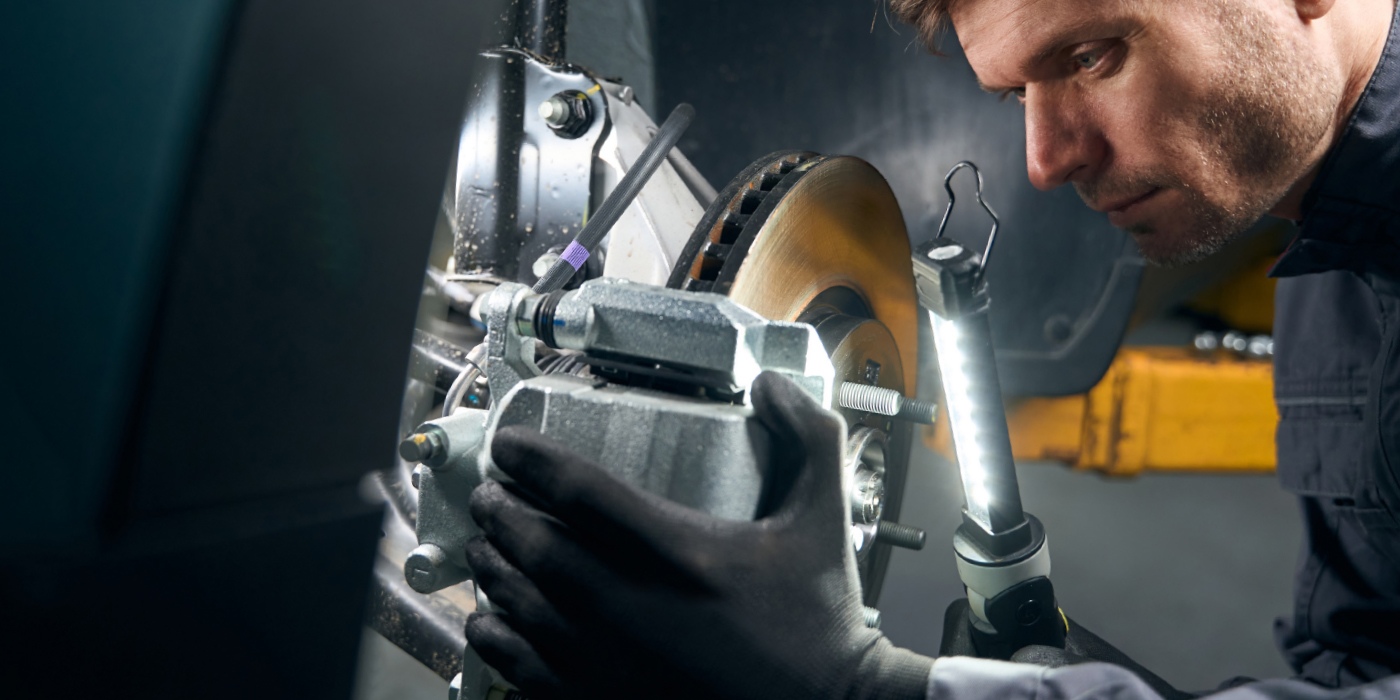
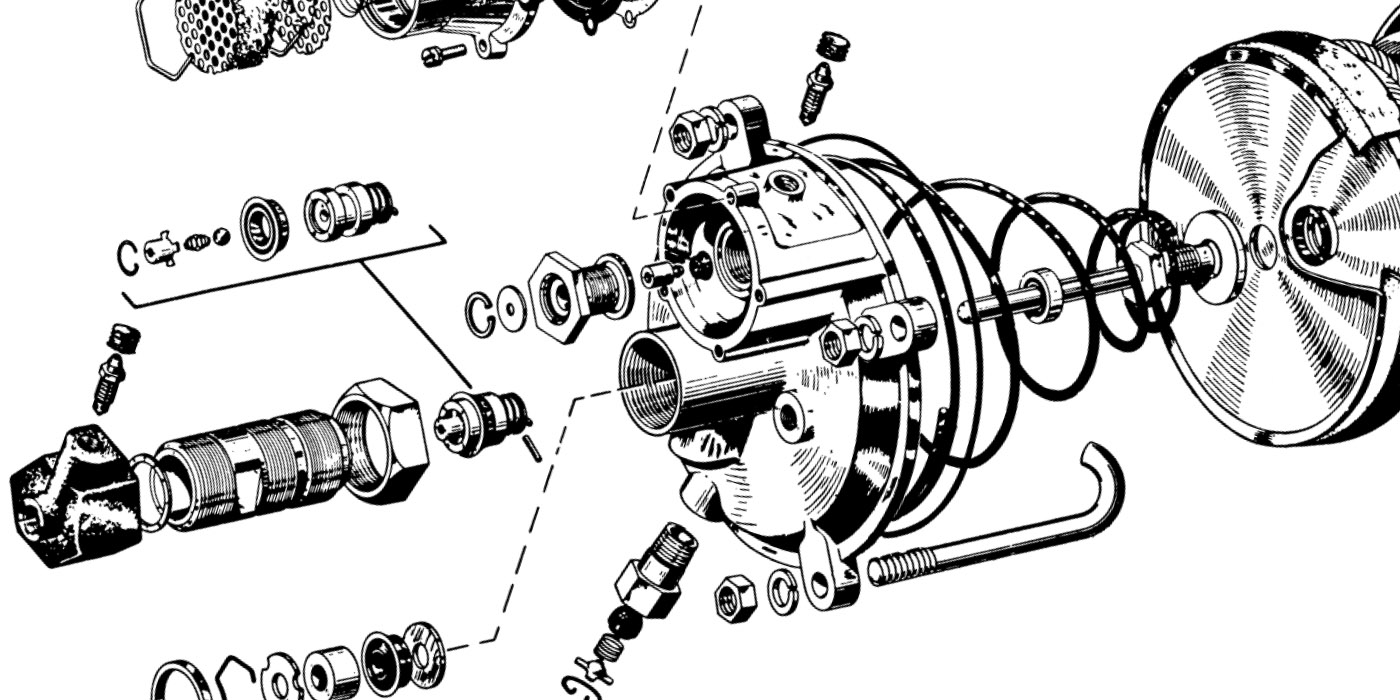
To adjust the parking brake, you need to locate the access hole on the rotor (see Figure 1). Some rotors have the access hole on the hat of the rotor. Others are found in the back of the rotor (see Figure 2).

Take the rubber plug off the rotor. Then, use a brake spoon or a flathead screwdriver to turn the adjuster wheel. Usually, a few clicks of the wheel will do the trick. If you don’t know which direction to turn the wheel, start rotating the adjuster while spinning the rotor. If you are turning the adjuster the wrong way, you will feel the drag.

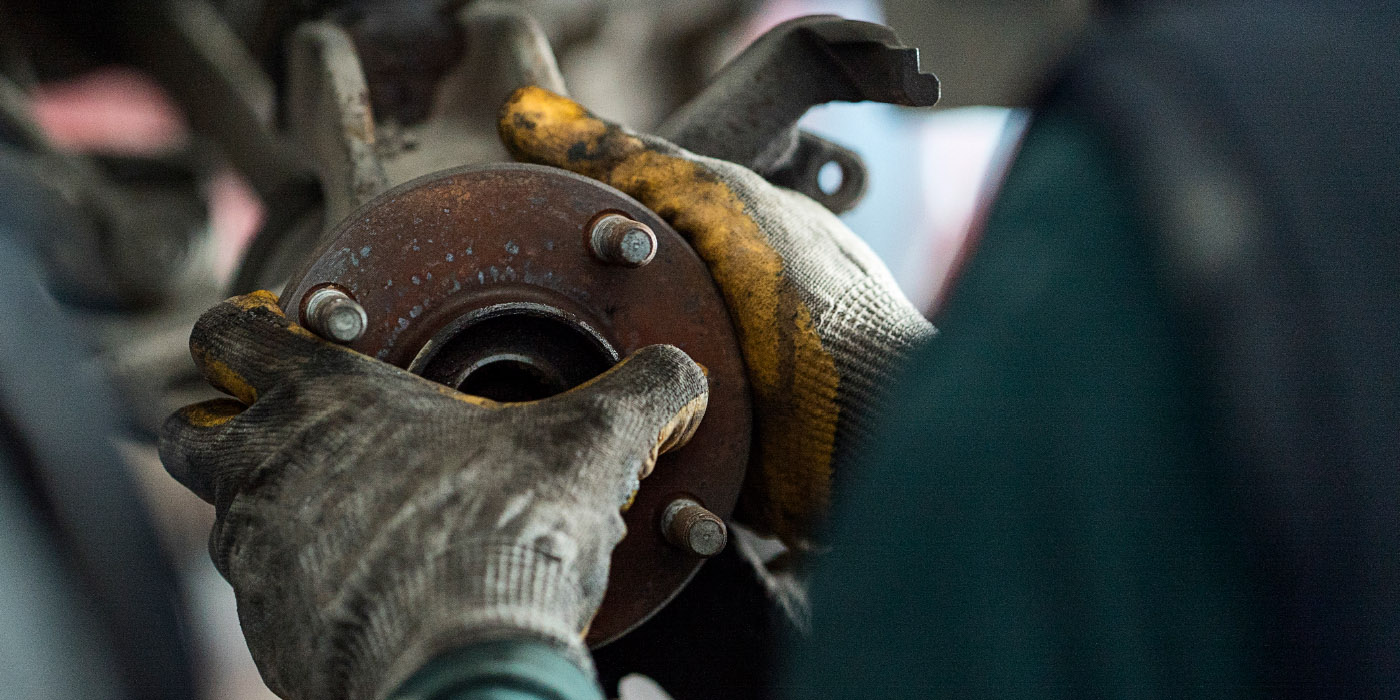
Once you back the parking brake off, you may still need to tap on the rotor with a hammer to get the rotor off.

But, now you won’t risk damaging the parking brake assembly. With the rotor off, it is important that you inspect the parking brake assembly. Make sure to check the lining of the parking brake shoes, along with the hardware.

Courtesy of Raybestos/Brake Parts Inc

You May Also Like

Brake Pad Edge Codes – What Can They Tell You?

The edge code is a language written by engineers, federal entities and industry associations.

When a brake pad is manufactured, one of the last steps involved is to print a series of letters and numbers on the edge of the friction material. This code has been on brake shoes and pads for more than 60 years, but what does it mean?

The “Edge Code” can tell you information about a brake pad’s friction material. These letters and numbers can help you to select the correct brake pads or shoes for a vehicle. But, the edge code can do only so much. 

Brake Problems

Reducing brake drag on late-model vehicles is not accomplished by a single component; it takes a system.

The Real Cost of Installing Cheap Brake Pads

The brake repair market is starting to become dominated by a “good enough” mentality.

Brake Boosters and Start/Stop Vehicles

For a vacuum brake booster to work, it needs a source of vacuum.

Wheel Speed Sensor and Hub Unit Diagnostics

All wheel speed sensor codes are just the starting points of a diagnosis and not a reason to order a part.

Other Posts

BEV Brake Service Tips

Andrew Markel shares his latest service tips in the all new BendPak EV Garage video series.

Vacuum Brake Booster Diagnostics

Vacuum brake boosters will probably be with us for a long time.

Better Brake Law Update

Learn the latest about the salmon-inspired law.

Identifying Brake Issues With Brake Dust

Brake dust can indicate what could be wrong. This video is sponsored by Auto Value and Bumper to Bumper.