By Ed Dorowski, ALLDATA Editor and Jeff Webster, ALLDATA Technical writer
Some GM vehicle owners may comment on a creak-type noise when applying the brakes. It is usually heard only during slow speed braking. If this condition exists, it should be able to be duplicated when the vehicle is not moving by depressing the brake and listening for the noise from the wheel-well/caliper area. The noise may be caused by a caliper piston-to-seal interface issue during braking. If the caliper is removed and the piston is pushed back, the noise may be eliminated. This is usually only a temporary fix. To correct this condition, lubricate the entire circumference of the seal at the caliper piston interface using Kluber Fluid as described in this Tech Tip.
Applicable Models
1999-2003 Chevrolet Malibu
2004 Chevrolet Malibu Classic
1999-2004 Oldsmobile Alero
1999-2004 Pontiac Grand Am
Parts Information
89022161 Kluber Fluid
Important: The service kit consists of a “one-time use only” bottle which will service one caliper.
Repair Procedure
Review safety procedures in ALLDATA Repair before beginning.
DO NOT REPLACE CALIPER.
1. Remove the wheel, then reinstall two lug nuts to hold the rotor against the bearing surface. This prevents dirt and debris from lodging between the rotor and bearing hub mating surfaces which can cause rotor “wobble” or lateral runout (LRO).
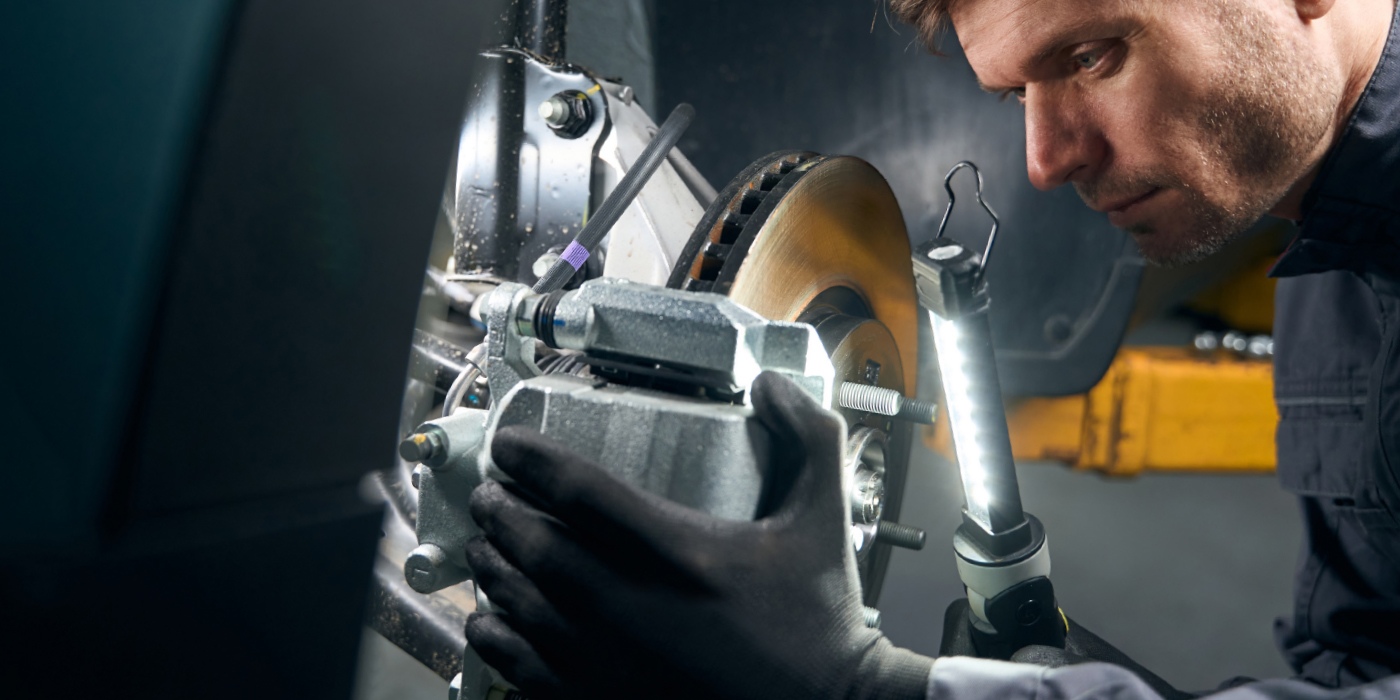
2. Remove the bottom bolt from the caliper assembly without disturbing the hydraulic system.
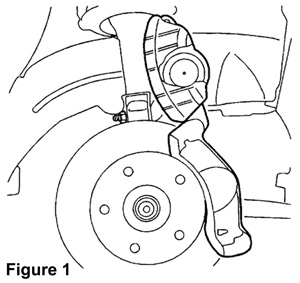 3. Swing the caliper assembly up so the caliper assembly is facing upward (Figure 1).
4. Thoroughly clean the piston boot with GM-approved Brake Clean. Pay particular attention to the area where the boot interfaces with the piston.
5. Using compressed air, dry the piston/boot area.
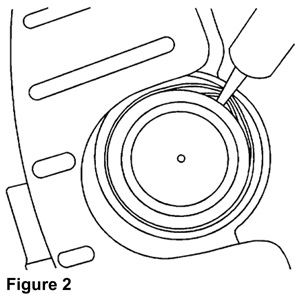 6. Remove the cap from the tip of the bottle and carefully insert the tip, P/N 89022161, between the boot and piston, inward of the piston boot groove (Figure 2).
7. From the top side of the piston (reference diagram), inject the lubricant. With the caliper in the tilted position, the lubricant will flow down and work its way around the entire circumference of the seal. Let the caliper body assembly remain in this position for a minimum of two minutes to allow for the fluid to completely work its way around the seal.
8. Push the piston into the seal to ensure the lubricant is on both the piston and seal surface.
Important: Excessive fluid could appear as a failure and lead to a comeback. To prevent unnecessary future repairs, it is important to only use one bottle per side and make sure excess fluid is wiped away.
9. Wipe away any excessive fluid.
10. Reassemble the caliper to the vehicle. Tighten the caliper bolts to 23 lb-ft (31 Nm).
11. Repeat Steps 1 – 10 on the opposite side of the vehicle, if necessary.
12. Pump the brake pedal to push the caliper piston back into place.
13. Reinstall the wheel and tighten wheel nuts to specification.
14. Road test the vehicle to verify repair.
Ed Dorowski has 19 years of Domestic and Import dealership and independent shop experience as a service consultant, ASE Certified Master Technician, Nissan Certified Master Technician, & California Smog Test & Repair Technician. Jeff Webster has 20 years of experience as a writer/editor.
2009 ALLDATA LLC. All rights reserved. All technical information, images and specifications are from ALLDATA Repair. ALLDATA is a registered trademark and ALLDATA Repair is a mark of ALLDATA LLC. All other brand names and marks are the property of their respective holders.

