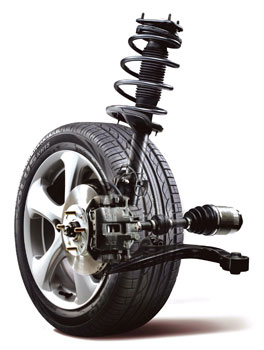
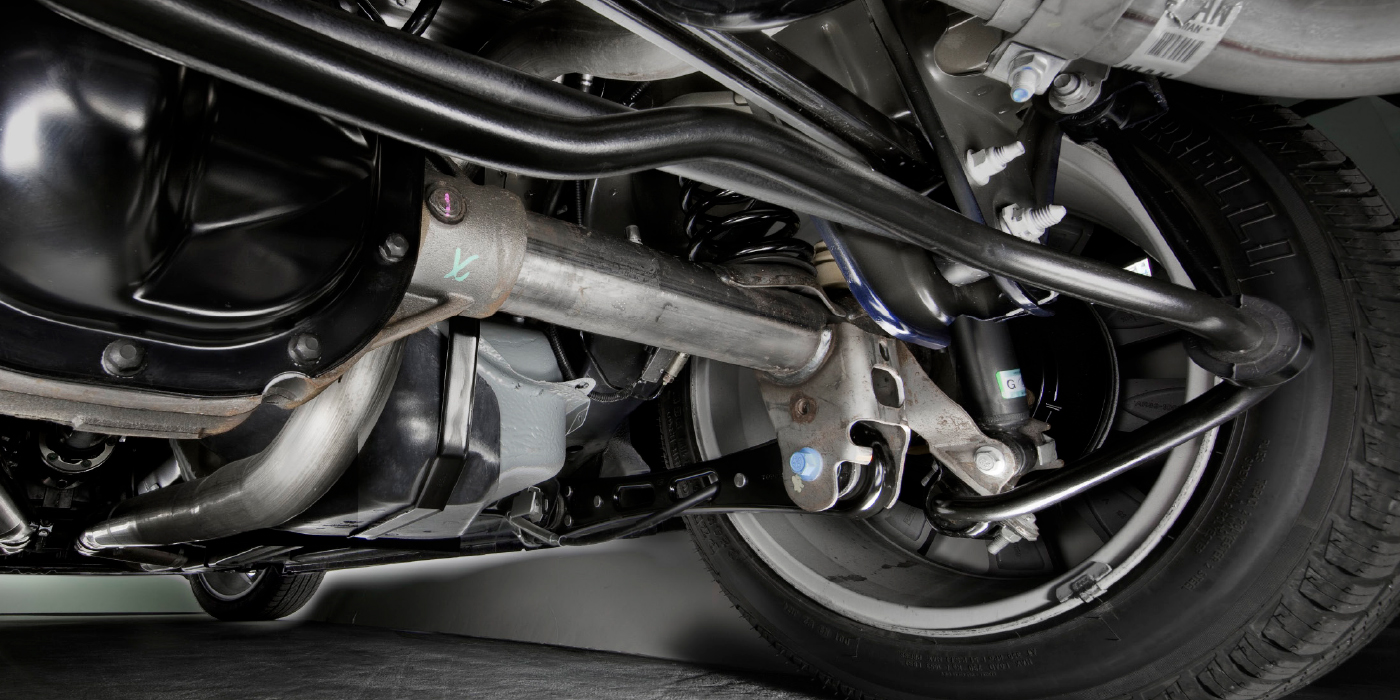
 While wheel bearing noise is one of the toughest problems for the customer to describe, it’s not unusual for it to come on so gradually that the customer may not even notice it until you mention it after an unrelated road test. Many times, the customer complaint will send you down the wrong path if you let it. We’ve heard complaints from exhaust leaks, to tire balance, to “it just doesn’t sound right,” that have ended up being bad wheel bearings.
When faced with any noise complaints, take the time to test-drive the car with the customer, if that’s possible. This step not only allows you to confirm the noise you’re chasing, but it also gives you the opportunity to point out any other issues that the customer hasn’t noticed. You may hear the familiar knocking sound of loose sway bar links or bushings that the customer will be glad to have repaired once you point out it isn’t too expensive of a problem to fix.
But even if the customer isn’t available, it’s important that you test-drive the car before it comes into the bay.
While wheel-bearing noise is pretty easy for most of us to pick out, here are some things we can do to confirm and better pinpoint the problem. Make note of the sound as the load changes around corners; it will give you an idea of which bearing has failed (the noise will usually increase with load).
If there is no change, it’s an indication there may be another problem disguising itself as a bearing. Anything that can feed a vibration into the chassis could be the problem, from worn engine mounts to mis-routed A/C lines or, in the case of SUVs, don’t discount the rear differential and driveshaft as a source. If any doubt exists, our final step of the diagnostic process includes running the vehicle on the lift and pinpointing the problem with a stethoscope.
We’ll take a look at the recommended procedure as outlined on the Hyundai service information website, www.hmaservice.com. There’s no reason not to be using this informative, no-cost website.
IMPORTANT FIRST STEPS
For our purposes, we’ll look at the popular 2003 Santa Fe SUV. Like many jobs, the equipment resources in your shop will dictate the procedure. While the service information outlines the procedure using a press, the tool manufacturers have certainly stepped up and provided some excellent tools that will make the job easier and more efficient.
In the case of our Santa Fe, it’s a straightforward situation to remove the bearing carrier, making working on a bench a good option. If you’re not changing the pads, a folded-up piece of cardboard between the pads will hold them in place as well as protect them.
Be careful with the protective boots on the ball joints and tie rod ends as well as the threads. You also have to be careful with any ABS sensors. If they’re stuck in the housing, it may be a better strategy to leave them in place and unplug them from the harness; and be careful with them as you work on the bench. I like to tell my guys to think about putting the job back together as they’re taking it apart. It’s easier to clean up the threads on a tie rod end before it’s removed from its taper, than it is later; a couple of extra minutes during disassembly can pay dividends on the other end.
REPLACEMENT PROCEDURES
1. With the bearing carrier on the bench, the first step is to remove the hub from the bearing. Whether you use a press or hub tool to accomplish this step, you’ll likely end up with the outer inner bearing race on the hub.
- A. All the factory information suggests removing that race with a puller but, in practice, we know how difficult it can be to get the puller ears in the space provided, if any is provided at all. You can use a sharp chisel in an attempt to wedge the race over and, more than likely, you’ll be spending some time cleaning up the burrs.
- B. Another method is to use an air chisel against the bearing surface of the race with the hub held firmly in a vice, and drive the race away from the hub allowing for removal. As always, wear proper eye and hand protection, and be aware of any bystanders when chiseling.
2. Removing the bearing from the carrier is not an issue; remove the snap ring, and press or withdraw the old bearing.
3. Before you start the reassembly process, inspect and clean the parts. Look at the hub to be sure there isn’t a “step” on the shaft where the bearing rides. And, if you haven’t already done it, clean up the bearing bore in the housing, paying particular attention to the snap ring area where rust tends to build up.
4. When assembling, give your tools a break and apply a light coat of lubricant to the OD of the bearing and the housing before installing the bearing and snap ring.
5. Before installing the hub, be sure to install any shields that are behind the hub. We are warned not to press on the outboard inner bearing — that doesn’t change — the race has to be supported as the hub is installed; this is where the hub tools excel in the adapters provided. We find it easiest to have the hub on the press table and press the bearing carrier onto the hub, making sure the races are fully seated.
6. Reinstalling the knuckle will create no problems but, as the final step in the bearing replacement job, torque the axle nut to the recommended level. It has a wide span of 148–192 ft.-lbs., but it will let you get a better feel that the bearing and hub is properly seated rather than running it down with the impact gun.
Hyundai, like many other manufacturers, is moving toward bearing and hub assemblies, which will eliminate the need to dismantle the hub and bearing, and instead we’ll replace a “cartridge” with the bearing and hub factory assembled. It doesn’t affect us much and the job remains very similar, with the exception of removing the bearing and hub assembly. The only difference is to be sure that the bearing assembly is fully seated in the knuckle when you torque the bolts that retain it.


