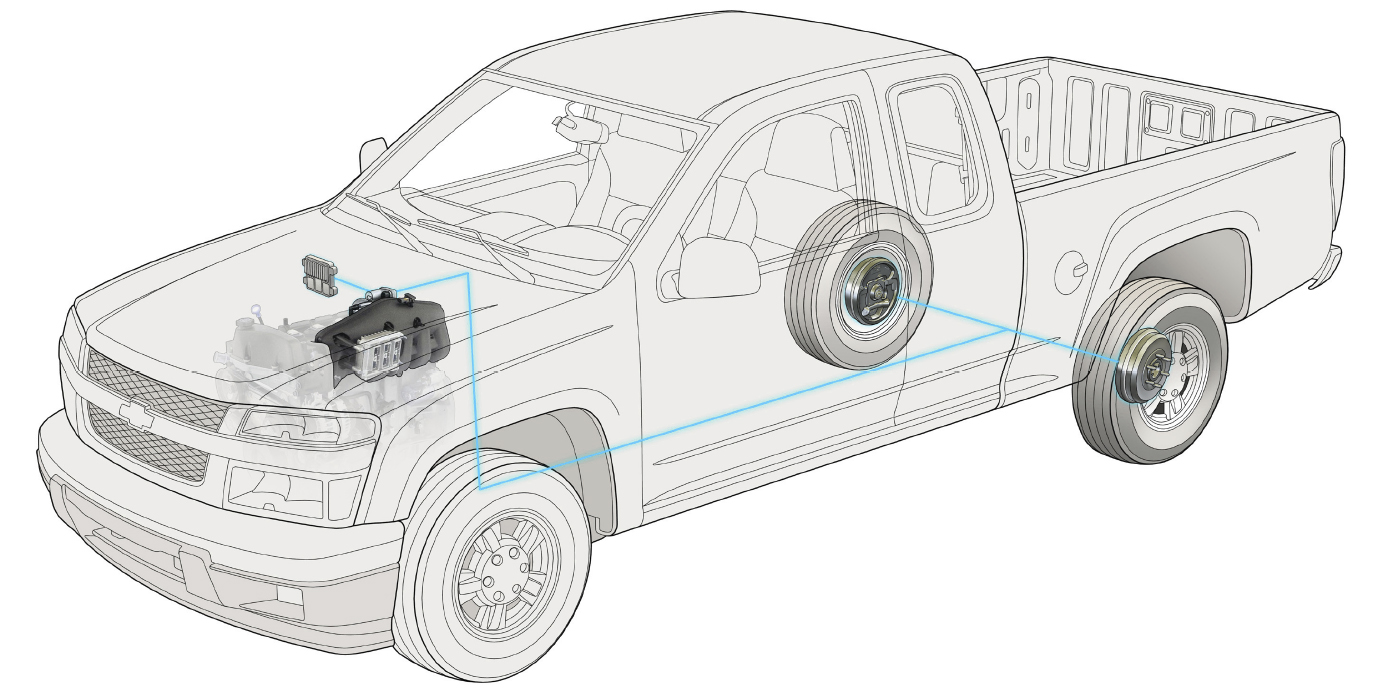
Wheel bearings have to operate under both vacuum and pressure. As a bearing heats up due to friction or the brakes, pressure builds up inside the hub. As the bearing cools down, vacuum or negative pressure is created. Pressure has to be managed so the grease stays in under pressure and contaminants stay out under vacuum.
A seal can keep a bearing sealed, but if it creates too much friction it can hurt fuel economy by increasing rolling resistance. To reduce friction, many seals are using new material and lip designs to seal the bearing.
As a rule, wheel bearing seals should never leak. Any signs of a current leak or previous leaks is a sign the seal has failed.
Materials
Some newer seals are fabricated using specialty compounds and proprietary materials. The materials can remain flexible under a wide variety of conditions and won’t be degraded by the grease inside the hub for many miles. The materials are also designed to withstand countless heat cycles.
Some might wonder if the color of the materials matters in the quality of the seal. This is difficult to answer because many suppliers use pigments to dye the material.
Designs
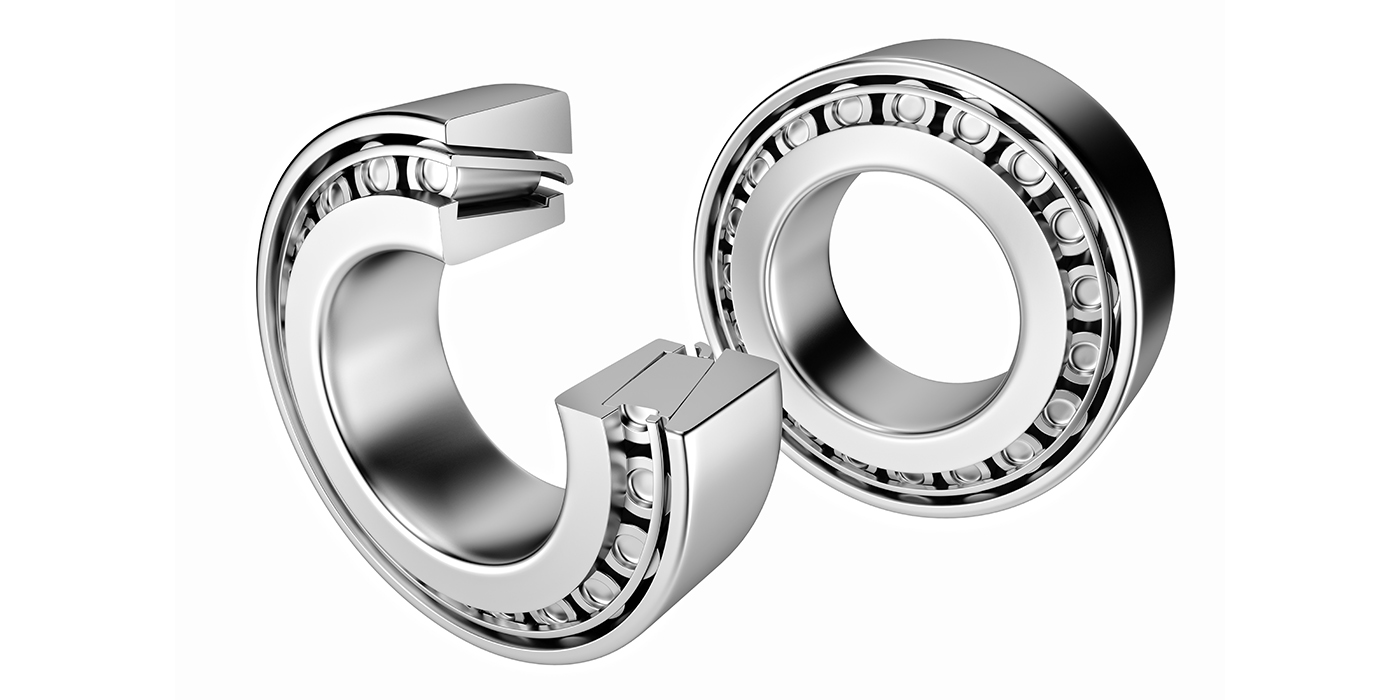
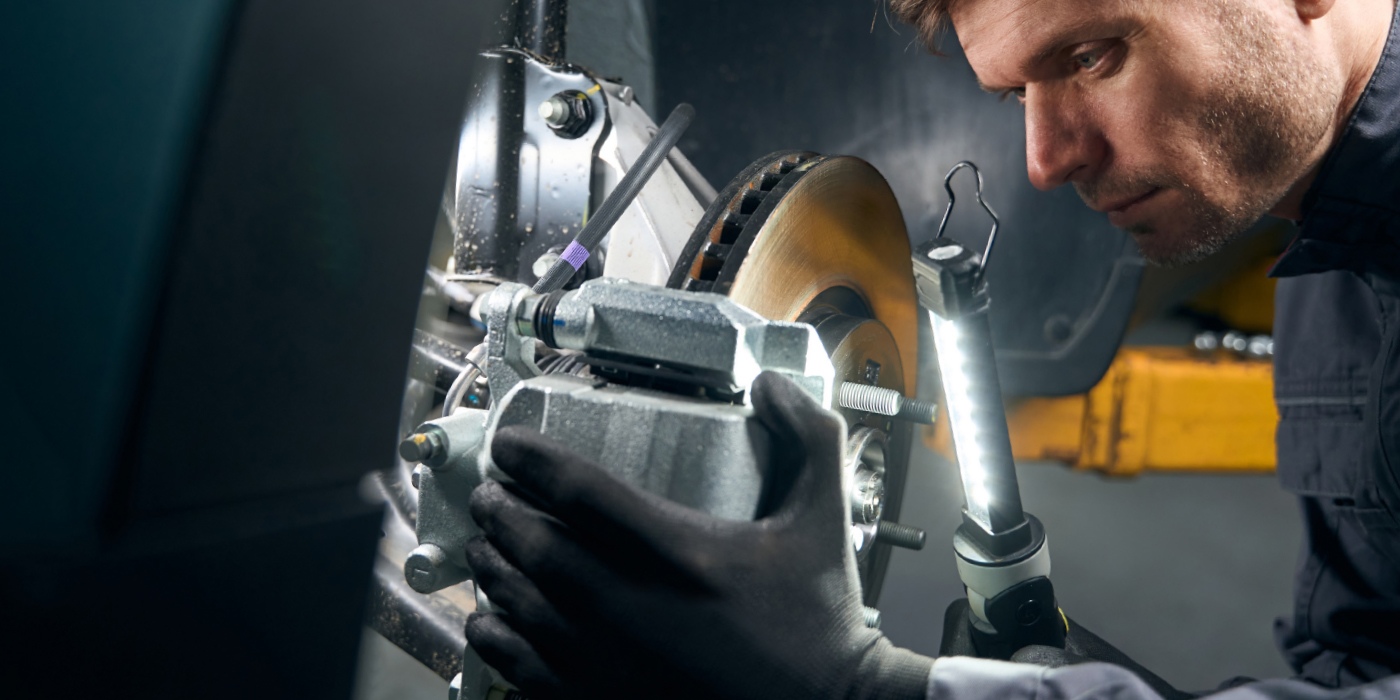
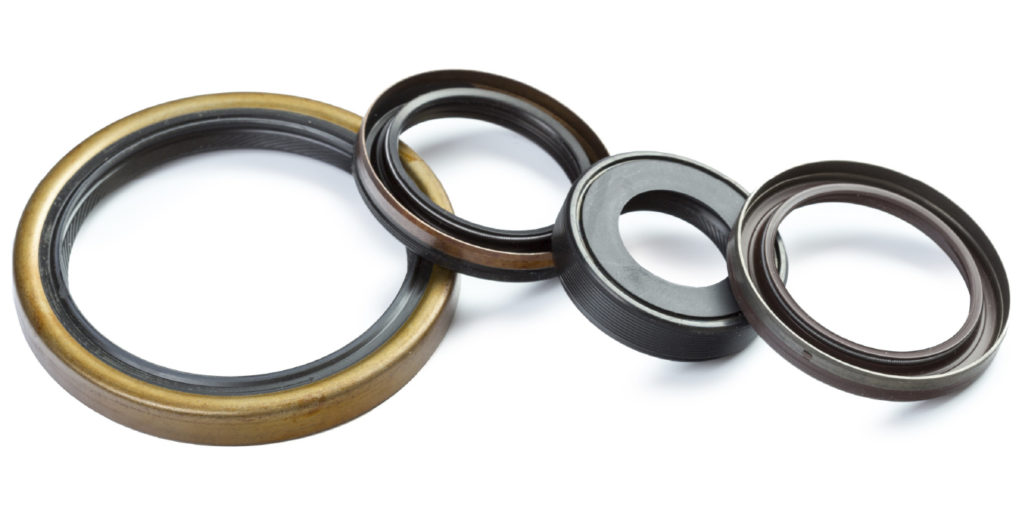
Most seals today are termed “lip seals,” as they have a lip that rides against the outside diameter of a shaft. This “rubber” (nitrile, polyacrylate, silicone, etc.) lip is bonded to a metal shell that fits into the bore of the component to be sealed. A garter spring fits in a groove behind the lip to help the lip maintain contact with the shaft. Sometimes, you’ll find a bead of sealer around the outside diameter of the shell to help seal the metal shell to the bore in which the seal is installed.
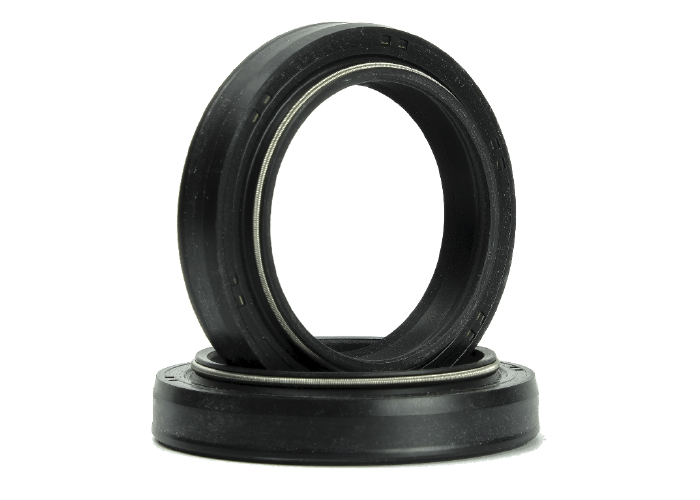
For some seals, the metal shell is completely covered with the same material from which the lip itself is made. Some lip seals include their own integral dust seal, which is a small, additional lip facing the outside of the shell. This small lip has no garter spring. Some bearing seal manufacturers are making seals that can have up to three different lips.
Installation
A seal must always be installed so that the sealing lip is facing the fluid to be sealed. This is because the lip is made so that pressure applied to it from the “wet” side of the seal will tend to increase the pressure the lip applies to the shaft. If the seal is installed backward, pressure acting on the “wrong” side of the lip will cause it to lift from the shaft, resulting in leakage. On most seals, the correct side is obvious; however, on others it is not.
Most seals are designed so that the “back” (side that faces the fluid) of the shell is open. The front is closed and may have a part number embossed on it. However, some seal shells are very symmetrical, and careful attention must be paid to the correct direction of the lip.
Some seals are even designed for a specific rotation. They may have an arrow on them to show the rotation. Directional seals may have small diagonal ridges near the lip. The ridges act as miniature “screw threads” to help divert fluid away from the lip as the shaft turns. Some seals are engineered with a sinewave in the lip resonating a pattern as the shaft turns. This helps squeeze the lip, push pump oil away from it, and reduce leakage.
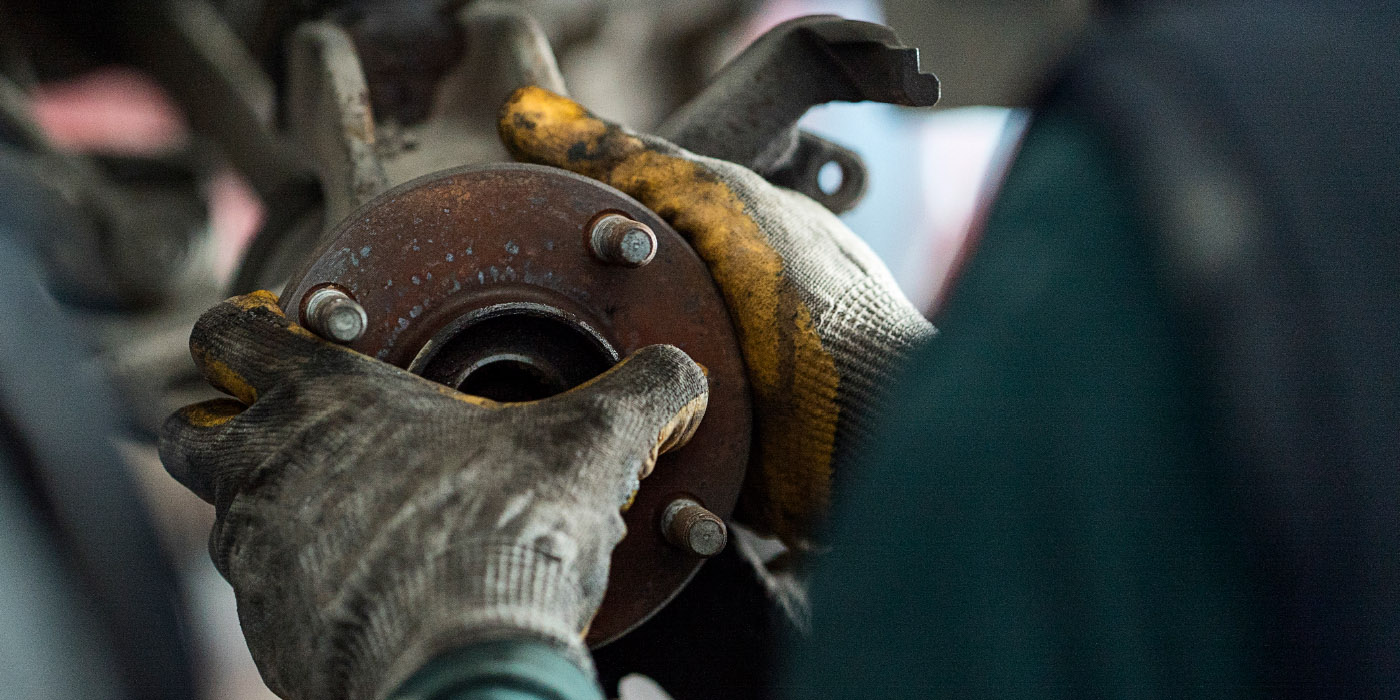
Once the seal is out, check the surfaces of the hub and spindle where the lip rides for damage. If the surface is scored, pitted or otherwise too rough for the new seal, you have several options. Minor scratches or corrosion can often be removed with emery cloth. Nothing more coarse than emery cloth should be used to dress up the surface. Sometimes, the lip of a hardened old seal will wear a groove into the sealing surface. If you can catch a fingernail in the groove after polishing the shaft with emery cloth, the groove is too deep and unacceptable. Replacement of the hub or spindle, whatever it is, could be very expensive, both in terms of the cost of the hub and the labor to replace it.
Check the seal itself to determine the cause of failure. If the seal is hard and/or worn, it’s simply a victim of age. If the lip of the seal is extremely soft and swollen, it may be a victim of non-compatible lubricants.
If the seal is relatively new, it may have been incorrectly installed. Installation failures include torn lips, dents from improper installation tools, misalignment, cocked installation, burr damage and a missing garter spring. Careless installation can cause the garter spring to dislodge from its groove. Also, check for signs of heat damage.
Next, make sure you have the correct seal. Check the fit on the shaft and in the housing. Before installing the seal, lubricate the lip with whatever fluid it’s going to work in. If the seal is installed dry, the lip will overheat as soon as the shaft starts turning.
Use a seal installer to tap the new seal in place. If the seal must be installed over a rough part of a shaft (such as splines) to get to where it belongs, wrap masking tape around the rough areas to prevent seal damage. Don’t hammer directly on the seal, and never use a punch or drift to install the seal. Denting of the seal’s shell by the punch can distort the lip and cause the seal to leak. Be sure to start the seal in the bore squarely, and drive it in squarely. Generally, the seal should be tapped in until it is flush. There are some exceptions, so it’s a good idea to check the depth before the old seal is removed.