Some magazines write about suspension modifications on some of the most mundane vehicles, BRAKE & FRONT END never takes the easy way out. When most people think about lowering springs and other modifications, they think of Asian imports shaking the fillings out of a young driver. You almost never think of a BMW 7 Series. While you may never see a 740 in your shop, much less a driver who would modify the suspension, the procedures and precautions are the same. Many of these steps can be applied to everything from Acura to Volvo. Also, the procedures apply to rejuvenating a suspension on an older vehicle, even if you are using run-of-the-mill parts.
BMW has been the performance marque of choice for several decades. While BMW makes it difficult to improve on the factory design — simply by building performance into the original products — there are, however, modifications that can be made. Changes in design for a specific purpose can enhance, rather than destroy, the overall capability of the factory components.
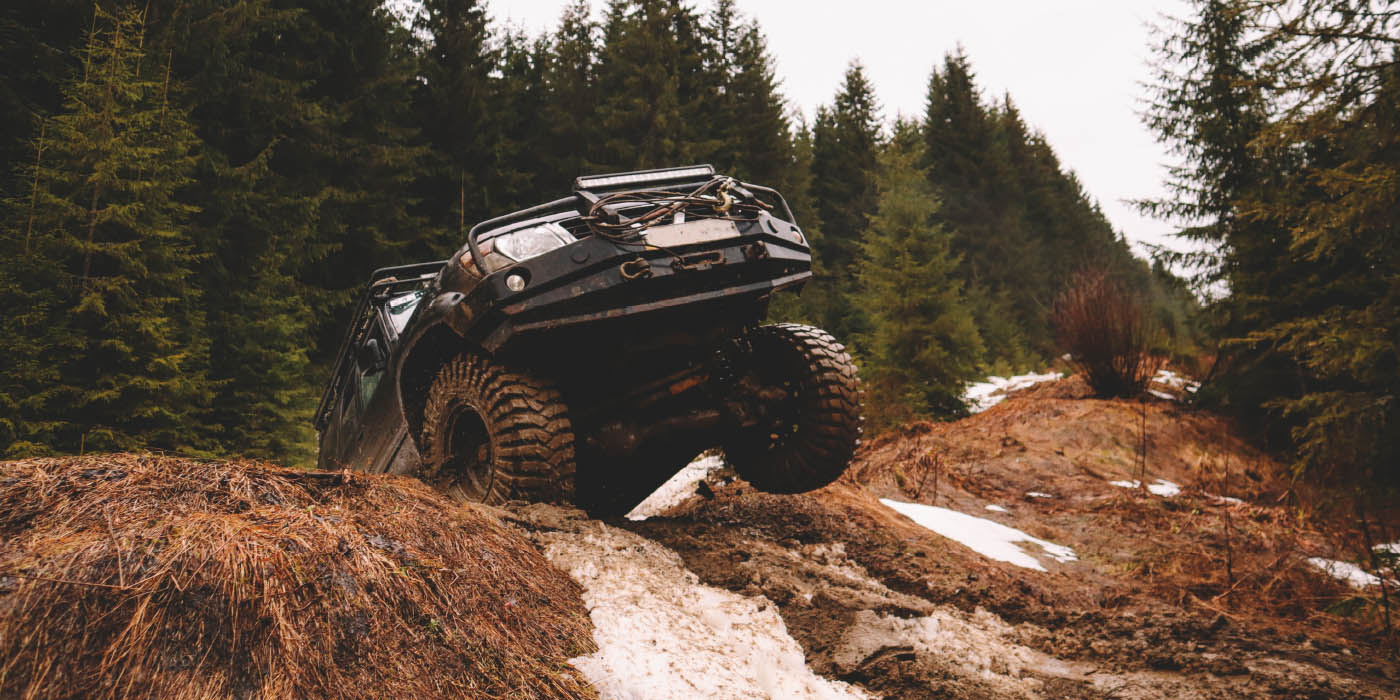
The car we are modifying for this article is a BMW 7 Series that has plenty of speed potential from its V8 engine, but is somewhat lacking in directional control with its soft factory suspension. There are numerous suspension kits available for this car, but the customer supplied the system of his choice to provide a means to lower the car and stiffen the suspension, while still delivering a decent ride.
The kit provided by the customer for this job included front and rear adjustable struts, springs, and larger front and rear sway bars. At the start, the time allowance seemed to be quite generous; however, as the job progressed and parts were removed, we noted that this job was not an easy do-it-yourself project.
FRONT SUSPENSION
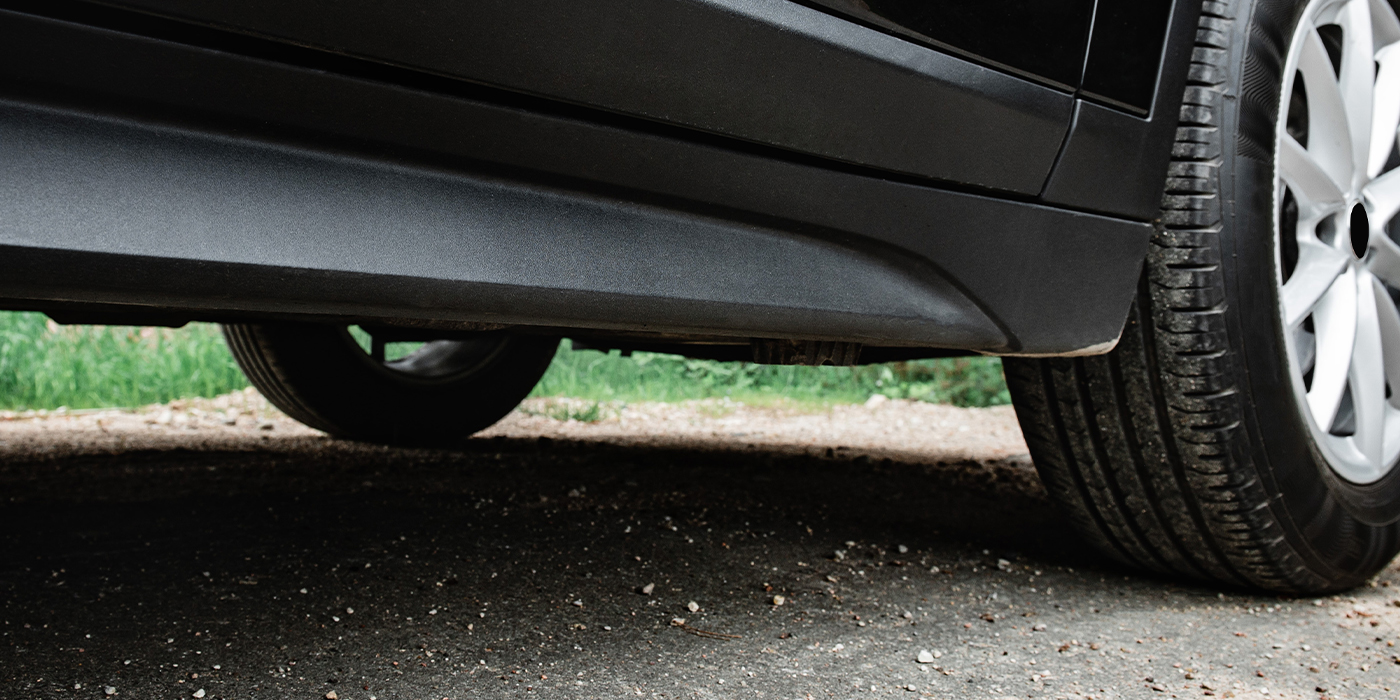
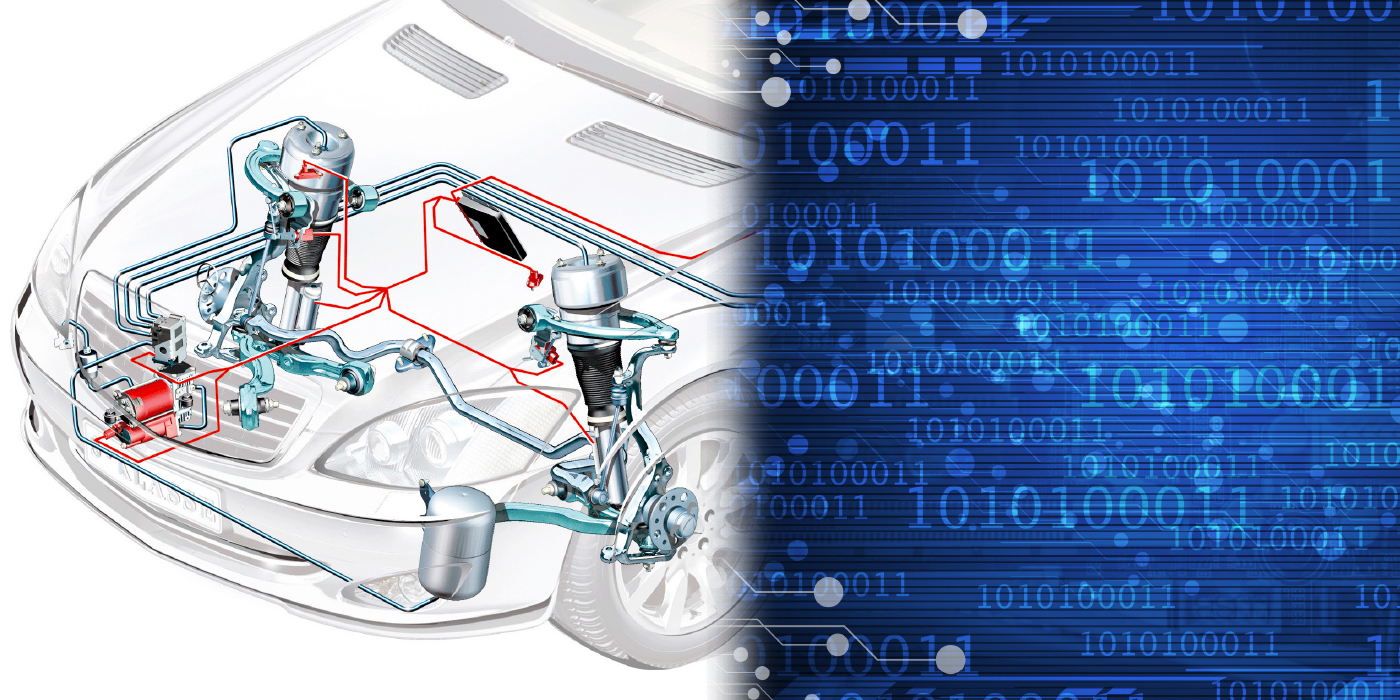
The 7 Series BMW has a multi-link front suspension that is quite complicated and takes up a lot of space. Due to the unibody design of this car, the suspension has to take some interesting forms to fit in the available space. The hardest component to replace turned out to be the sway (stabilizer) bar. Since we were replacing the struts as well, this was the time to make the sway bar change.
- We started this procedure by removing the wheels and brake calipers, and disconnecting steering components. Be sure to support components like brake calipers if you aren’t going to remove them completely. In this case, we were also installing stainless brake hoses, so the calipers were removed to make our job easier.
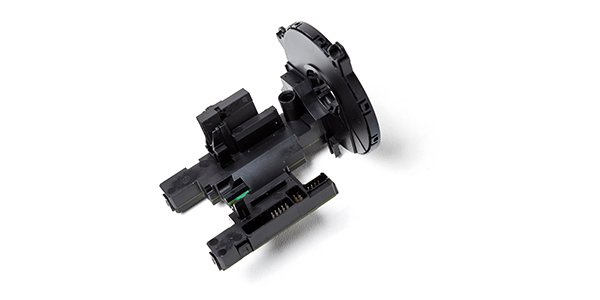
Disconnect or remove wiring harnesses attached at the wheel, such as ABS and lining sensors. Secure them out of the way.
Disconnect the sway bar push rods from the strut assembly.
Remove the strut assemblies. We left the steering knuckles attached to the lower control arms. Simply remove the upper mount nuts while supporting the strut, and remove the lower end from the steering knuckle.
You should support the engine from the top with an engine support bar as the engine mounts are tied into the axle support assembly, which will have to be lowered. You’ll need to remove some of the plastic engine covers to locate the lift points on the engine. Put just enough tension on the holding bar to maintain the position of the engine in the chassis.
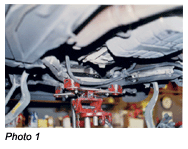
At this point, you just need to continue removing and disconnecting suspension and steering components to allow you to drop the front axle support (sub-frame) enough to allow for removal of the stabilizer bar. On 3 and 5 Series cars, this is fairly easy. On 7 and 8 Series cars, the bar makes a number of direction changes to miss other parts of the engine and suspension.
For this 7 Series, we found that (after removing the stabilizer bar mounts from the support), by lowering the subframe about two inches at the rear (see Photo 1) and twisting the bar, we could remove it without having to completely remove the suspension support. This step requires two techs — one to work the old bar out and one to work the new bar in.
We put the struts in our wall-mounted strut spring compressor and removed the upper plates from the old suspension. Because the new struts are adjustable, the spring compressor wasn’t needed to assemble the new units.
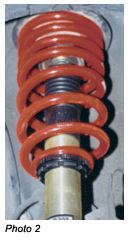
A good starting point on ride height is to put the lower spring plate nut in position about in the middle of the adjustment range (see Photo 2). This customer was heading to the tire store next, so we wanted to leave as much adjustment as possible to allow for the new rubber.
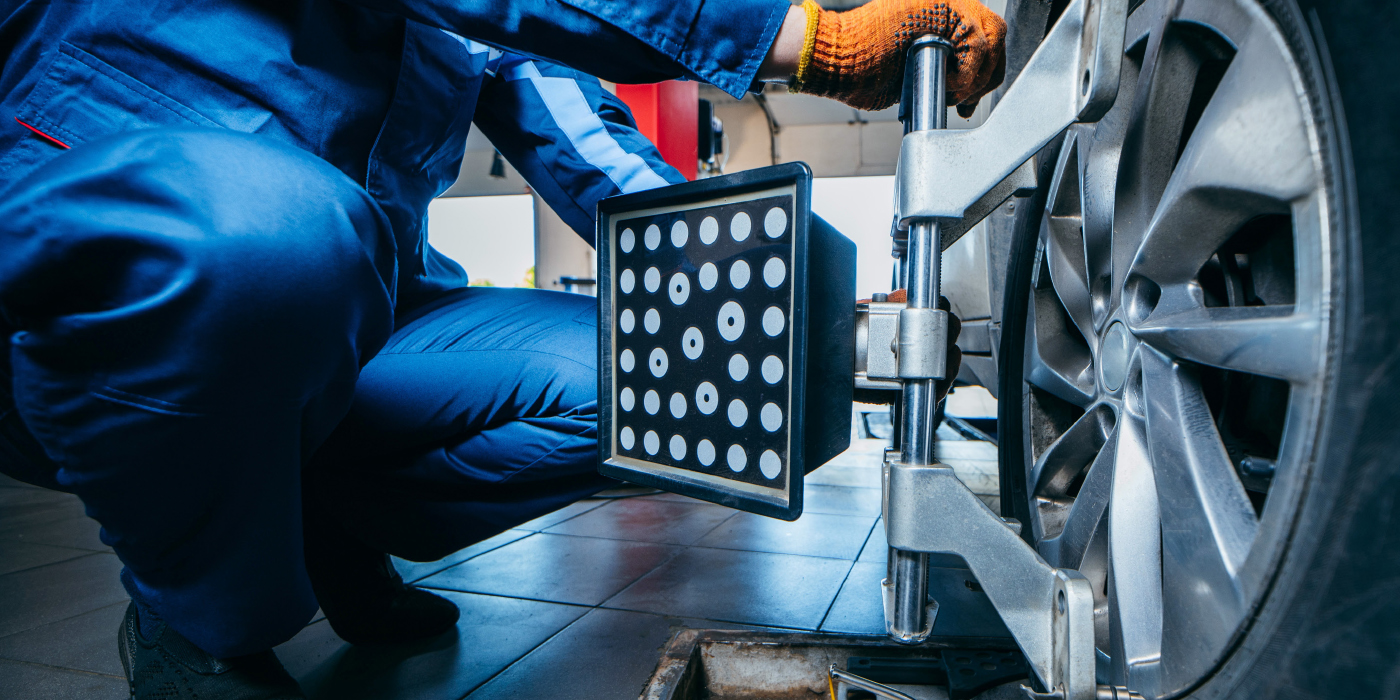
. Use care when reassembling the suspension components. Adhering to torque specs and proper bushing lubrication recommendations set by the OE and aftermarket manufacturers can prevent complaints about noise later on.
When reinstalling wiring harnesses and brake lines, be sure to secure them properly to allow adequate clearance on turns.
 REAR SUSPENSION
- The starting point on the rear suspension takes you inside the car. The upper rear strut mounts are under the parcel shelf. The rear seat backs need to be removed, as well as the parcel shelf. This can be a challenge depending on how many options are on the car.
In this case, there was a rear window blind that required some very delicate handling to remove. We still had to replace part of the linkage when too much force was applied. There are too many variables on the removal process to go into in this article; just be sure to read through all of the removal procedures before you start.
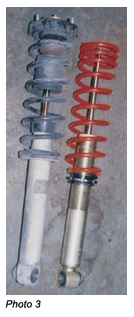
With access to the upper mounts, the rest of the rear strut and sway bar replacement is pretty routine. This is a basic coil-over strut unit (see Photo 3), and replacement is about the same as most others. Special procedures will apply if the car has electronic ride control. The car we were working on didn’t have the self-adjusting feature.
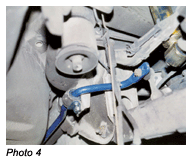
The rear sway bar is very easy to remove compared to the front one described earlier. Just disconnect it at the connecting links and remove the bushing retainers (see Photo 4).
Again, adhere to the instructions for torque values and lubrication.
FINISHING UP
Upgrading a car for a customer or personal preference can be rewarding — or it can turn into a never-ending battle to regain the compromises of the original design. As long as cars have been available, modifications and tinkering have been a part of the story. I’ve learned from others, as well as from personal experience, that taking small steps in upgrades is preferable to making major changes that can’t be easily reversed.
Just a final note: We never did get a report back from the customer on the handling improvement with the new suspension. He managed to drive the car into a wall at the first track session he attended.
Maybe performance driving lessons should be the first step in performance upgrades!