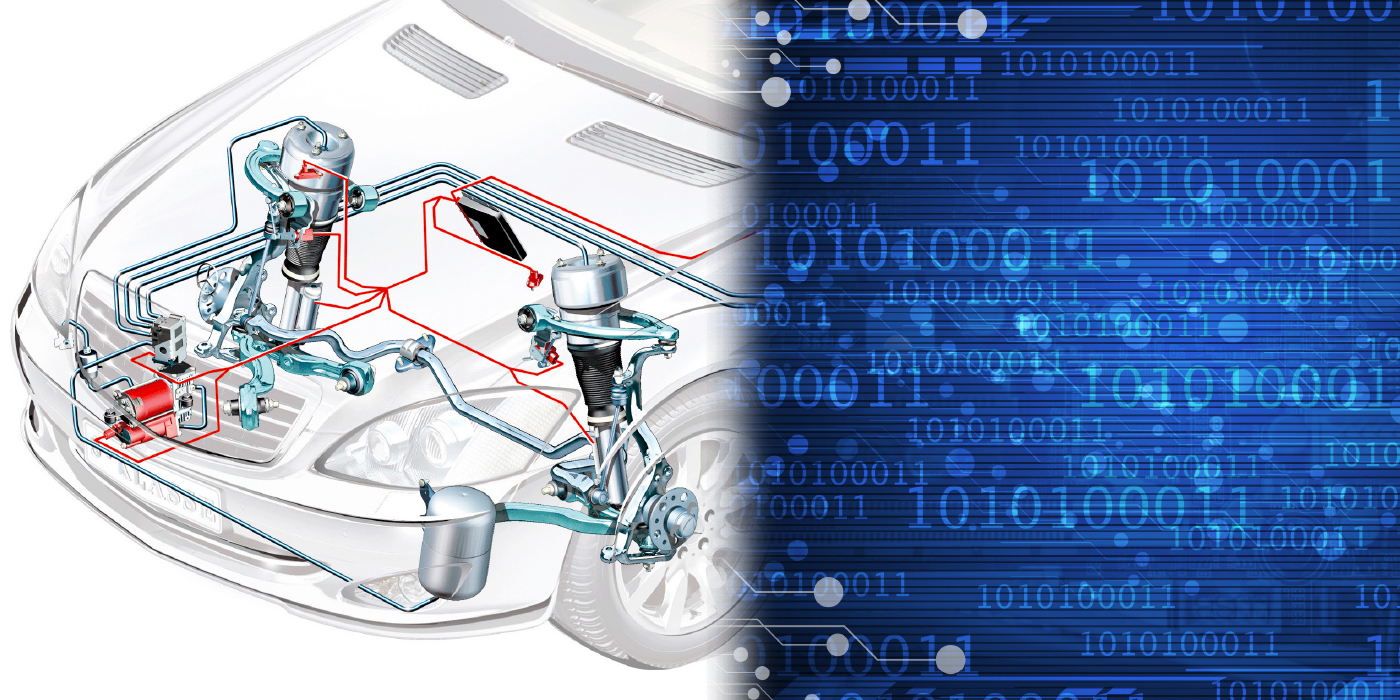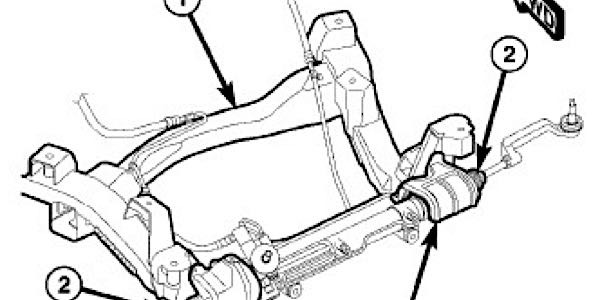
Model: 2010 Chrysler 300 LX
Condition
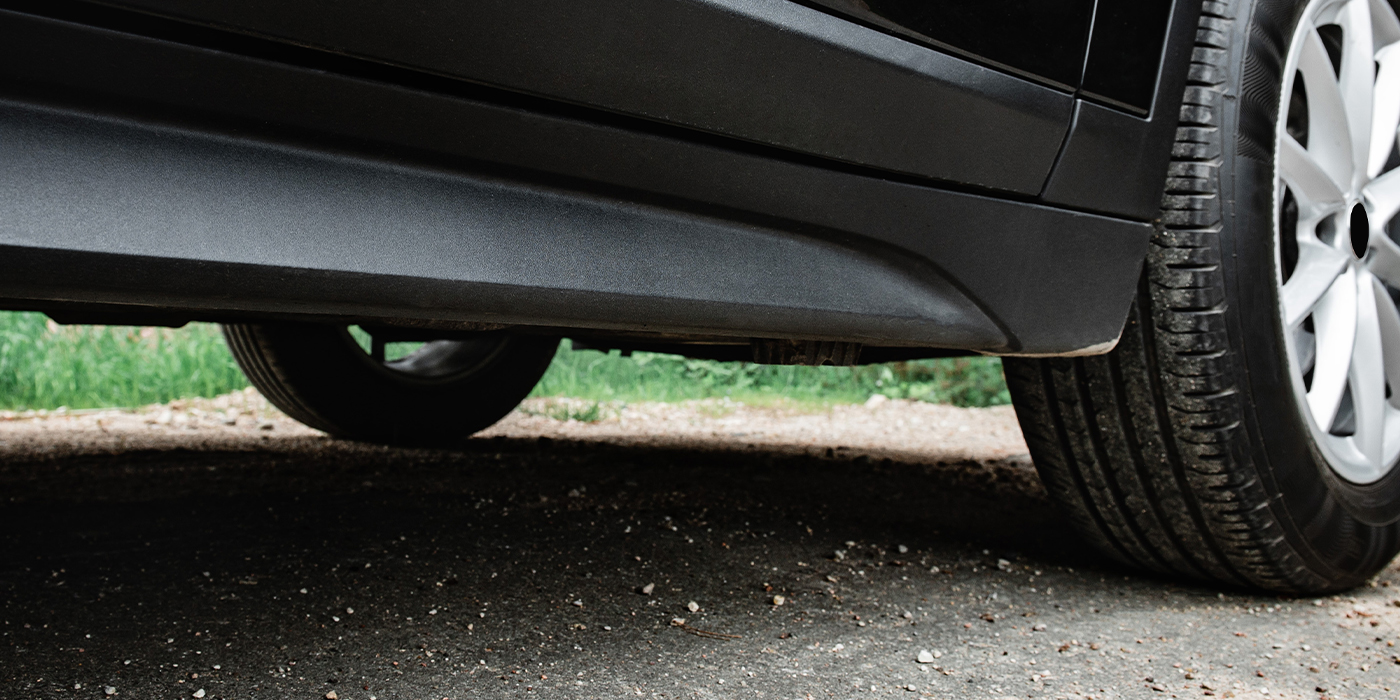
Customer states that there are rattles or clunks from underneath the vehicle.
Correction
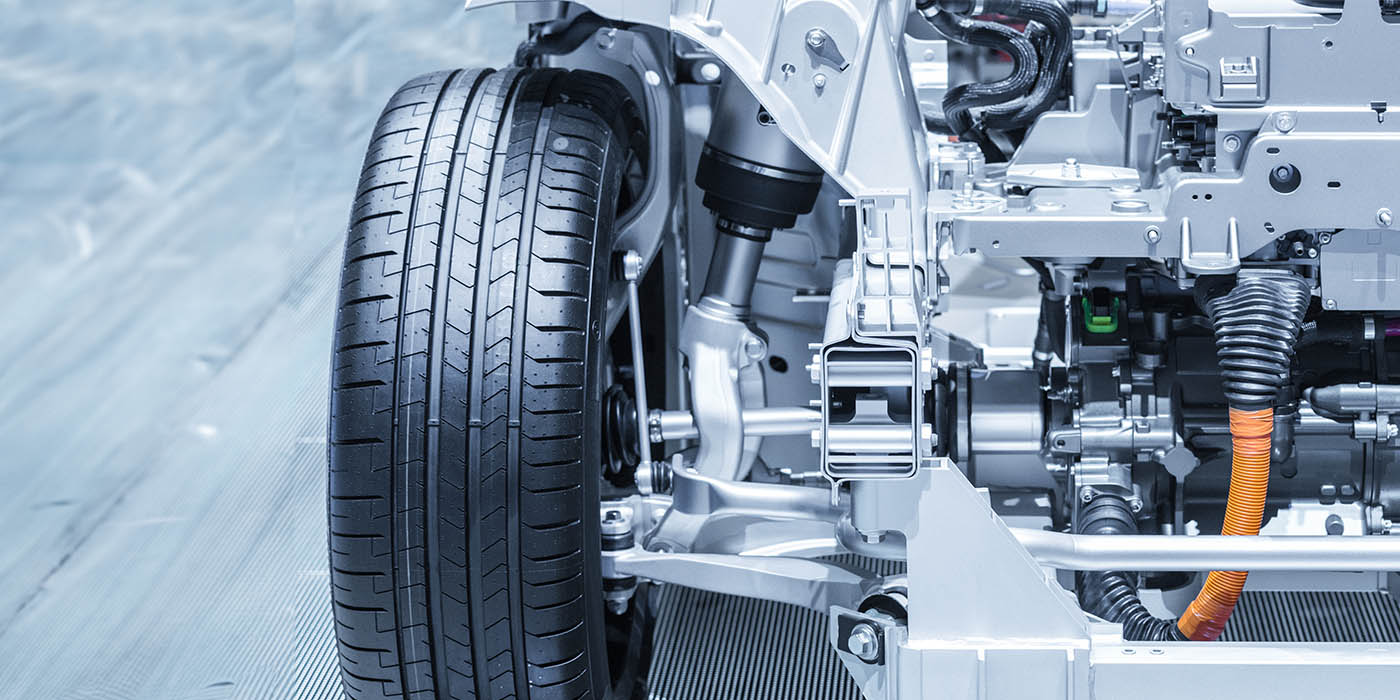
Check outer and inner tie rods for excessive play, and replace if needed.
Diagnosing Outer Tie Rods
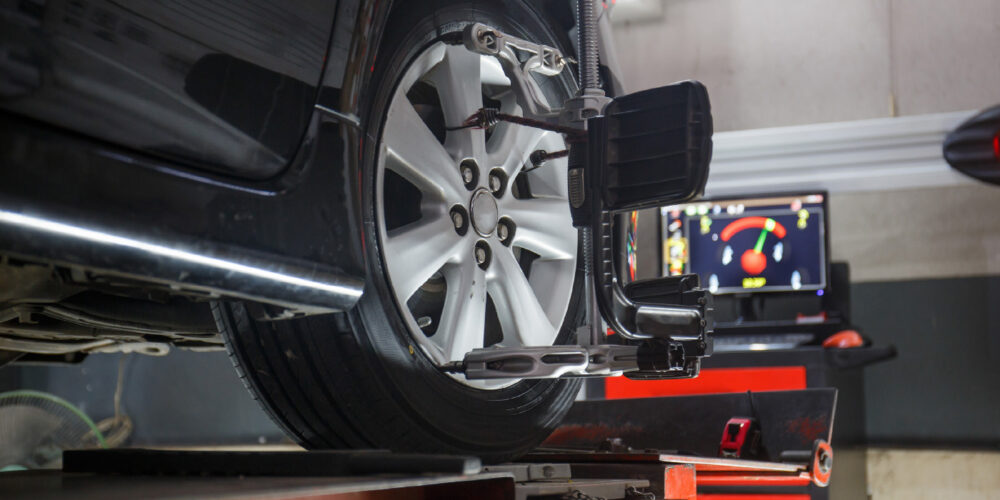
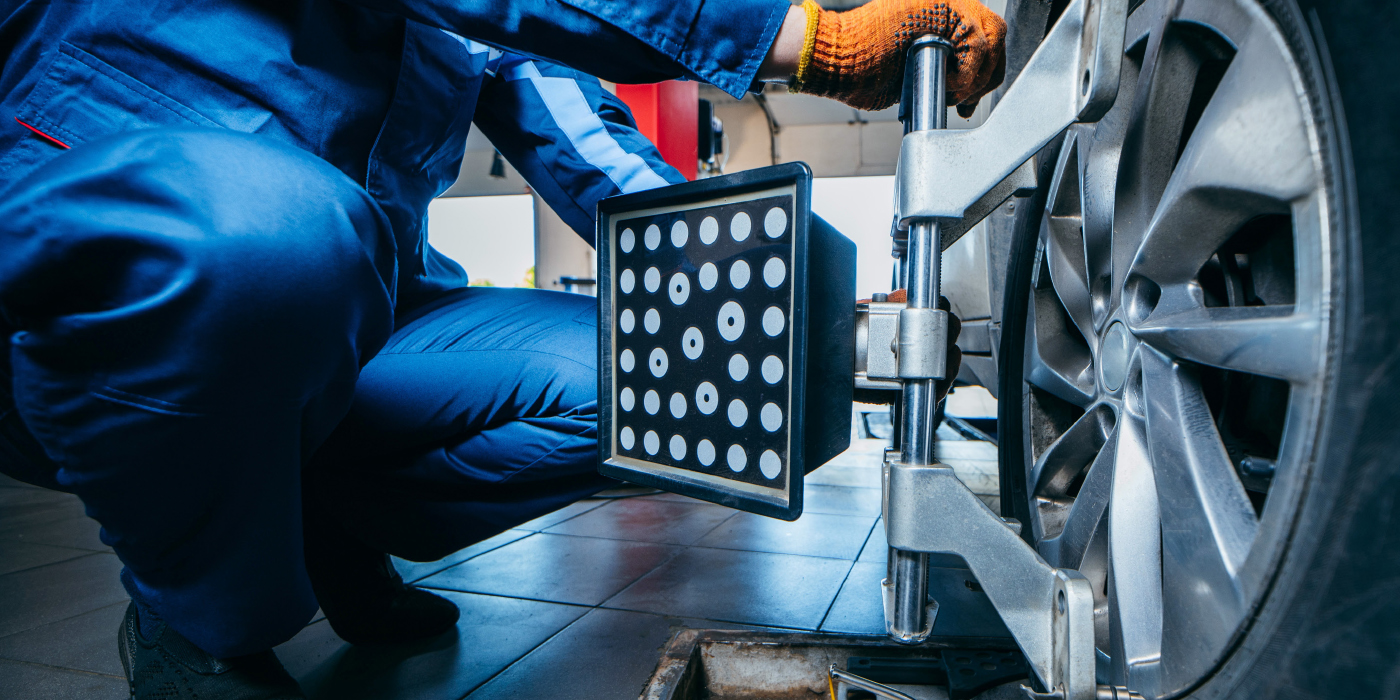
1. Raise and support the vehicle.
2. Remove the front wheels.
3. Install two standard wheel mounting nuts, flat side to rotor, diagonally opposite each other on the rotor.
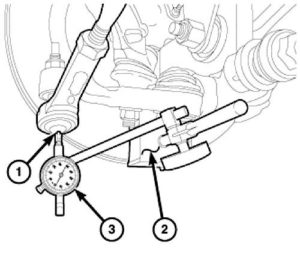
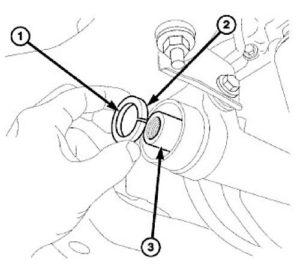
4. Attach a magnetic dial indicator (2) to the inside of the brake rotor, then align the dial indicator’s contact pointer (1) with the direction of the stud axis and touch the outer tie rod.
5. Zero dial indicator (3).
NOTE: When checking free-play, DO NOT rotate the tie rod. Just because a tie rod rotates easily does not mean that it is necessarily faulty. Using more than light hand pressure will result in a false reading.
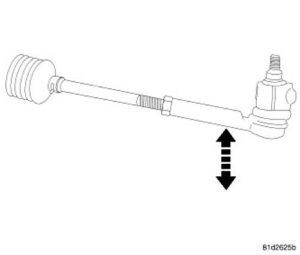
6. Grasp the outer tie rod near the ball stud and attempt to move the tie rod straight up and down using light hand pressure (less than 10 lbs. of force).
7. Measure and record any tie rod free-play movement.
8. Remove the magnetic dial indicator.
9. Remove the standard wheel mounting nuts from the two studs.
10. If the free-play in the tie rod exceeds 0.05 mm (0.002 in.), replace the outer tie rod. If the free-play is less than 0.05 mm (0.002 in.) at the outer tie rod, check the inner tie rod for free-play. See the following procedure.
Diagnosing Inner Tie Rods
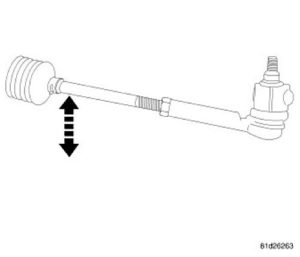
NOTE: Always check and repair (if necessary) outer tie rod free-play before checking inner tie rod free-play. False results can otherwise be obtained.
1. Grasp the inner tie rod near the steering gear bellows and attempt to move the tie rod straight up and down. If any free-play is felt, replace the inner tie rod.
2. If no free-play is felt, install the front wheels.
3. Remove support and lower the vehicle.
Replacing Outer Tie Rods
1. Raise and support the vehicle.
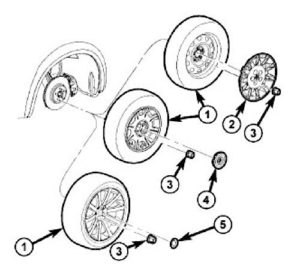
2. Remove wheel mounting nuts (3), then front tire and wheel assembly (1).
CAUTION: When loosening jam nut and rotating inner tie rod, use care not to twist bellows at inner tie rod. Remove clamp at inner tie rod and make sure bellows move freely before rotating inner tie rod.
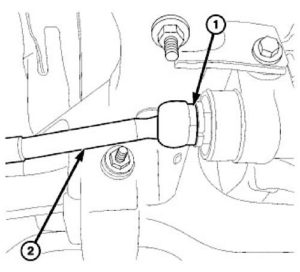
3. Loosen tie rod jam nut (3) at outer tie rod (5).
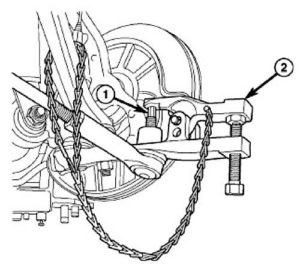
4. Remove outer tie rod end nut (1) at knuckle (2).
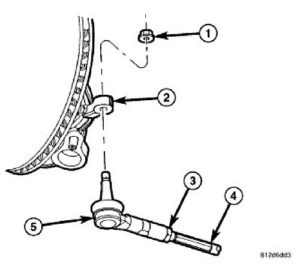
5. Using remover (2), separate the outer tie rod end (1) from the knuckle.
6. Unthread the outer tie rod from inner tie rod. Count the number of turns when removing the outer tie rod. This will give you a good starting point when reassembling and when setting toe.
Replacing Inner Tie Rods
1. Remove the outer tie rod.
2. Remove the tie rod jam nut from the inner tie rod.
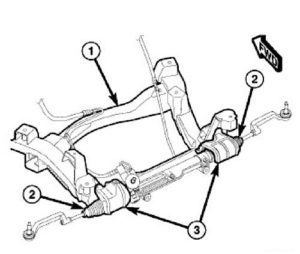
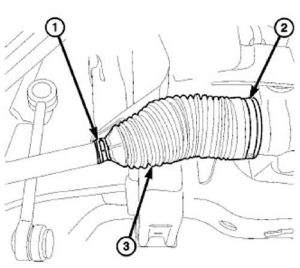
NOTE: If equipped with AWD, it may be necessary to remove the heat shield (3) above the inner tie rod bellows (2) to allow better access to the bellows clamp.
3. Remove the clamp (1) securing the bellows (3) to the inner tie rod.
4. Remove the clamp (2) securing the bellows (3) to the steering gear body.
5. Remove the bellows (3).
6. Install appropriate inner tie rod removal tool on inner tie rod hex (1).
CAUTION: If the inner tie rod cannot be removed using specified tools, do not use a hammer or heat to loosen. Damage to steering gear will occur. Replace the entire steering gear.
7. Unthread and remove inner tie rod (2).
8. Remove the travel restrictor (2) from the rack gear (3).
Courtesy of MotoLogic.