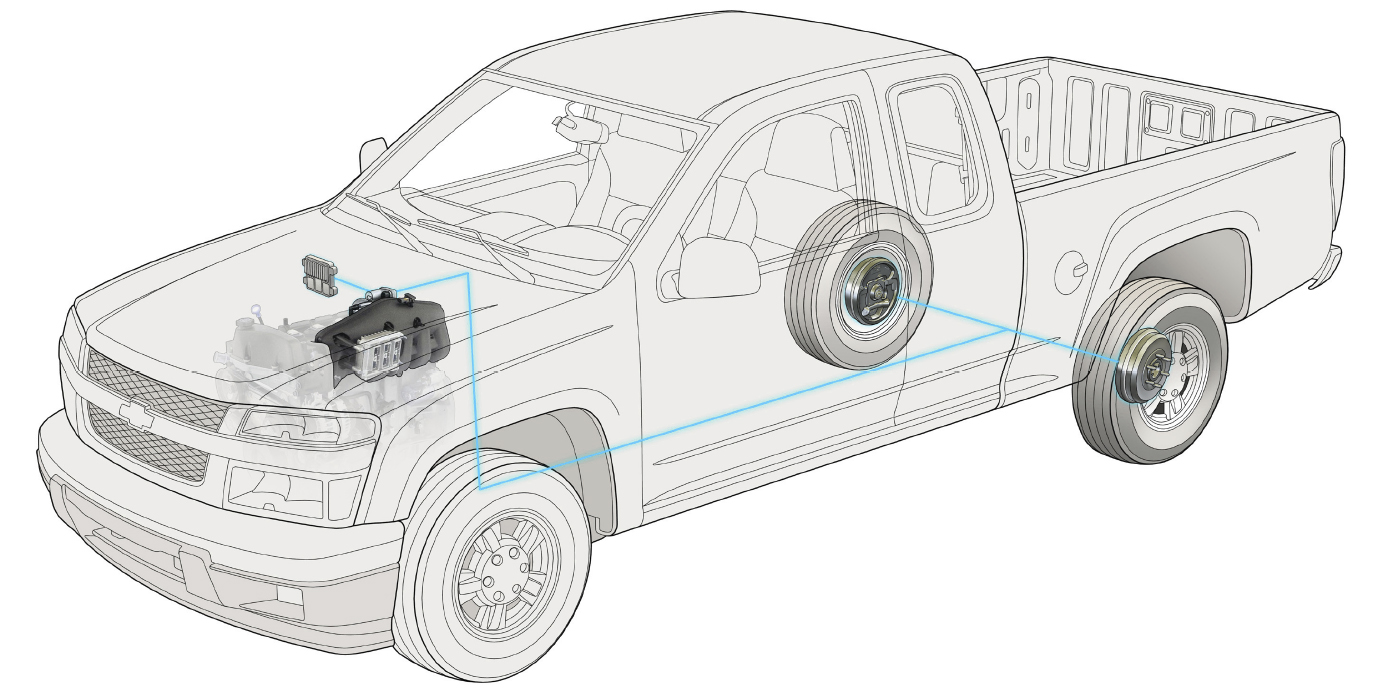
Use this bulletin to service a 1998-2000 Quest if the vehicle’s front brakes make a loud, low-frequency groan/grind noise when stopping. The groan/grind addressed by this bulletin may occur at normal operating temperatures and is not a “creep groan.” A creep groan occurs when the brakes are released slightly and the vehicle creeps forward.
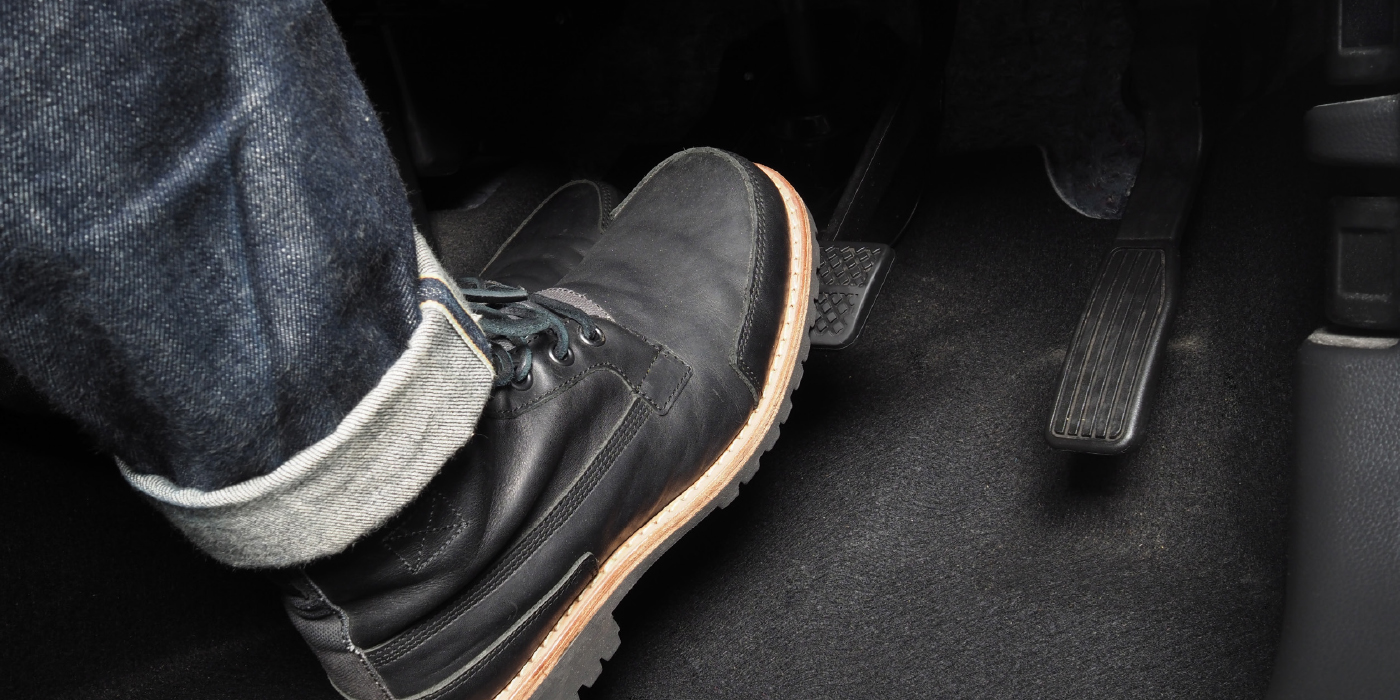
The noise, if it occurs, should be duplicated during a test drive in normal traffic conditions by applying the brakes several times, using light to moderate pedal pressure. If this groan/grind noise occurs before coming to a complete stop (i.e., it’s not a creep groan described above), use this bulletin to resolve the incident.
The cause may be due to frequent brake application over long periods, which heats the front rotors to high temperatures. These high temperatures may cause glazing of the rotor surface and brake pads. If this glazing has occurred, improved brake pads are available to reduce this low-frequency groan/grind noise.
Service Procedure:
1. Verify that the noise can be duplicated during a test drive by applying the brakes several times in normal traffic conditions, using light to moderate pedal pressure. Be sure that the noise is generated by the front brakes.
- If this incident occurs before the vehicle comes to a complete stop, continue with step 2.
- If the condition can’t be duplicated or occurs when slightly releasing the brakes after a stop, this bulletin does not apply.
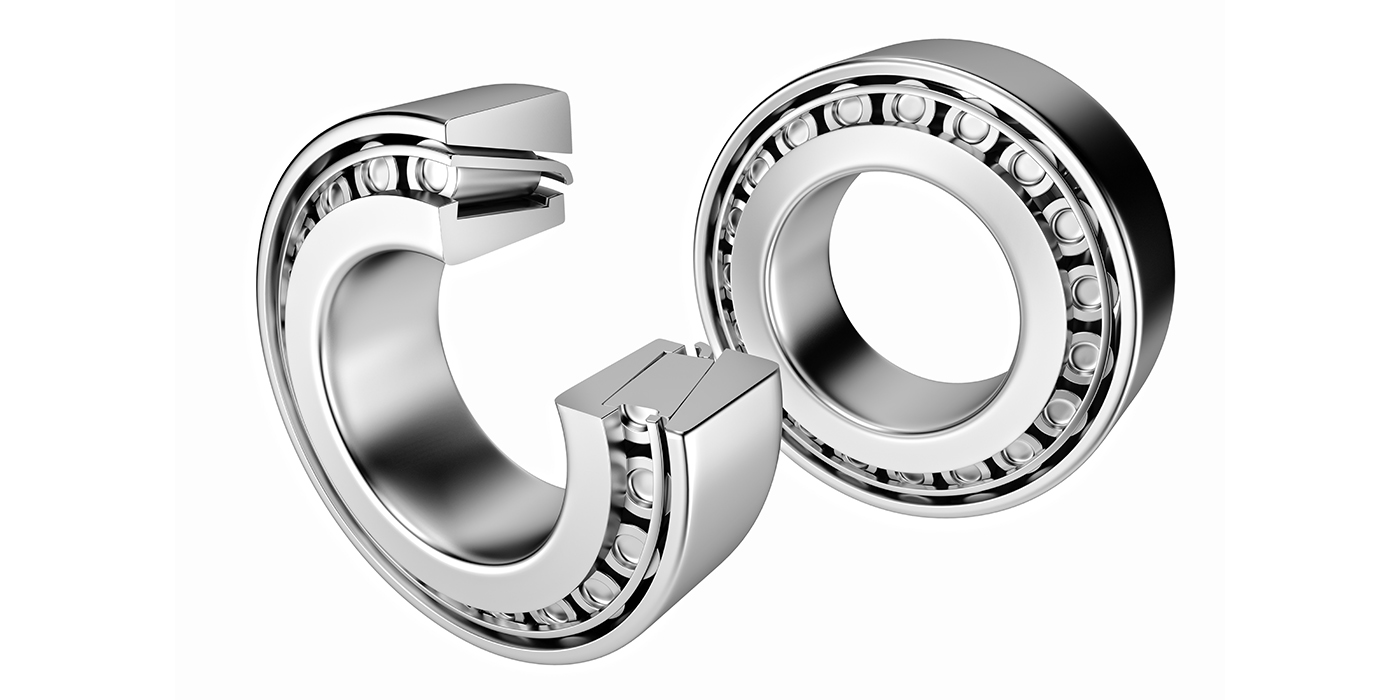
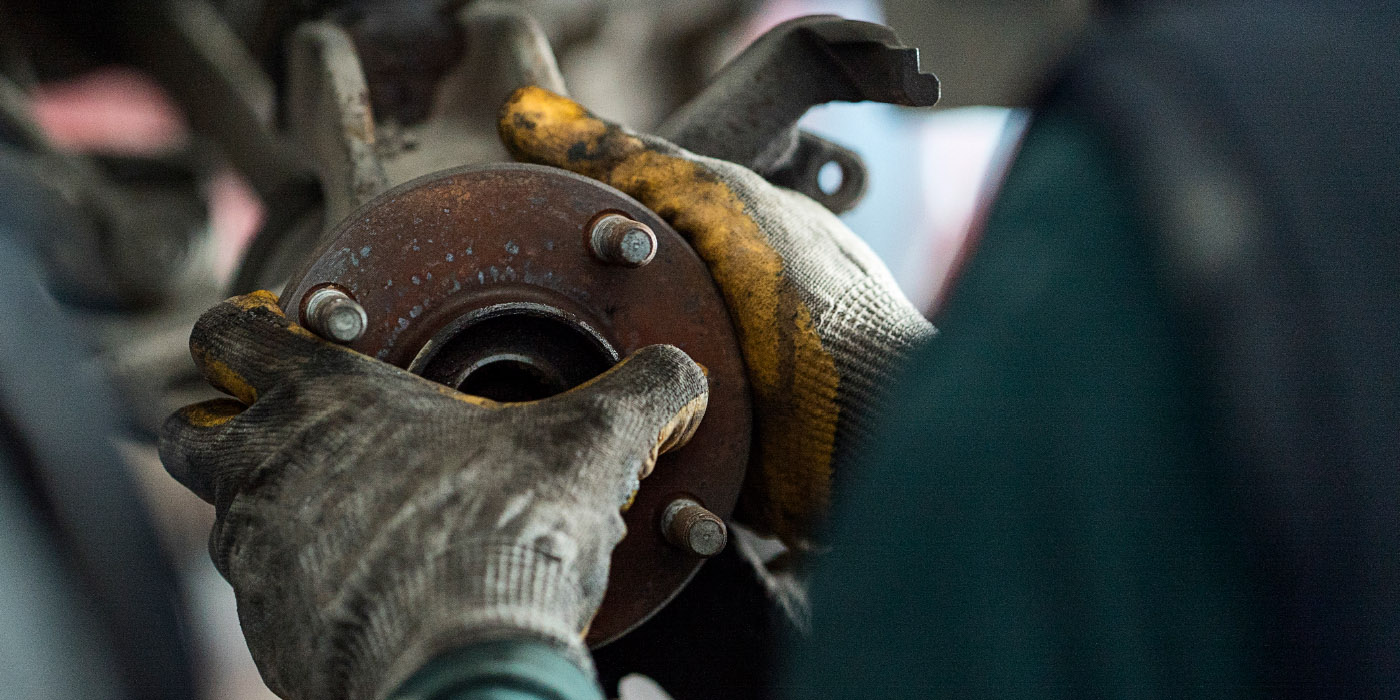
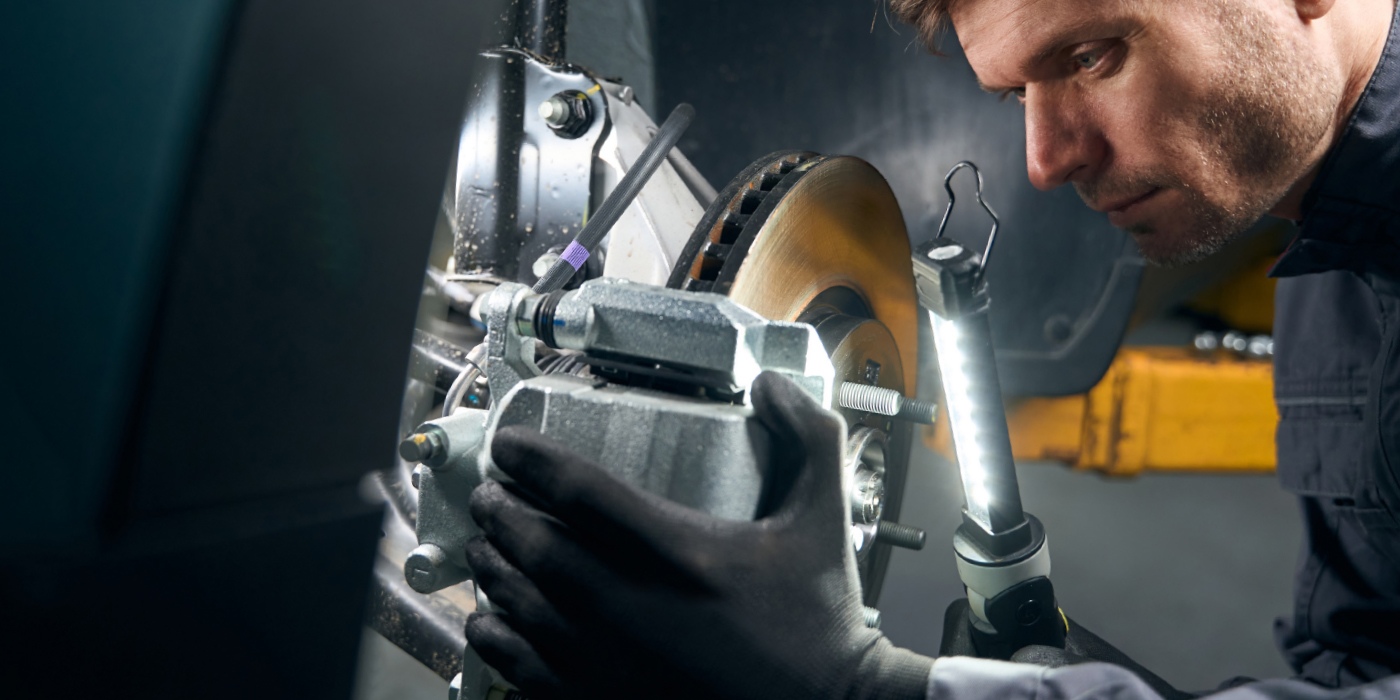
2. Resurface the front rotors. This is an important step to prevent and eliminate brake noise.
- Apply slow cuts with sharp cutting tools to produce a smooth rotor surface finish. Dull bits produce a poor cut, which leaves a rough finish that can cause noise.
- Hand finish the newly turned rotor surface with a non-directional swirl pattern using #150-180 grit aluminum oxide sandpaper. This improves the rotor surface finish and helps to further reduce noise.
- Make certain that no grease or metal particles remain on the rotor. Use brake cleaner only for removing grease smudges from the rotor surface.
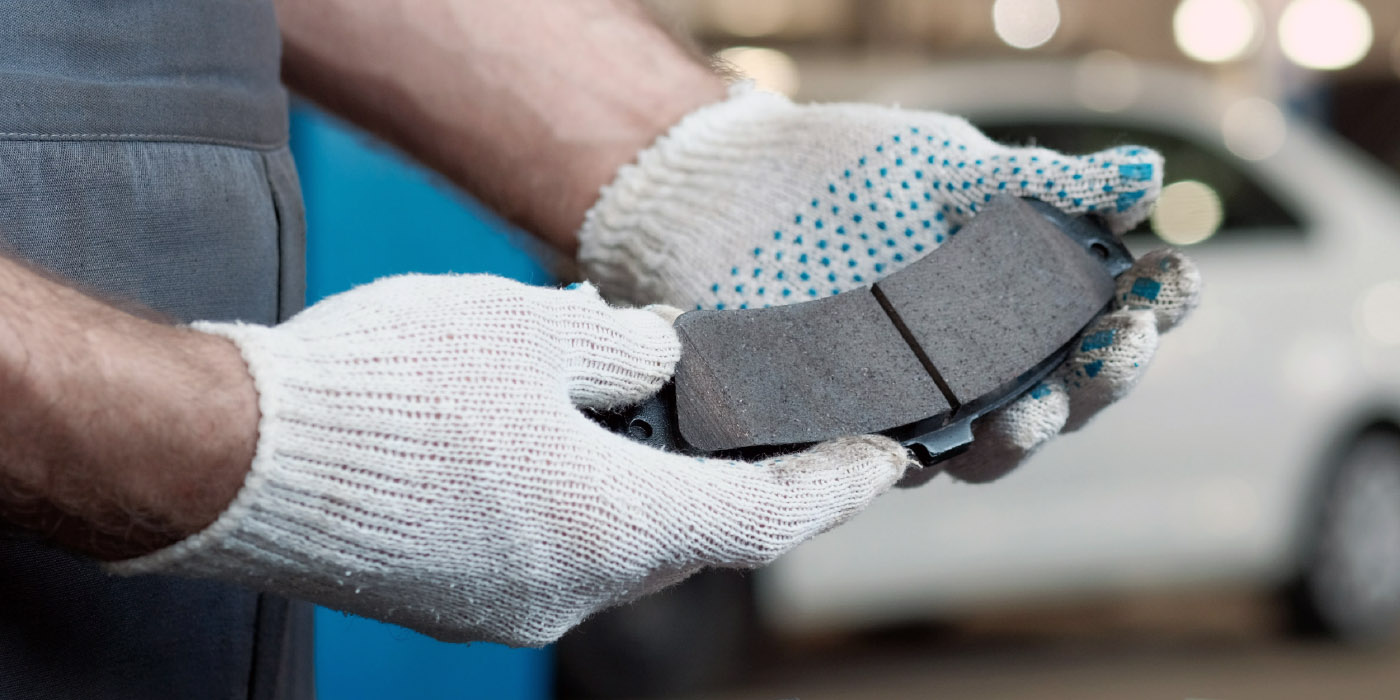
3. Properly install the new pads (Pad Kit, P/N 41060-2Z025) and shims (if required) following the instructions in the brake section of the applicable service manual.
 Apply PBC grease (P/N 99990-00939) to the facing edge of the piston and to all facing surfaces between the piston and pad. This will help dampen noise-causing vibrations. Caution: Do not get grease on the pad friction surface. If you do, wipe it off immediately with a clean shop rag, then sand the pad friction surface with light-grit sandpaper.
- Lubricate the slide pins with silicon grease (P/N 999MP-AB002) and confirm smooth movement of the calipers.
4. Torque the lug nuts to 98-118 Nm (10-12 kg-m, 72-87 ft.-lb.) using a torque wrench. Caution: Do not use an impact wrench to tighten the lug nuts.
5. Perform the following post-installation checks.
- Confirm that the brake pads fit snugly in the calipers. Replace worn components as necessary.
- Test-drive the vehicle after the installation. Proper burnishing will influence the brake performance including noise.
Burnish brakes as follows:
1. Drive the vehicle on a straight, smooth road at about 30 mph.
2. Use medium brake pedal/foot effort to bring the vehicle to a complete stop from about 30 mph. Adjust pedal/foot pressure so that the vehicle stopping time is three to five seconds.
3. Cool the brake system by driving at about 30 mph for approximately one minute without stopping.
4. Repeat steps 1 to 3 between three to five times to complete the burnishing process.
5. Confirm the procedures described in steps 2-5 above have been strictly followed. This will ensure customer satisfaction, safety and proper brake performance.
Technical service bulletin courtesy of Mitchell 1.
For more information on Mitchell 1 products and services, automotive professionals can log onto the company’s website at www.mitchell1.com.