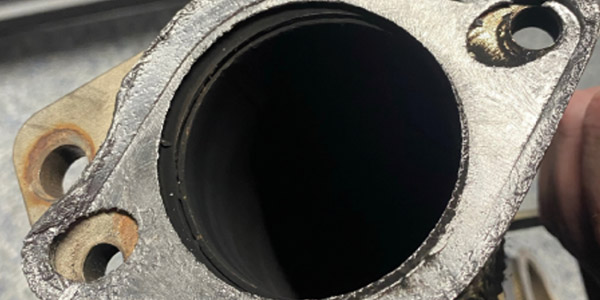
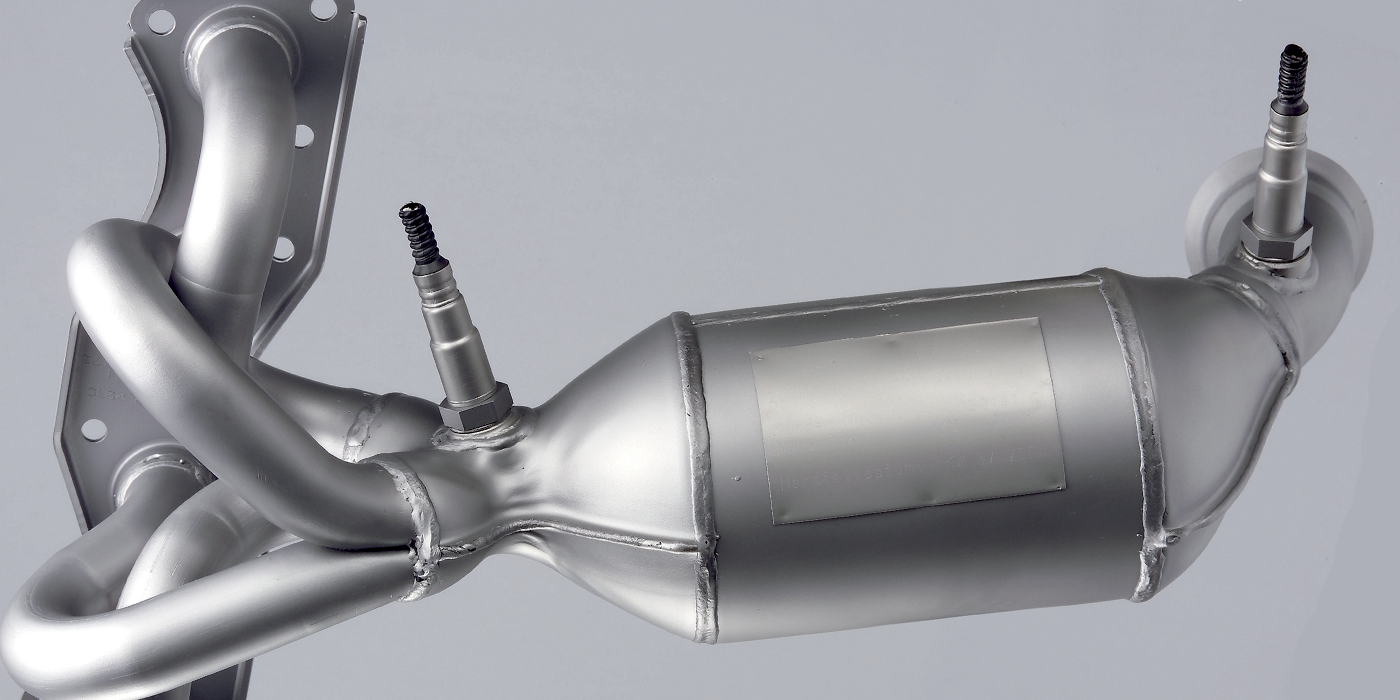
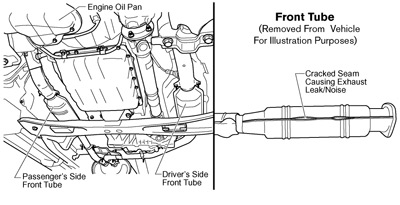
If you confirm that a 2002-’03 Pathfinder has an exhaust leak or noise coming from the front tube(s), inspect both front tubes for cracking at the welded side seams.
Note: The front tubes may look like catalysts, but they are not catalysts by design.
Service Procedure:
 Caution: Be careful when performing the following service procedures as the exhaust system can be hot.
Note: You do not need to remove the front tubes from the vehicle to perform the inspection or to install the repair kit.
1. Inspect both front tubes for cracking at both welded side seams. See Fig. 1.
a. If there is cracking, apply the repair procedures in this bulletin to both front tubes.
Important: Read step “b” below before you start the repair.
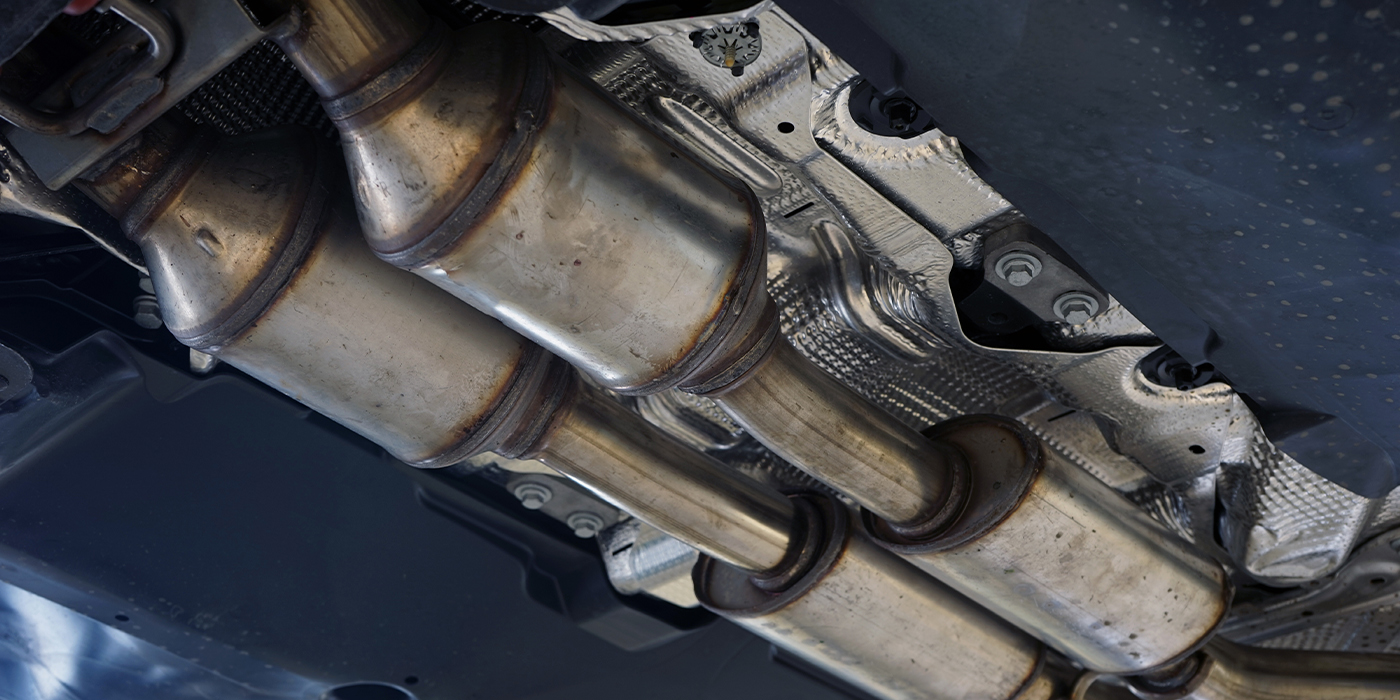
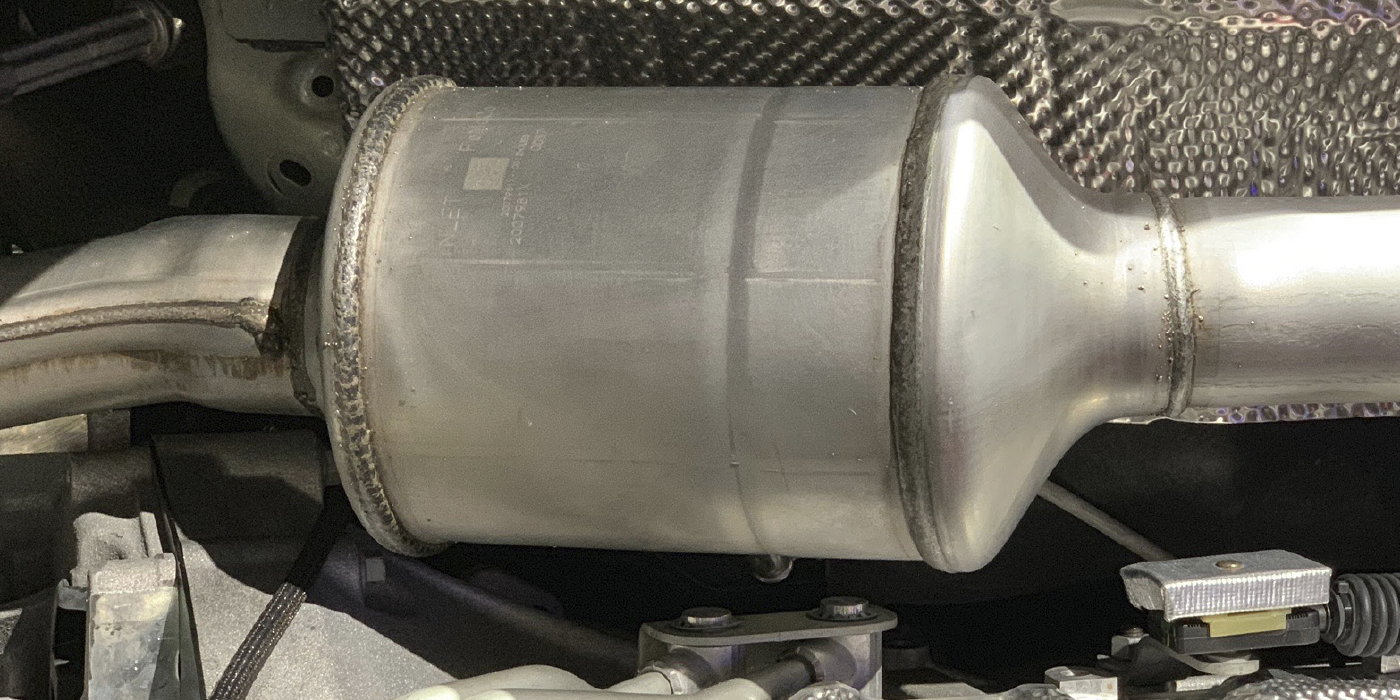
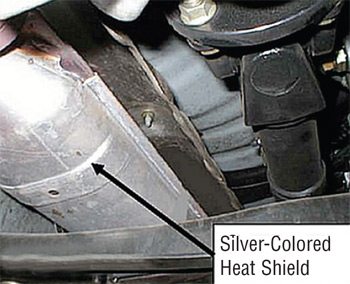 b. If either front tube looks like the one shown in Fig. 2 (with a silver-colored heat shield):
• It is the new-style front tube.
• Do not apply the repair kit on this type of front tube.
Note: The vehicle you’re working on may have both the new and the old front tubes. The repair kit should only be used on the old-style front tube.
2. Repair the front tube(s) by installing front tube Repair Kit # 20711-5W90A as follows.
Note: Perform this repair with the front tubes in the vehicle. Do not remove the front tubes.
Caution: Wear suitable protective gloves (latex/nitril) and a face shield/goggles when handling the exhaust sealant. You may get a rash if it gets on your skin.
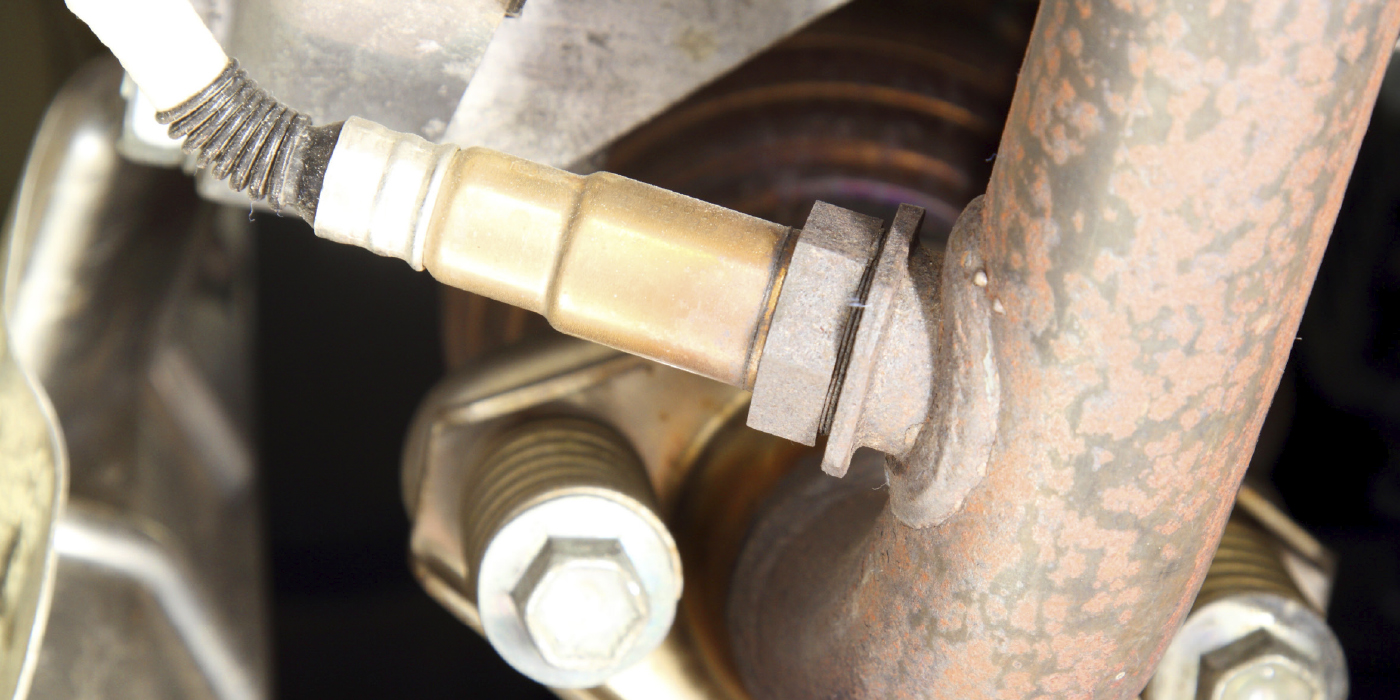
a. Look at the crack(s) and confirm it is within the outer ribs of the front tube. See Fig. 3.
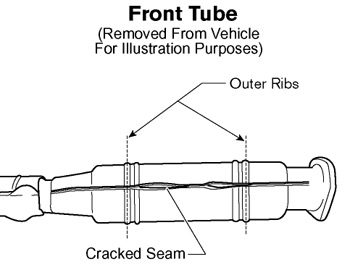 • If the crack(s) is within the outer ribs, go to the next step.
• If the crack(s) is not within the outer ribs, this bulletin does not apply.
b. Thoroughly clean the cracked side seams to remove all dust, dirt and debris.
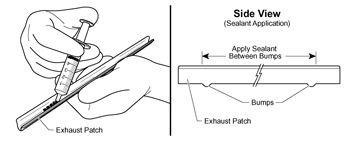
c. Completely fill the provided (syringe) applicator with 6 ml of exhaust sealant.
This amount (6 ml) of sealant will be used for one exhaust patch.
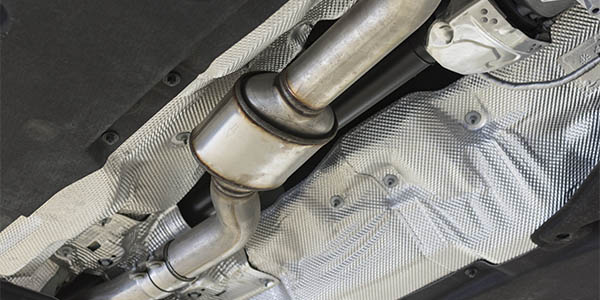
d. Apply 6 ml of sealant evenly between the two bumps only of each exhaust patch. See Fig. 4.
e. Install the exhaust patches to both front tube side seams, making sure that:
 • The bumps on the patches align with the outer ribs on the front tube. See Fig. 5.
• The patches are firmly pressed onto the side seams.
f. Install the band clamps around the front tube, making sure that:
• The band clamps are correctly positioned outside the front tube ribs and exhaust patch bumps. See Fig. 5.
• The band clamp bolt is placed between the patch and the lower surface of the front tube. See Fig. 5.
Caution: Do not place the band clamp bolt on the bottom of the front tube as it can pick up road debris.
 • The bolts are tightened to 4.0-5.5 Nm (0.4-0.56 Kg-m, 2.9-4.0 ft.-lb.).
• The excess band clamp material is cut off within 5 mm after each bolt.
g. Wipe away any excess sealant that seeped from the patches with a paper towel or other similar material that you can throw away immediately. Do not use a shop rag that may come in contact with someone else’s hand later.
h. Repeat the above steps for the other front tube, if applicable.
i. Start the engine and let it idle slowly for 10 minutes to cure the sealant.
Courtesy of Mitchell 1.