Installing new rotors without ever measuring and documenting the condition of the old rotor is like playing chicken with a comeback. Sooner rather than later, you will find a vehicle that will not be magically fixed by a new set of rotors. In fact, the new rotors may cause even more problems and lead to an unsatisfied customer.
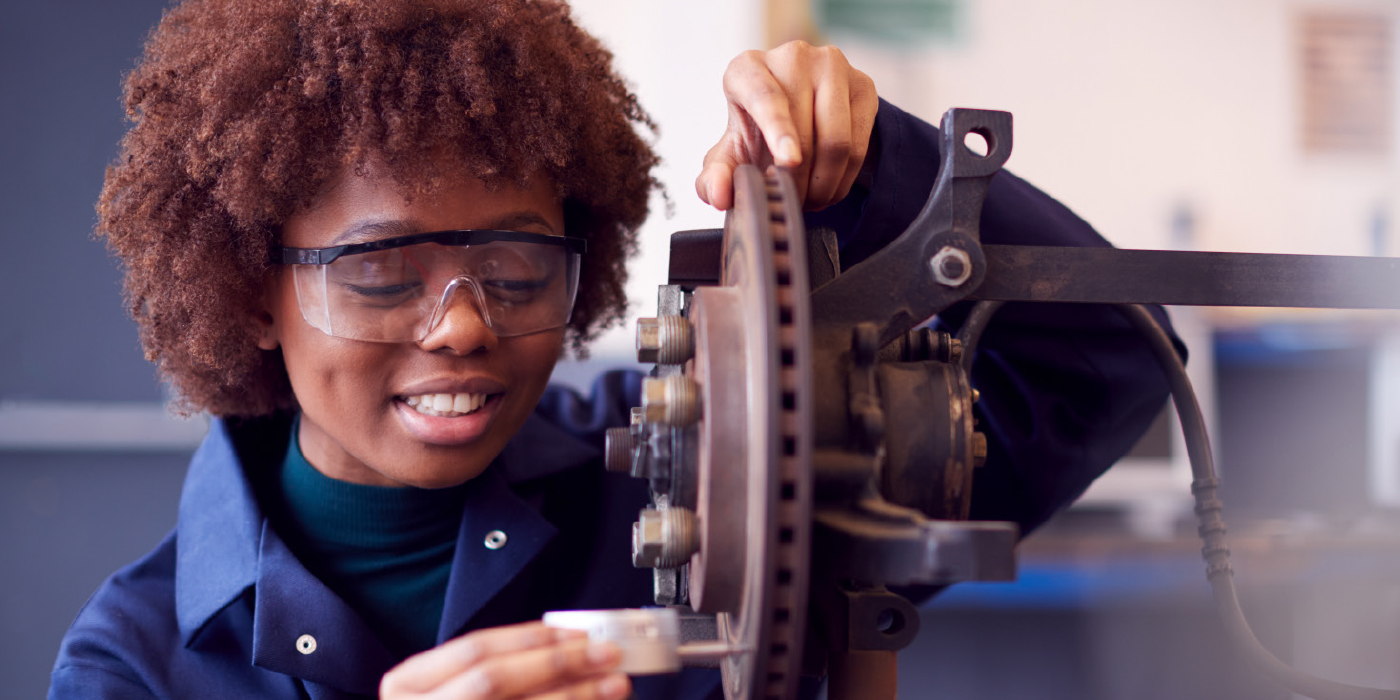
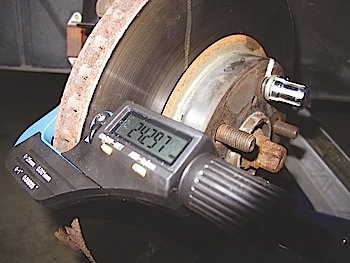
Measuring the rotor thickness should be part of any brake job. Even if it looks like it is below specifications, it should be measured and documented on the repair order. This can be the best sales tool and the best defense against a customer claiming that you replaced their rotors unnecessarily.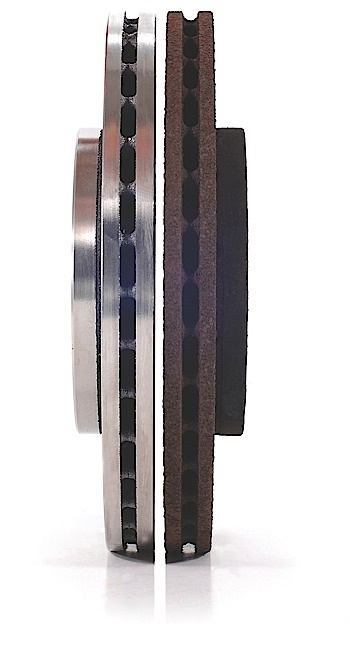
New Rotors
Replacing rotors on every brake job is not a cost effective or efficient way to perform brake service. You may think you are saving 10 minutes by not having to drag out a dial indicator and a micrometer, but your chance for comebacks can dramatically increase.
Labor in a shop does not take up inventory and does not have to be delivered by a parts store. Some people think that installing new rotors eliminates the possibility of a comeback; however, this myth creates more comebacks than it solves. These comebacks often start with blaming the new pads, and end with the customer having to return a second or third time until someone pulls out a dial indicator and micrometer.
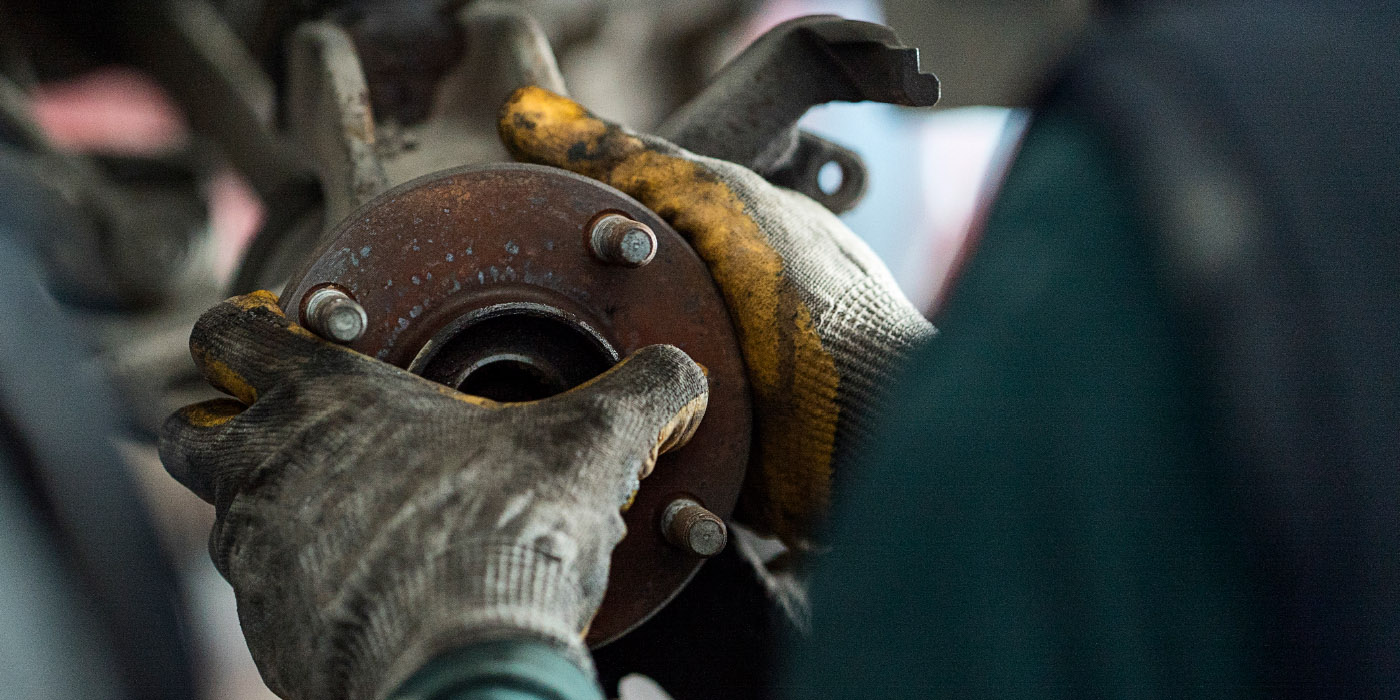
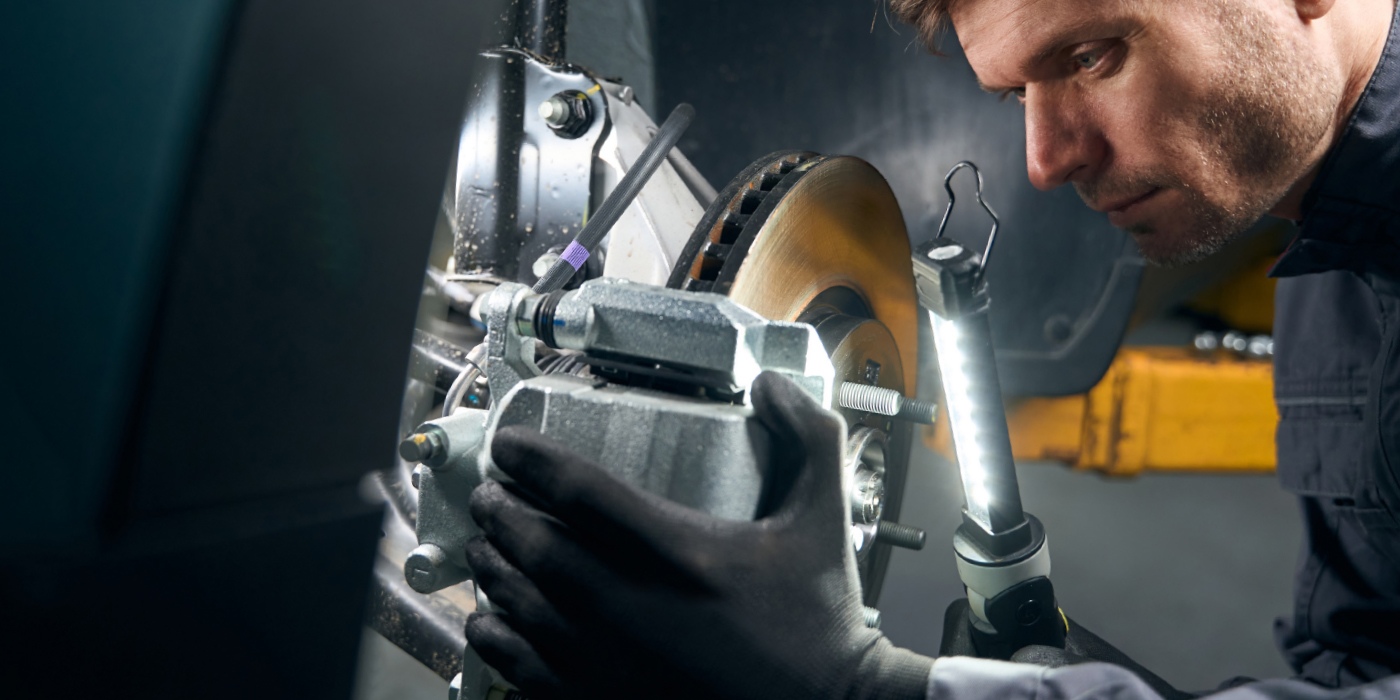
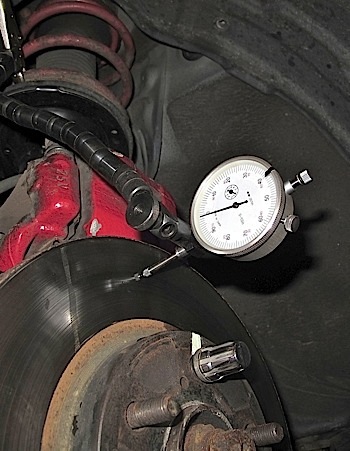
For every brake job, you should always use a micrometer or dial indicator to measure for runout (rotor and flange) and the dimensions of the rotor before brake service is performed.
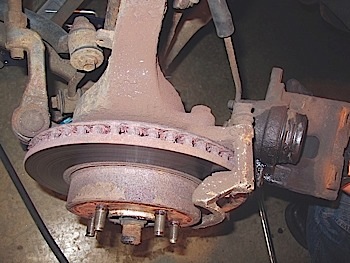
After the rotor is resurfaced or a new rotor is installed, the rotor should be measured for runout when it is installed on the vehicle as a quality control measure. A new rotor could have excessive runout when it is installed on the vehicle due to a stacking of tolerances.
In some cases with excessive runout, a new rotor should be machined to match the vehicle. It has often been said that you should never machine new rotors. But, what if the runout exceeds the manufacturer’s specifications when the new rotor is installed on the vehicle? This is when it is permissible to machine a new rotor with an on-the-car brake lathe. This helps to match the rotors to the hub flange.
On-the-Car Lathe
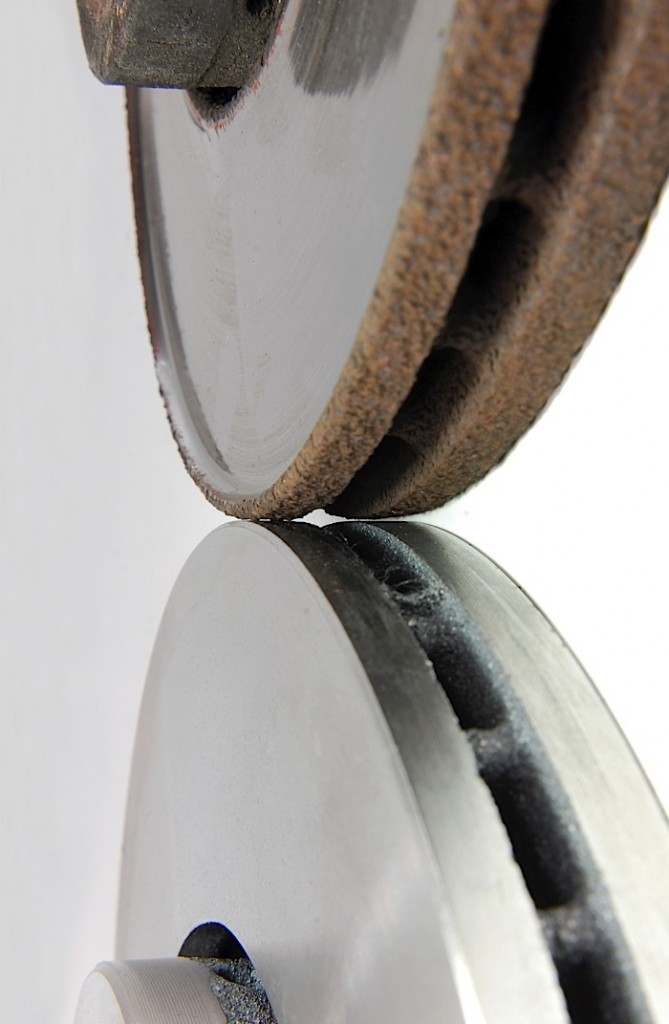
Using an on-the-car lathe can help to reduce runout on new rotors. The main advantage of these lathes is that they are able to cut a rotor in its operating plane. This means that the rotor is machined to match the hub.
Even if you use new rotors, your chance of a pulsation comeback could be greater than if you left the old rotors on the vehicle. Runout in the hub and new rotor can stack up to cause Disc Thickness Variation (DTV) within a few thousand miles. DTV is the main cause of pulsation.
Runout greater than .005” (±.001” depending on the rotor or flange diameter) is a sign that the flange, rotor and/or bearing should be replaced. The needle of the dial indicator should be perpendicular to the rotor. Measurements should be taken a quarter inch from the edge.
Flange runout can be corrected with tapered shims to address a runout of 0.003” (0.075 mm) to 0.009” (0.230 mm). A runout of more than 0.005” (0.125 mm) at the bearing flange cannot be corrected by the use of a shim. The combination of rotor and bearing flange could prevent the rotor from being turned. You should check bearing flange runout after friction surface runout. This can be done by changing the rotor position 180º on the bearing. If the high spot changes 180º, the rotor could be OK or ready to turn after the bearing is shimmed.
Productivity
Cutting a rotor in one pass is essential for productivity. For non-composite rotors, it is possible to take as much as 0.020″ per side while still having an acceptable finish. However, with a composite rotor or one with hard spots, the depth should be reduced, likely below 0.010″ per side for a quality finish. In order to remove this much material, it is essential to have sharp bits.
Cutting too fast will reduce the cut quality and possibly create chatter. A larger diameter rotor will need to turn slower than a small diameter one.
Single-speed lathes are set at the slower speed of the largest application they are designed to cut. This is usually around 0.002″ per revolution.
When machining a rotor, you have two primary goals: provide a smooth surface finish for the pads and provide a true surface finish. Poor rotor finish can lead to noise. Never use the ballpoint pen measurement method when machining rotors. The only real way to measure is with a profilometer that measures the roughness average. But this is very expensive and very fragile. The best way to make sure a lathe is cutting rotors the right way is to make sure your cutting bits are fresh, adapters are true and the crossfeed is set properly.
Know Your Rotor
It is tough for a technician to know what they are getting when they buy a new rotor. According to a recent U.S. International Trade Commission report, 80% of the rotors sold today are made in a country outside the United States.
If the technician or counterman is only going by the price they see on the screen, it will be difficult to pick the best rotor. Some rotor manufacturers care only about the external dimensions of a rotor — the engineer wants it to fit and disregards its performance attributes. In the industry, this is called the “round and heavy” philosophy. Some rotor manufacturers will even cut corners by not meeting the nominal or new rotor thickness requirements in order to save a buck.
However, some aftermarket rotor manufacturers will take the OE design and make it better in order to exceed customer expectations. Engineers will put in years of research and development in order to develop and manufacture a rotor that can go beyond OE specifications.
Many cheap castings are poured with a minimal amount of iron. When these are machined at the factory, they are essentially performing a “skin cut” where they remove the least amount of scale and material possible, and the outer layer of iron is not as stable as the material underneath. This creates problems with porosity and strength. Eventually, these problems create stress in the rotor that leads to distortion and results in a pulsation complaint.