VEHICLES
FORD:
2002-2008 Explorer
2003-2008 Expedition
2006-2008 Explorer Sport Trac
LINCOLN:
2003-2005 Aviator
2003-2008 Navigator
MERCURY:
2002-2008 Mountaineer
Note: This article supersedes TSB 06-22-05 to update the model years, Part List and Service Procedure.
ISSUE
Some 2006-2008 Expedition, Navigator, Explorer, Explorer Sport Track, and Mountaineer vehicles equipped with rear axle unitized cartridge seal; 2007-2008 Expedition-Navigator AWD equipped with front and rear axle unitized cartridge seal; and 2003-2005 Expedition-Navigator, 2002-2005, Explorer-Mountaineer, 2003-2005 Aviator equipped with unitized cartridge rear axle seal, may exhibit oil separation from the internal lube found in the unitized cartridge seal. This oil separation appears to be, and is often misdiagnosed, as an axle lube leak. The majority of the vehicles with this condition will be located in northern Canada and Alaska due to the extreme cold weather.
ACTION
Follow the Service Procedure steps to correct the condition.
SERVICE PROCEDURE
NOTE: Do not replace the unitized cartridge seal until you complete this diagnostic service procedure. Failure to properly diagnose the issue may result in unnecessarily replacing the seal, resulting in a repeat concern.
NOTE: This diagnostic procedure is only necessary on vehicles with the new unitized cartridge seal. This seal has been used in production from 2006 model year to present, however, some vehicles built prior to 2006 model year may have this new updated unitized cartridge seal installed as a service repair.
1. Raise vehicle, refer to Workshop Manual (WSM), Section 100-02.
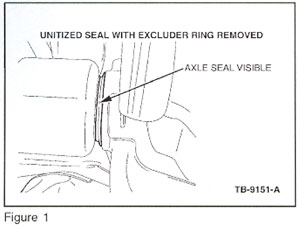
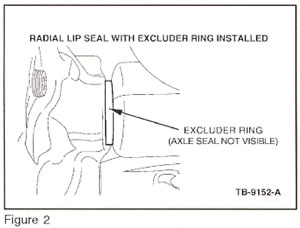
NOTE: If seal is old design radial lip seal style (see Figures 1 and 2 to identify radial lip seal), there is no internal grease present in seal to separate. This TSB does not apply. Refer to Workshop Manual diagnostic.
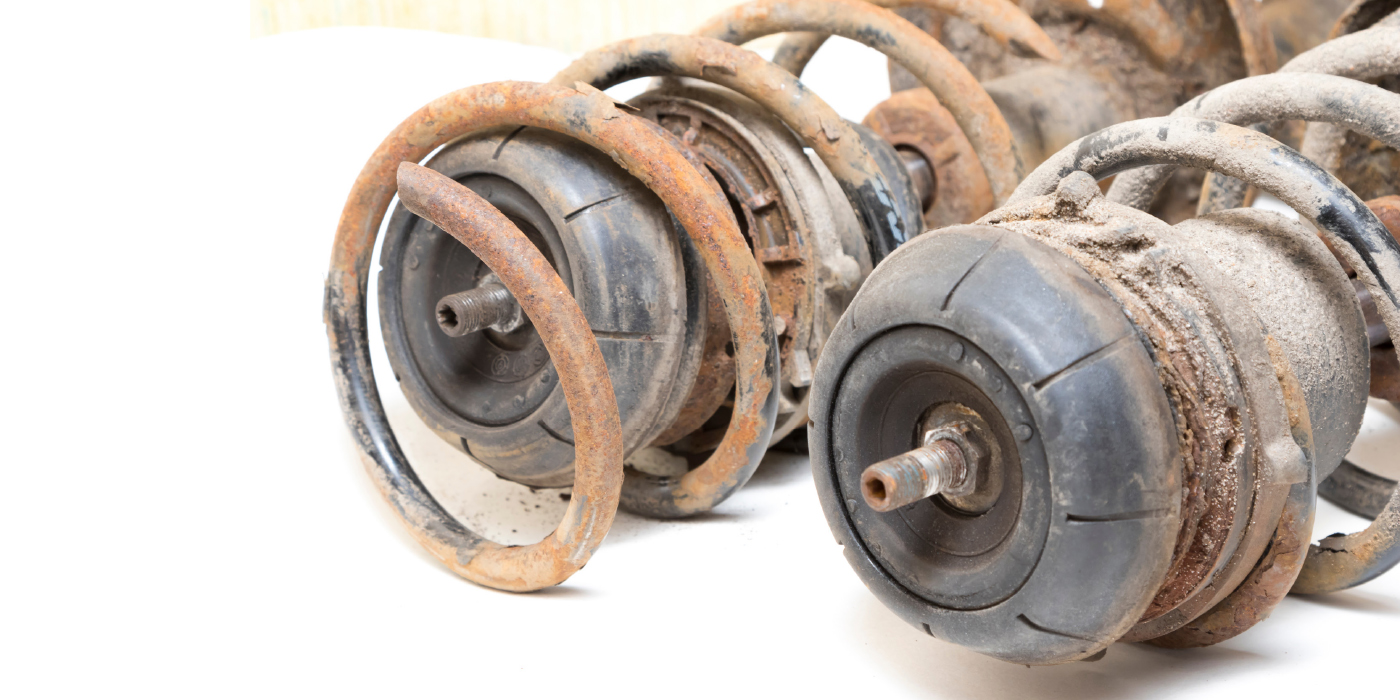
2. Check axle half shaft seal to ensure that it is unitized cartridge design.
3. Clean axle housing around the seal area using Motorcraft Metal Brake Parts Cleaner or equivalent cleaner. Wipe lube or oil with rag and let the housing dry.
4. Add 0.5 to 1 ounce (14.8 to 29.6 ml) Rotunda Dye-Lite Leak Detection Dye for Gasoline Engine Oil 164-R3700, also contained in 164-R0756 to the axle following the appropriate Workshop Manual.
NOTE: Adding the dye on some vehicles will require the rear wheel ABS sensor to be removed. Refer to the appropriate Work Shop manual drain and fill procedure.
5. Road test vehicle a minimum distance 15 miles (24 km) at a minimum speed of 25 MPH (40 Km/h).
NOTE: A bright orange area will identify axle lube leak. For extremely small oil separation, additional axle operation time may be required for the leak to appear.
6. Raise vehicle to check for signs of leak.
a.Use Rotunda 12V Master UV Leak Detector Kit 164-R0756 or equivalent to look for signs of leak.
7. If there is not a verifiable lube leak, clean axle near seal area and return the vehicle to the customer.
NOTE: If there is no signs of lube leak, this means that the substance which was present prior to the procedure was oil which had separated from the grease internal to the seal. This oil is a pre-lube, and is not necessary once the axle seal is broken in. Once the oil separation has occurred, there should be no further oil separation from the seal. Removing the seal in installing a new seal might create a situation where the oil will separate, resulting in the same concern.
8. If there is a verifiable axle lube leak, replace seal following the Workshop Manual (WSM), Section 205, or look at instruction sheet included inAxle Shaft Seal Kit.
PARTS
• Axle Shaft Seal Kit (9.75 axle) — #7L1Z-4A109-B
• Axle Shaft Seal Kit (8.8 axle) — #7L1Z-4A109-D
• Motorcraft Metal Brake Parts Cleaner — #PM-4
Tech Tip courtesy of ALLDATA.