This article is dedicated to some Ford specific issues that, after being brought to light, can save your shop thousands of dollars in wasted time and liability. There may be some other makes out there with some similar designs and quirks, but the only technical references will be for Ford vehicles.
By Glen Beanard
Giddy Up
The pony gets a saddle — a saddle tank that is. Model year 2005 and later Mustangs, along with 2000 Lincoln LSs and 2002 and later Thunderbirds, have a saddle-style gas tank. It’s important to understand this design to make your fuel pump diagnostics go more smoothly.
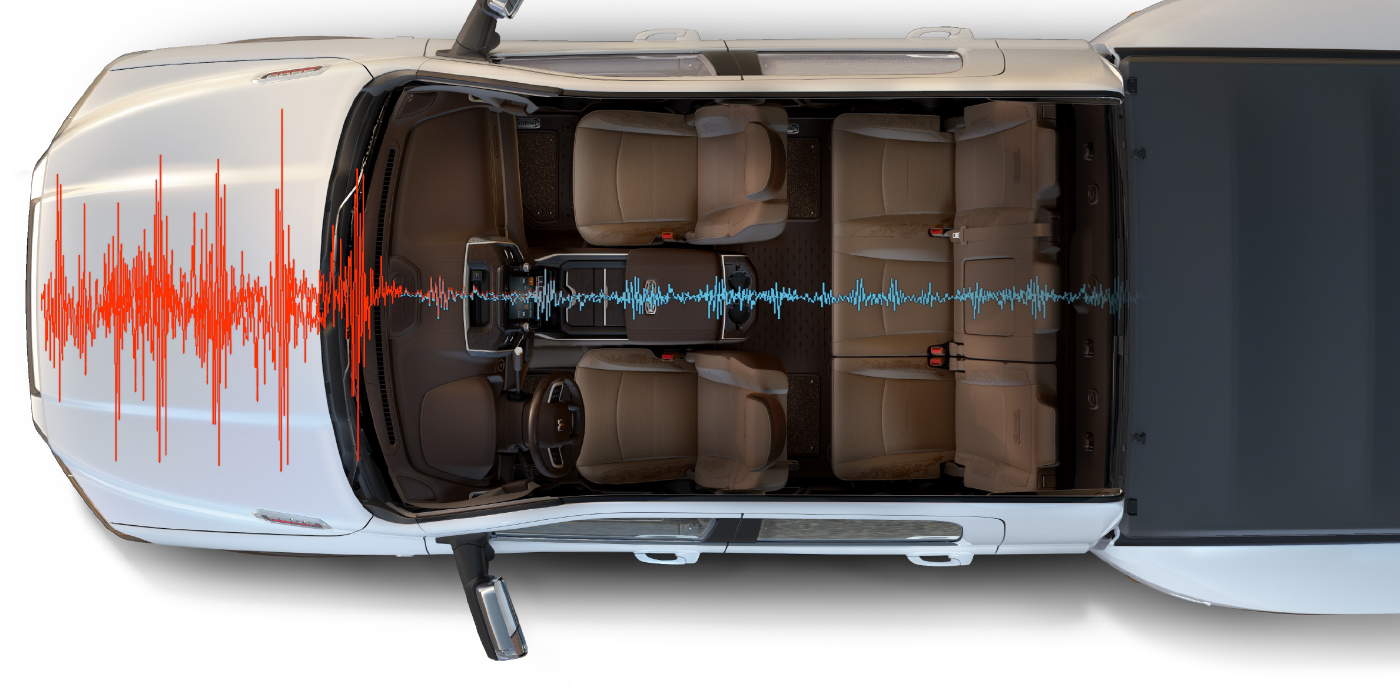
 These animals have two fuel level sending units, and what is considered to be two separate fuel pumps. They have a (from left) Fuel Delivery Module (FDM) and a Jet Pump Module (JPM). See Photo 1.
The engine is fueled directly by the pressure from the FDM. The job of the JPM is to transfer fuel over to the side of the tank that contains the FDM. The JPM isn’t electric like the FDM. It’s all mechanical, and is operated by a siphon action generated as the FDM flows fuel.
 The level sending units are mounted on the FDM and JPM. What can make these tricky, is that the PCM looks at these sending units as one unit. There’s only a single PID on the scanner to represent both units collectively. The fuel level that is represented on the fuel gauge is an average of both level senders. See Figure 1.
As a result of the fuel gauge reflecting an “average” of the two senders, it is possible for the gauge to still show gasoline in the tank when the FDM side is completely empty. See Figure 2 on page 22.
This is not only possible, it does happen. Dirt particles, over time, restrict the JPM. Ford tells us to replace both units at the same time. There are dual trap doors underneath the rear seat cushion to gain access to both the FDM and the JPM on the Mustang, LS and Thunderbird.
 It’s a Real Hoot!
Explorers with 4.0L SOHC and OHV are probably the worst offenders for this, but every now and then another vehicle in the Ford family will do it too: At idle, especially with the A/C on, you may hear a “hoot” sound coming from the air cleaner housing. Sometimes this gets quite loud. This is due to a weakened spring inside the IAC valve. This condition allows the plastic valve inside the IAC to oscillate, generating the “hoot” noise that echoes through the intake and is most prevalent at the air cleaner housing. Proving the IAC at fault for the noise is simple. Simply give the IAC a light smack with a wheel weight hammer or similar size metal object.
Listen to the “hoot” noise. Sometimes it clears up, and sometimes it just changes pitch. In either case, you found the offender.
Slurping Zetech
If you get a Zetech engine with a screeching noise, similar to a belt noise at idle, this might help: This screeching noise can come from the front crank seal area, cam seal area or bell housing. It will likely start after about 20 seconds to a minute of idling. In some cases, it might only happen on deceleration when engine vacuum is high. This may also be accompanied by a P0171 (lean) code, 1504 (IAC over speed error/IAC duty cycle lower than expected) code, fuel trims in the positive teens, and/or an IAC duty cycle that is unusually low.
This is caused by a severely worn PCV valve, and often helped along by a partially restricted PCV filter. The worn PCV flows too much air from the crank case, and the restricted crank case filter can’t keep up with the demand. The noise is the sound of air “squealing” past the front crank seal, front cam seal or rear main seal. To prove it (as if the IAC and trims weren’t enough), remove the oil filler cap while the noise is in progress. If the noise stops instantly, and returns soon after reinstalling the cap, replace the PCV valve and the PCV filter.
It’s About Time
Watch for the 2.3L and 2.0L Duratec engines found in 2003 and up Focus, 2006 and up Fusion, 2001 and up Ranger, 2005 and up Escape and Escape Hybrid, 2006 and up Milan, 2005 and up Mariner, and 2006 and up Mariner Hybrid vehicles. The engineers have quite a surprise in store. Not only have they omitted the woodruff key for the crank pulley, they have also omitted the woodruff key for the crank sprocket. These engines use a timing chain.
 The crank pulley bolt tension is the only thing that keeps the crank sprocket in place. If the crank bolt is de-torqued, the valve spring tension is enough to push the cams out of time via the chain movement allowed as the crank sprocket freewheels on the crankshaft. Upon start up (or attempted start up), the valves are damaged. These engines have enough piston-to-valve interference to actually break the valves off, dropping half of the valve down into the cylinder.
Before any work can be performed that requires crank bolt loosening, such as a new front crank seal, the valve cover must be removed to install the camshaft holding tool. The official tool resembles a flat metal bar. A flat file can be substituted. See Photo 2.
Then, a second tool to hold the crank in place must be inserted into the side of the engine block to lock the crank in place. This tool resembles a bolt with a shank on the tip of it. There are different types of these for the different engines that use them. The older version of this tool for the earlier Zetech, timing belt-driven engine is not the same tool as the newer chain driven engine. The access plug to insert the tool through is on the right side of the engine block. It is directly above the oil pan. Once installed, the engine crank will not turn clockwise, but can still turn counterclockwise.
A third alignment tool is merely a 6 mm 1.25 thread bolt that reaches through a designated hole in the balancer and threads into the timing chain cover. This is used to line up the crank sprocket for reassembly. It’s not intended to be stressed upon during crank bolt de-torqueing and re-torqueing, it’s only for correctly indexing the balancer to the crankshaft. The chain cover can be permanently damaged if the crank bolt is under torque with the 6 mm bolt in place.
Also, never rotate this engine counterclockwise with the crankshaft bolt. Doing so can cause the bolt to loosen. If that happens, the mechanical timing will instantly be lost, putting the valves in jeopardy.
Do not attempt to loosen the crank bolt on one of these engines without first reading the service manual and having all locking tools in place. Also, read Ford TSB article 06-16-06.
DPFE Double Take
Here’s an odd one. Notice the DPFE value in this first data shot taken at key on, engine off, seen in Figure 3
The DPFE value is 0.51 volts. Not very odd… yet. Next, here is the same vehicle the moment the engine is started, Figure 4
Notice that when the engine is started, the DPFE voltage stepped down to 0.43 volts. What’s wrong with it?
This time, there’s nothing wrong. This is the normal characteristic of a newer model Ford that uses an ESM (EGR System Management) valve. See Photo 3. An ESM doesn’t use the traditional-style DPFE of the past. An ESM is an EGR valve, a control solenoid and two MAP sensors built into one housing. See Figure 5 One of the two MAP sensors is used as a DPFE.
 The oddity with this “DPFE,” when compared to the past, is that it’s now measuring activity after the EGR pintle and before a restrictive orifice in the ESM’s base gasket. At idle, the area between the pintle and the base gasket will normally have a lower absolute pressure than when at KOEO. Therefore, the idle “DPFE” voltage will be slightly lower than the KOEO voltage on a vehicle that uses an ESM. More information on this and other Ford EGR systems can be found in the May 2006 issue of Underhood Service.
Making the Connection
 Model year 2000 and later Lincoln LS and the 2002 and up Thunderbirds share this little engineering marvel: They both have the battery located in the trunk, as part of their many Jaguar-like features. As you would expect, the battery cables are of the heavier gauge that comes with locating the battery so far away from the starter. The only quirk is that, the extra heavy cables are “bottle necked” by this tiny ground eyelet and mounting bolt shown in Photo 4.
Yes, this is the only ground path from the battery to all of the vehicle including the starter and alternator… And yes, those are burn marks from arcing that you see in the picture. The 8 mm head bolt has a nasty habit of being loose and tight at the same time. You know the way I mean. It’s snug enough to look and feel tight, but loose enough to cause a bad connection. Since this is the only ground path to the battery for everything on the vehicle, problems ranging from radio memory loss to no starts occur from this poor ground. So keep it in mind when you are searching for strange electrical issues, or just changing the battery on one of these. Make sure this connection is both clean and tight.
Brake Caliper Booby Trap
Watch out when collapsing the rear calipers on Ford Five Hundred, Freestyle and Montego vehicles. There’s nothing special about the left rear caliper, but the right rear holds a surprise. The surprise is that the piston rotates in a counterclockwise direction to retract it. Yep, that’s right. The left rear turns in the traditional clockwise direction that works with your caliper tool that you’ve used for years, but the right one doesn’t. It’s time for a new tool. I only know of one source that’s available at this time, although there may be others. Look for Schley Products P/N SCH64250 or equivalent.
Snap, Crackle, POP!
Watch out when changing the spark plugs on the 5.4L three-valve engine found in 2004 and later F-150s, and 2005 and later Expeditions and Navigators.
First of all, you’d better check your cost on the spark plugs. They’re nothing like the conventional design of spark plug in the years past, and the price is nothing near traditional either.
Secondly, they use a 9/16 spark plug socket. So, if you don’t have the right plug socket, it’s time to buy another socket before one rolls into your shop.
Lastly, you don’t just grab these puppies and start turning on them. These things have the electrodes located about an inch and a half away from the threads, mounted on the end of a ground electrode shell. The shell rusts from moisture. Upon removal, the shell then can snap off in the head from a combination of the rust binding the shell in the head, and the shell being weakened from rusting. To aid removal, first turn the spark plug enough to lift the spark plug from the head, about 1/8 to 1/4 of a turn. Then, add a tiny amount of penetrating oil to each spark plug (Ford recommends AreoKroil). Let the oil soak for about 10 minutes, then remove the spark plugs. You may have to work the plug in and out as you remove it. Some “screeching” noise is normal and about 33 lbs.-ft. of torque may be required to work the plug through its threading. Do not do these on an extra hot engine, or stone cold one either. The engine should be warm to the touch. If a spark plug breaks off, there’s a special tool and procedures from removal. At this point, I’m going to just point you to Ford TSB 06-15-02.
On the brighter side, access to the plugs on these Ford trucks is not as difficult as in the past. The driver’s side is fairly open, and the passenger side opens up well if you remove the PCM and bracket. On 2007 and later models, the engine is wide open due to being mounted very low, so at least they’re giving us more room now. Enjoy.
The JPM is not electrical, other than the level sender.The JPM uses a siphon action to transfer fuel to the other side of the tank.