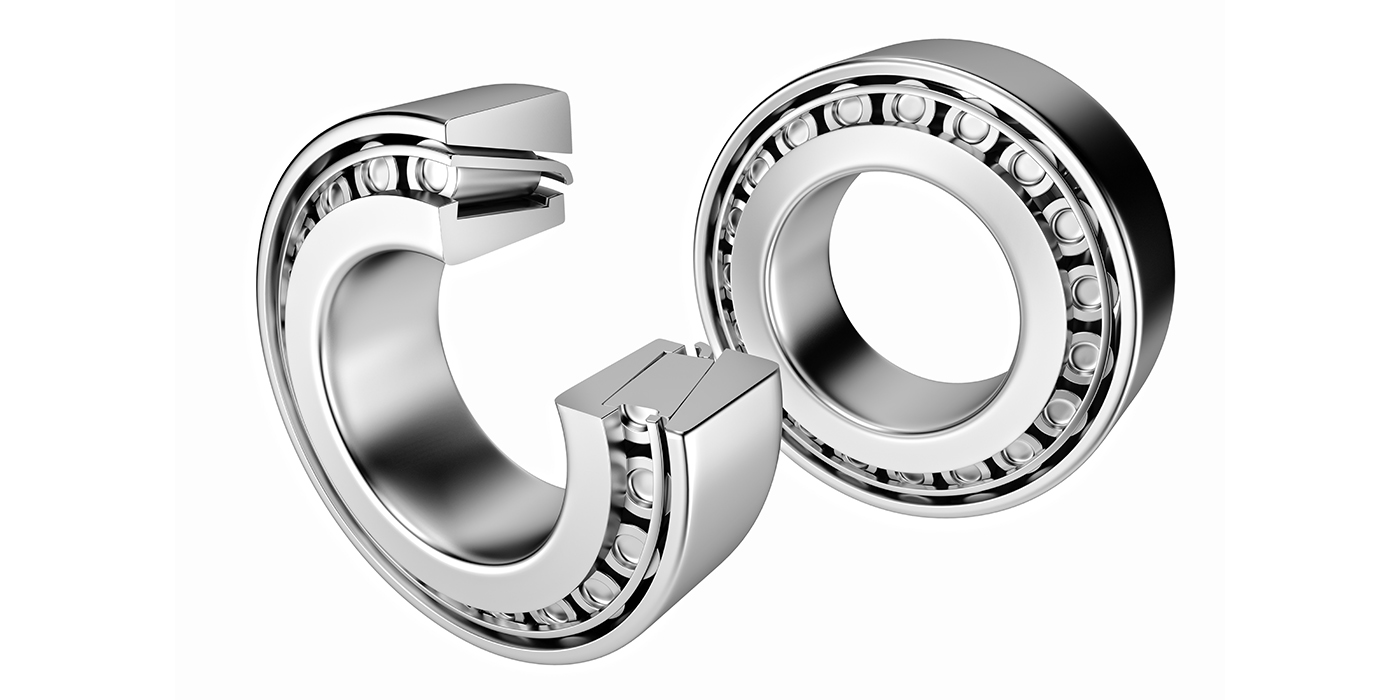
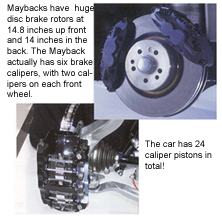
Disc brake calipers come in many sizes and configurations, including fixed-caliper, multi-piston designs, and the more modern floating-caliper, single piston designs that may also contain a mechanically actuated parking brake. Needless to say, disc brake calipers have undergone a series of design changes that continue to make them more adaptable to late-model vehicle applications.
To illustrate, early racing and high-end vehicles used large-diameter rotor, multi-piston, fixed caliper designs that had enough swept braking area to stop the vehicle without using a conventional vacuum assist. Because modern vehicles are heavier and use smaller-diameter wheels than lightweight racing vehicles, caliper design has evolved from expensive multi-piston designs to the single-piston, hydraulic or vacuum-assisted floating caliper designs in use today.
CALIPER HYDRAULICS
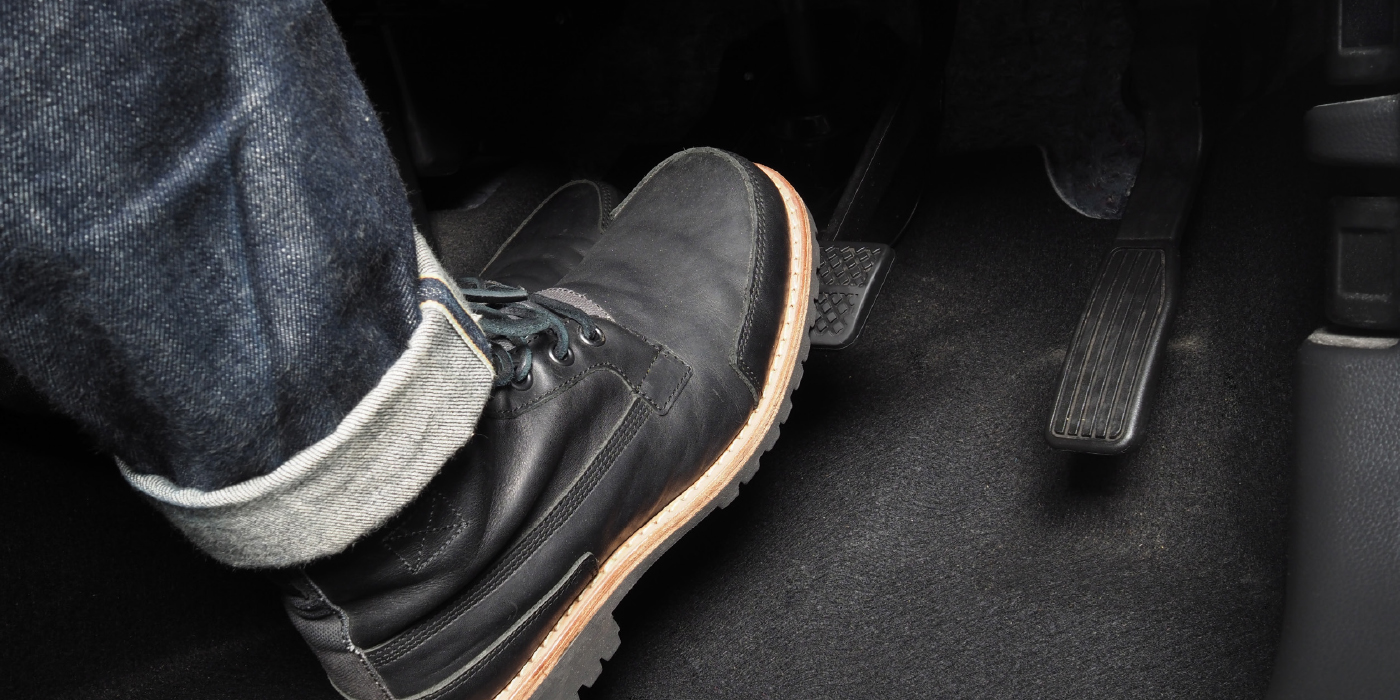
Unlike drum brakes, disc brakes generate no servo effect and therefore must rely solely upon hydraulic pressure to force the brake pads against the rotor. Because a tremendous amount of pressure must be applied to the disc brake pad, the ratio between brake pedal and caliper piston travel is very big. A brake pedal travel of one inch, for example, may be required to move the front caliper pistons just a few thousandths of an inch.
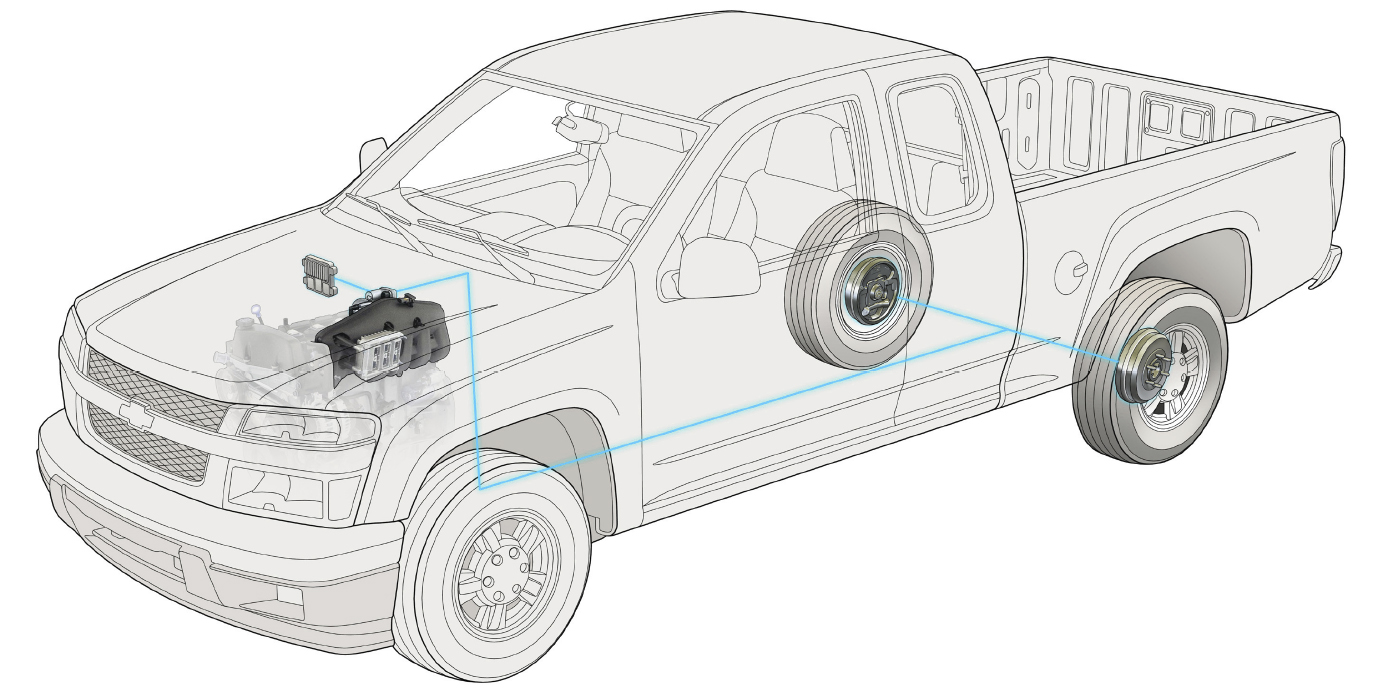
 The clearances between the brake pad and rotor are therefore very critical to establishing correct brake pedal height and response. To reduce pad-to-rotor clearance, disc rotors are machined to less than a few thousandths of an inch runout and less than a few ten-thousandths of an inch variation in rotor thickness. To improve fuel economy, engineers designed caliper piston seals that retract the caliper piston a few thousandths of an inch from the brake rotor. Engineers also began using sealed wheel bearings with zero endplay to control and reduce pad-to-rotor clearance. All in all, modern disc brakes contribute very much to the quest for high-performance, fuel-efficient vehicles.
CALIPER PATTERN FAILURES
Theoretically, disc brake calipers should enjoy a very long, trouble-free service life. In the real world, however, brake calipers live in a very hostile environment that includes heat damage from extended braking, mechanical damage caused by road debris and, of course, corrosion damage caused by wintertime humidity and road salt.
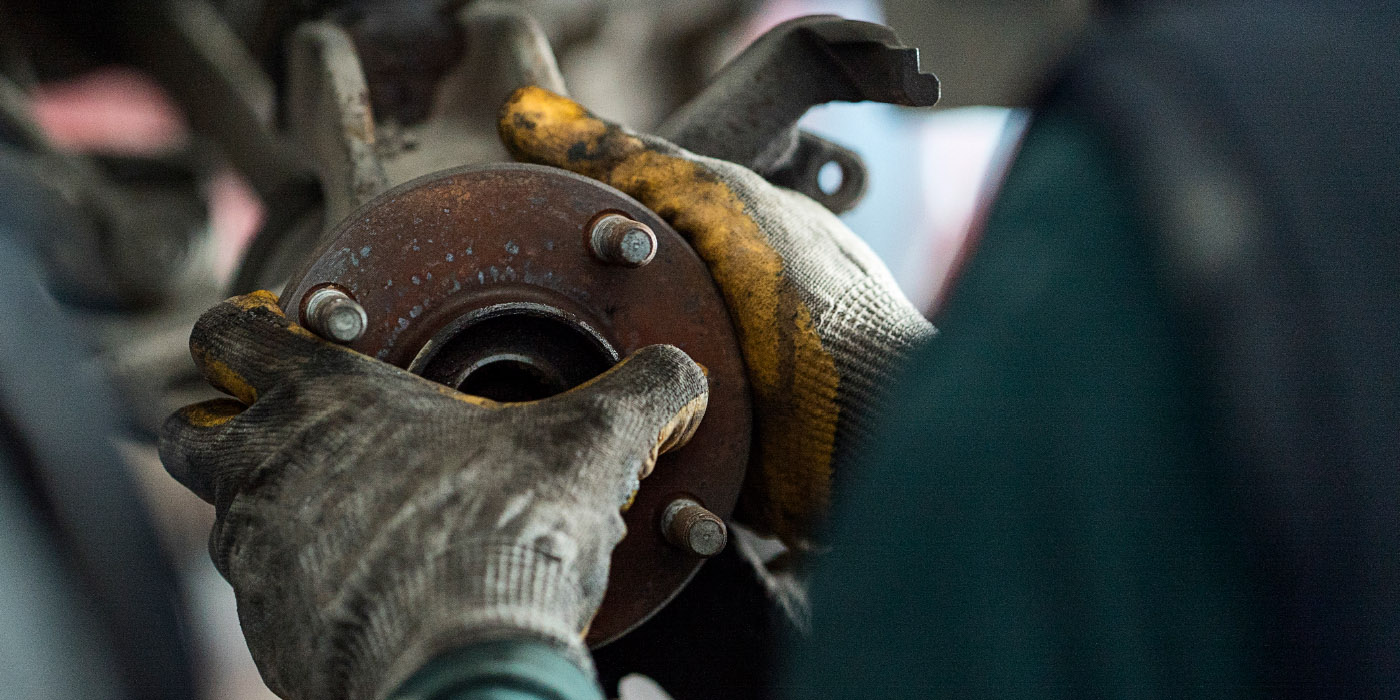
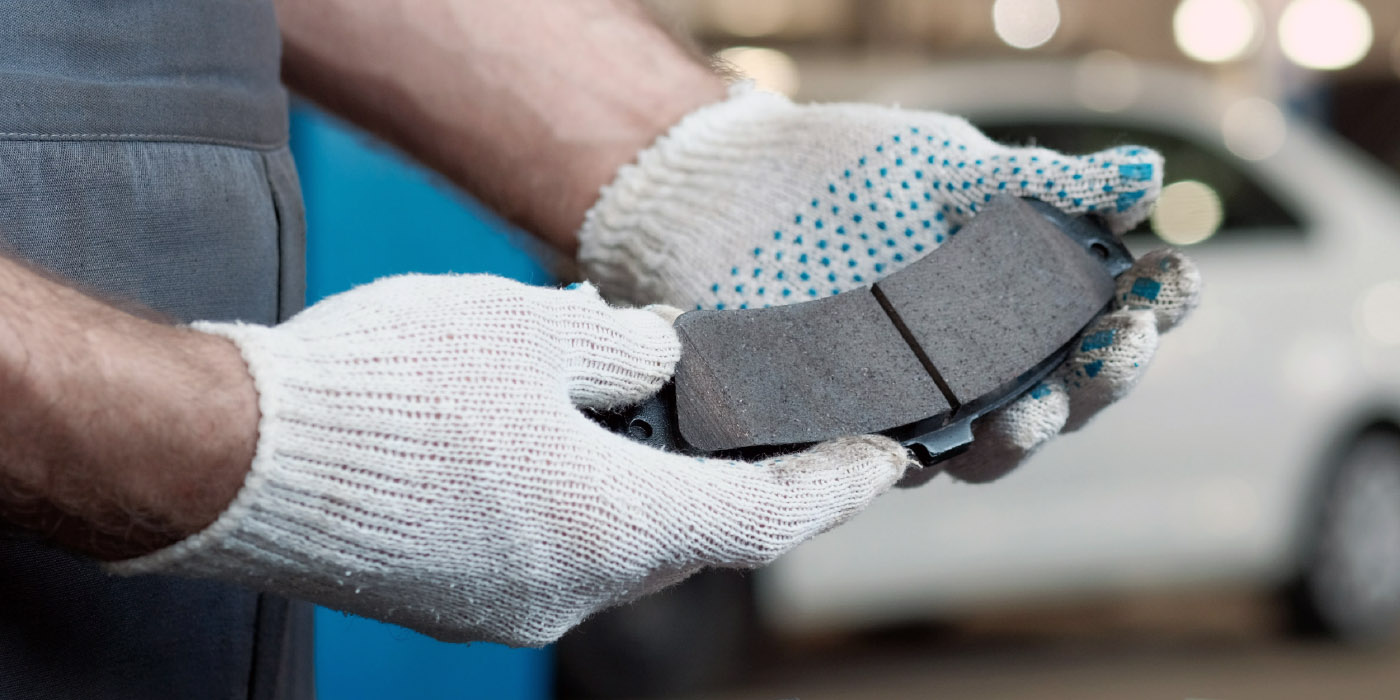
The caliper piston boot is the brake caliper part that fails most often. Although the caliper piston is sturdy enough, a torn rubber boot often exposes the piston to dirt and corrosion. As the boot fails, dirt migrates under the piston seal which, in turn, creates a wear groove on the piston surface. Continued exposure allows moisture to contaminate the brake fluid and further corrode the piston and caliper bore. Rust corrosion eventually causes the caliper piston to stick in an applied position against the brake pad, which results in excessive and uneven brake pad wear.
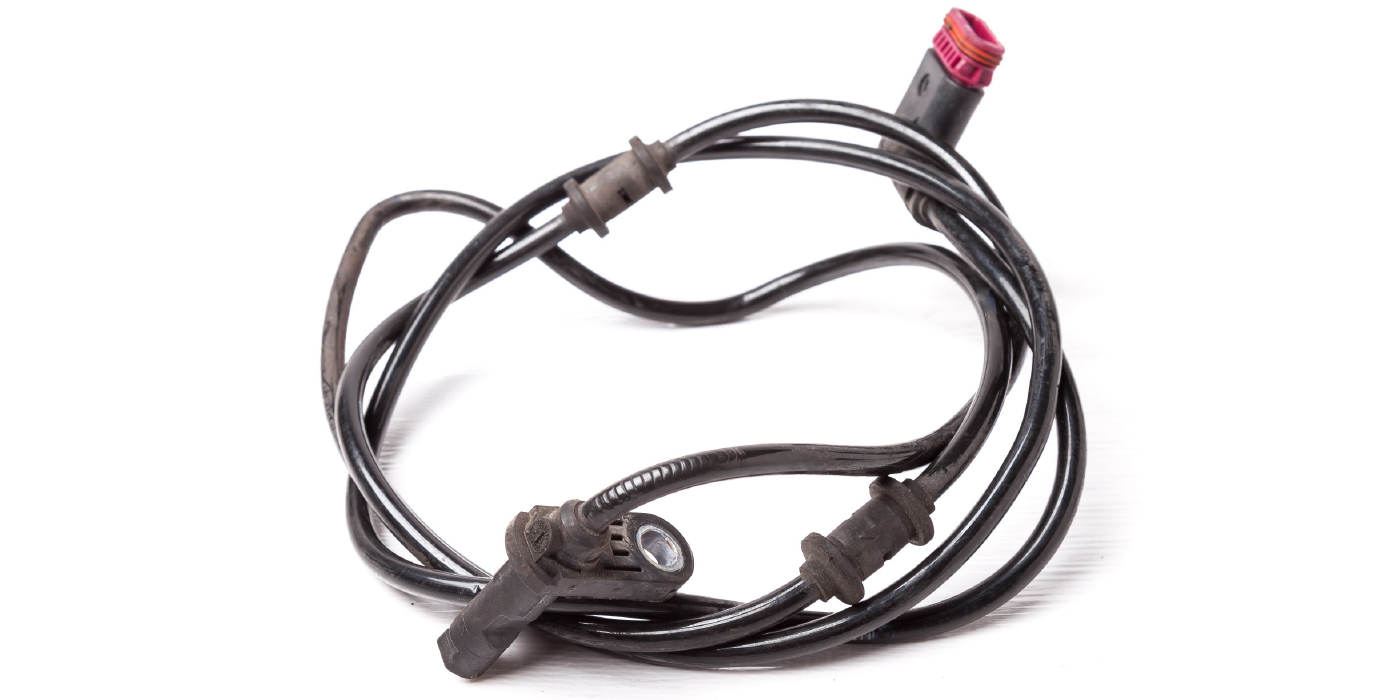
Road salt also causes the floating caliper to seize on its guide pins and cause uneven wear rates between the inner and outer pads. Road salt may also cause the caliper bleeder screw to seize in the caliper housing, which prevents the technician from bleeding the caliper during a normal service procedure. When the bleeder screw is broken off in the caliper housing, the caliper assembly usually must be replaced.
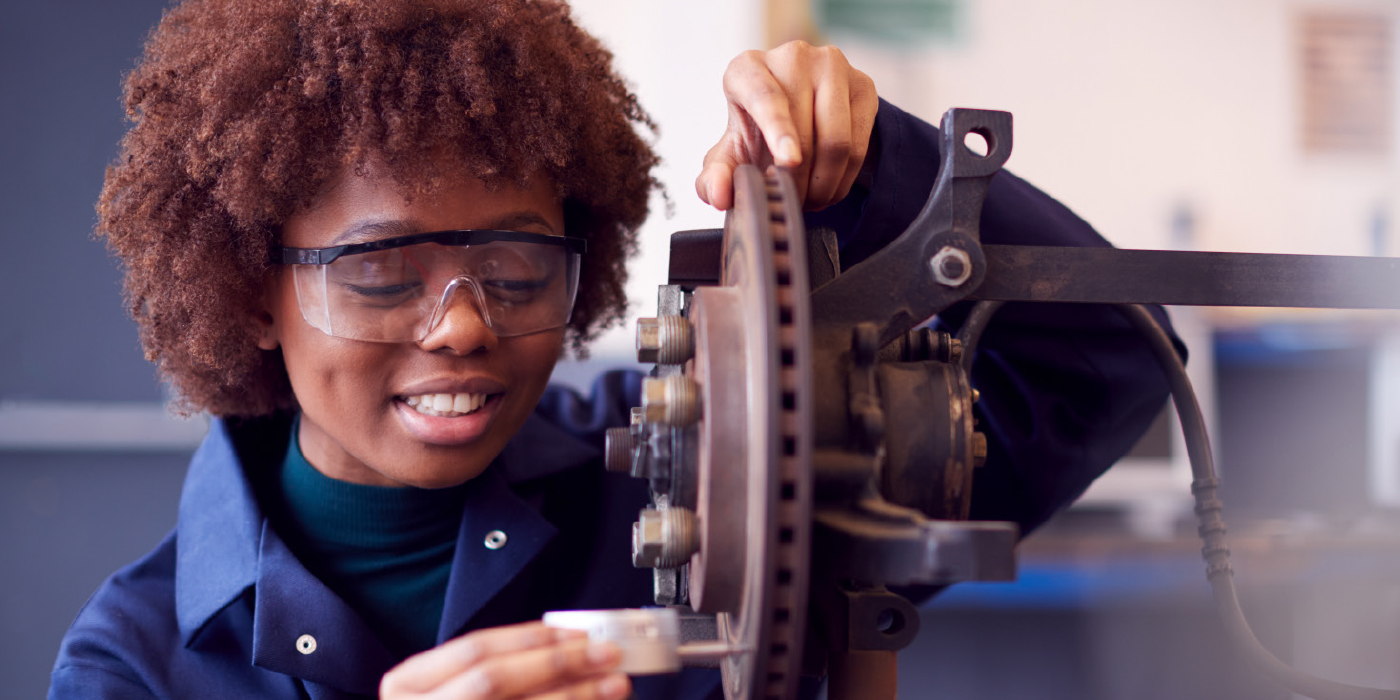
 CALIPER INSPECTION
Brake caliper pistons are designed to compensate for brake pad wear by extending as the brake pad lining wears away. Consequently, when new pads are installed, the caliper piston must be fully seated in the caliper housing to allow the new pads to slip over the disc rotor. If the piston boot is clean, pliable and fits tightly into the caliper, the piston may be safely re-seated. If, however, the piston boot is torn and has allowed dirt and moisture to migrate under the piston seal, the caliper assembly should be rebuilt or replaced.
There are several schools of thought regarding the seating of the caliper piston. One contends that the flexible brake hose can be temporarily squeezed closed with special locking pliers to prevent the seated caliper piston from reverse-flushing debris into the anti-lock braking system and master cylinder. Another school of thought recommends using a brake pedal hold-down tool to depress the brake pedal about halfway down. This procedure forces the master cylinder pistons past the master cylinder compensation ports and blocks any reverse-flushing into the anti-lock and master cylinder systems.
Some technicians feel that squeezing the brake hose precipitates the failure of the inner liner on brake hoses that may be weather-hardened. On the other hand, some technicians feel that squeezing the brake hose closed is the only method that completely prevents debris from being reverse-flushed into the anti-lock brake and master cylinder systems.
In either case, the bleeder screw should be thoroughly soaked with penetrating oil before the brake service begins. In most cases, a common C-clamp can be used to seat the piston. As the piston is being seated, a vacuum bleeder can be used to collect the old brake fluid as it exits the bleeder screw.
CALIPER REBUILDING TIPS
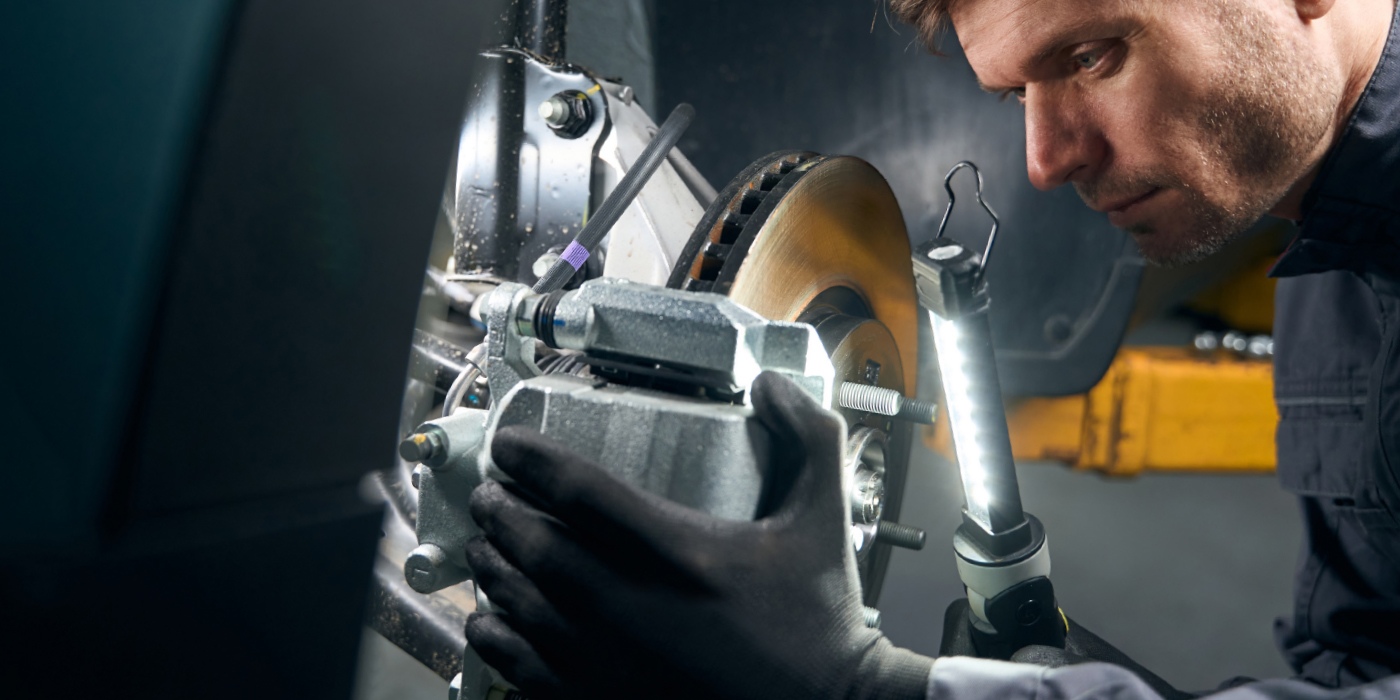
Most shop manuals recommend forcing the old piston out of the caliper bore with compressed air. Unfortunately, the piston and residual brake fluid can exit very violently, causing personal injury and paint damage on vehicles and equipment. To prevent this from happening, use a C-clamp to gradually back the piston out of its bore as compressed air is applied to the inlet port. In addition, cover the caliper and C-clamp with a shop towel to catch excess brake fluid as the piston exits the boot and seal.
When installing the caliper boot, always use a suitable fixture to press the piston boot evenly into the caliper. Before pressing the piston into the caliper bore, always lubricate the piston and piston seal with brake fluid or a good brake piston lubricant. Next, use a pliers-type of tool or one designed to expand the boot over the piston surface. Last, use a small board or similar tool to gently rock the piston past the seal into the caliper bore.
When installing the brake pad, remember that some brake designs may require an application of caliper lube between the anti-squeal shims and the brake pad itself. In addition, be sure to install new caliper hardware to prevent the caliper from rattling on rough road surfaces and to prevent the brake pads from clicking during light brake application.
Don’t forget that the caliper mounts and guides must be cleaned and lubricated with water and heat-resistant synthetic caliper guide lubricant before the caliper is re-installed. If the caliper has been removed or replaced, it’s imperative that new copper washers be installed when the brake hose is re-mounted to prevent air from leaking into the caliper. After the brake caliper has been correctly mounted and bled, it’s also important to install the rubber cap on the brake bleeder screw to prevent the screw from corroding into the caliper.
After the brake service is completed, the brake pedal should be pumped up until the brake pads contact the rotor surface. Last, the brake fluid level should be checked before the vehicle is backed out of the service bay.
SELLING BRAKE CALIPERS
The need for replacing brake calipers depends very much on their operating environment. Calipers may survive a very long time in dry, temperate climates. On the other hand, calipers may last only a few years in humid climates abundant in road salt.
As for service or replacement options, a shop can rebuild the caliper or replace it with an empty remanufactured caliper, a loaded reman caliper or a new caliper. As always, much of the decision-making process depends upon the economics of replacement and the customer’s expectations regarding brake performance and longevity.