First Speeds Repairs
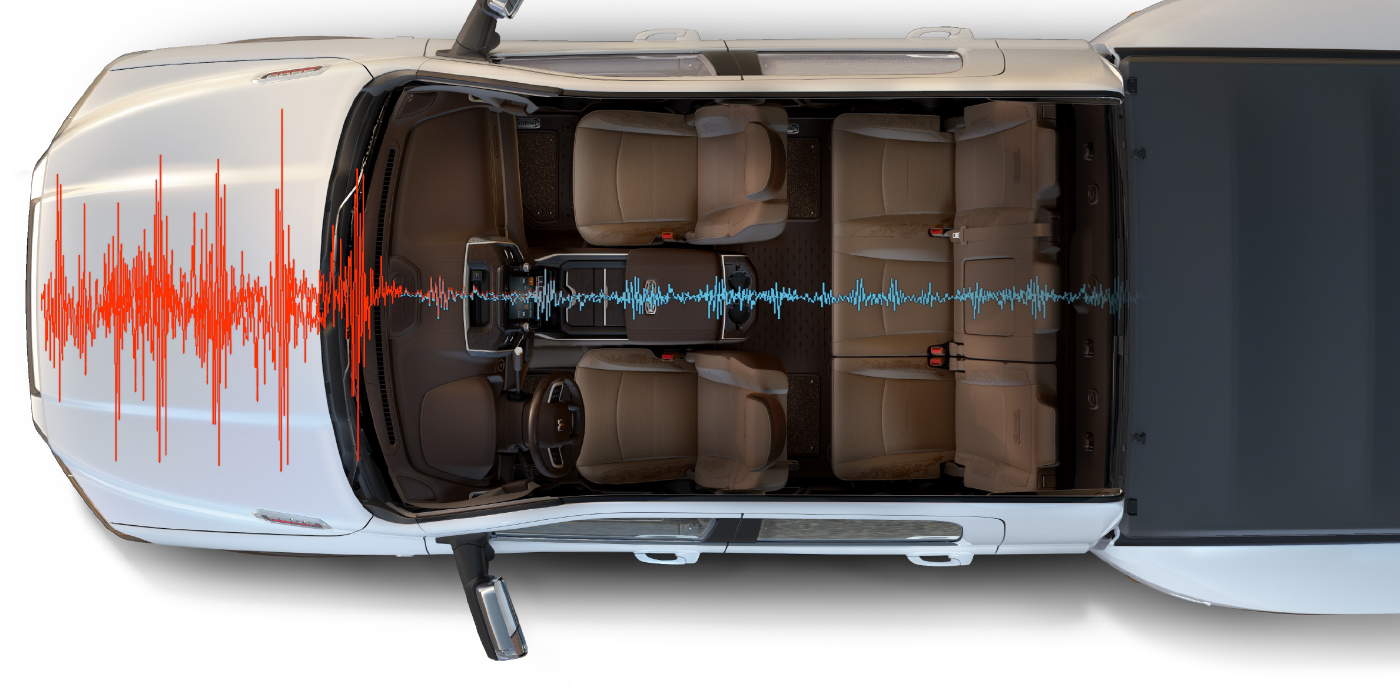
There was a time when the heating and ventilation system on most cars was simple. A three-position switch, 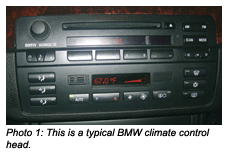 a couple of levers and maybe some separate vents that would allow outside air to enter the passenger compartment. Times have changed and today’s car buying public wants to dial in a desired temperature and turn over regulation to a processor (See Photo 1). Many cars have multiple-zone HVAC systems where different temperatures can be dialed in for certain areas of the car interior.
BMW has used the same basic system for the last 25 years or more for regulation of interior temperature, window defrosting and ventilation. The focus of this article will be the 3 and 5 Series cars of the last 15 years, but the information on repair and diagnosis is applicable to all models. Like a jigsaw puzzle, there are a lot of pieces to this system, but when they are all put together, the picture on how it all works is pretty clear.
 COMPONENT PARTS
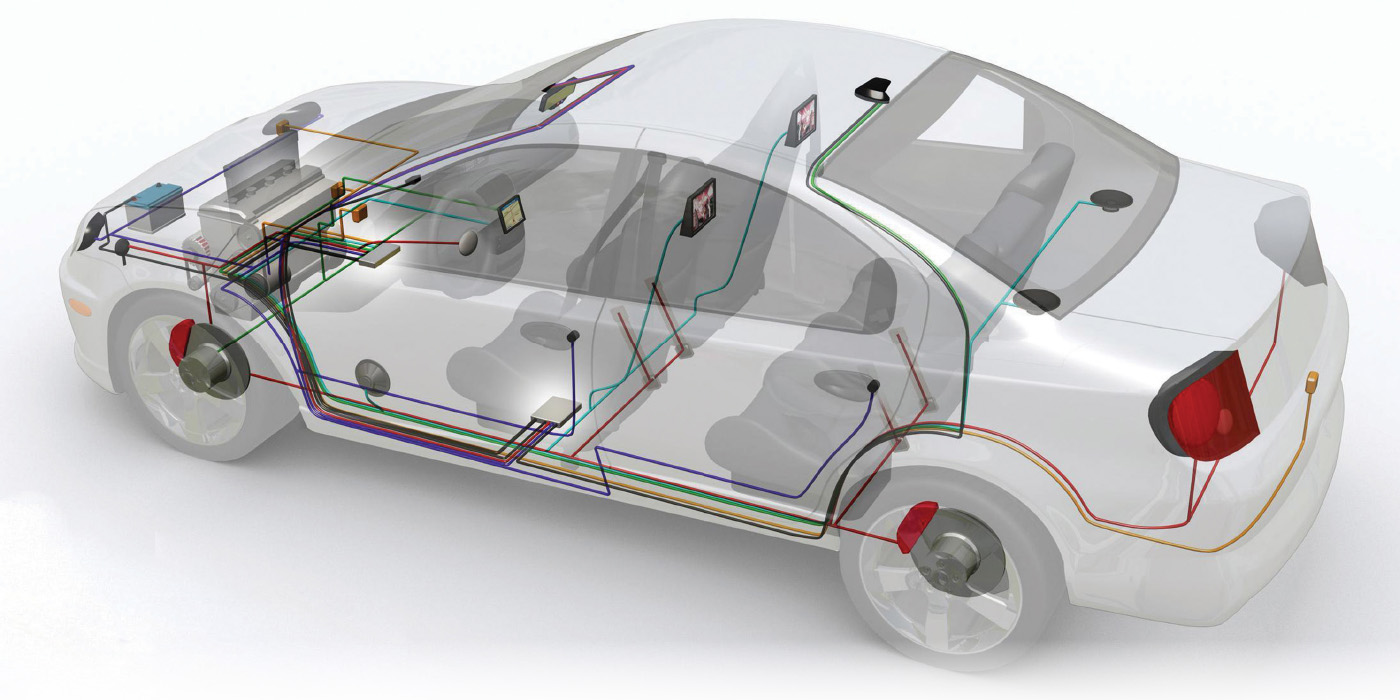
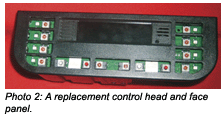
Beyond the obvious parts of the HVAC system, the radiator and heater core, blower motor, A/C evaporator and condenser, there are other components that help regulate the interior temperature regardless of the outside conditions. On all of these models, there is an auxiliary coolant pump, a switching valve assembly and various temperature sensors, flap actuators and a control head and processor (See Photo 2). Later models will have at least one cabin or pollen filter, and some will have two or more.
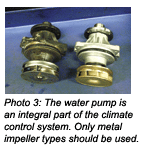 Not so obvious parts are the engine water pump (See Photo 3), engine thermostat, fan speed control or, as BMW calls it, “final stage” and the on-board diagnostics system. They all contribute information to allow the processor to regulate heat or A/C operation to control temperature throughout the car’s interior.
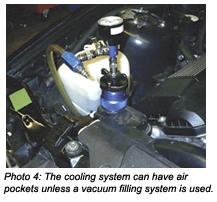
Before doing any diagnosis of the climate control system, the integrity and operation of the car’s cooling system must first be reviewed and any faults must be repaired (See Photo 4). Because these cars have an auxiliary coolant pump for the heater system, some coolant will flow through the system whenever the key is on and the heater system is in a “heat demand” setting. Since water pump failures are common, lack of heater output at higher engine speeds is often a clue to a cooling system problem that must be resolved before the climate control system is suspected.
 THE BIG PICTURE
In this article, I’m going to list some of the more common symptoms related to the climate control system and point out some things to look for to resolve them.
One of the first places to go to make sure everything is working properly is the owner’s manual to get a picture of how the system is supposed to work. Because a number of factors go into the processors’ adjustments to achieve a certain temperature, as with most climate control systems, temperature control is not instantaneous; so always give the system a chance to adjust before moving to the next test.
- No climate control display. This is common on 3 Series cars. Usually after a few tests for power supply from the fuses and relays involved with the climate control system, replacement of the control head and processor is the only fix. Both new and remanufactured units are available. Often a good, hard slap on the instrument panel will cause the display to light up, unless that is what the car owner has been doing for the past six months and it no longer works.
- Temperature regulation is poor. There can be a number of problems related to the system not working, but temperature regulation is way off the mark. The first two items that come to mind are the interior and ambient temperature sensors. The ambient temperature sensor is usually located in one of the under-bumper air ducts to reduce the possibility of being influenced by radiator or condenser heat. Unfortunately, the plastic pieces under the front of the car are vulnerable to attack from curbs and things, so they are often damaged or missing.
- Blower does not operate. There can be a number of reasons why the blower fan won’t blow. The obvious first steps are to check all of the applicable fuses; as there are always several fuses related to the climate control system. If all of the fuses are OK, look at the control panel and verify that the control buttons change the requested fan speed. If the graphic indicates that the control module is generating the request; go to the next step.
- Heater does not put out heat. This one can involve a number of different components. Assuming that the cooling system operation has already been confirmed as being OK, start checking the temperature of the hoses at the control valve assembly (See Photo 8). With a dual-zone heater system, the valve will have two valves and three hoses going to the heater core, which is divided into separate sides. Using a non-contact temp probe, the temperature of all of the hoses into or out of the valve should be about the same, with the engine at operating temperature and the heater on full heat.
- Air doesn’t change from floor to defrost. Control of the various flaps and doors to channel air from the heater core or evaporator is done by small stepper motors. By checking output signals from the connector at the control head (output signal should change as the buttons are pushed), the problem can be traced to the control head or a mechanical problem, or stepper motor failure.
- Defroster output is insufficient. If you have verified that the operation of the blower fan is good and the flaps are moving, the first place to look for restriction is the cabin or pollen filter. On 5 Series cars, this is easy as they are located in the plenum area under the hood, and can be accessed by releasing the retainer wires and lifting the cover.
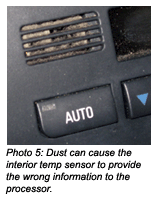
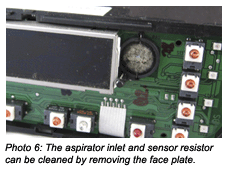 One reason the climate control system won’t work properly is because the ambient temp sensor left with the piece it was connected to. The interior temp sensor is subject to a different type of attack, from dirt and dust being drawn into the control panel by a small aspirator fan (See Photo 5) that is attached to the control panel. Often, where no other component failures are found, just cleaning the inlet of the panel, or removing the faceplate and cleaning the sensor, will restore operation (See Photo 6).
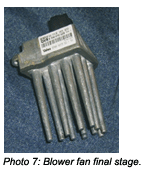 Remove the lower dash panel on the side of the instrument panel that houses the Blower Fan Final Stage or fan resistor (See Photo 7). Unplug the resistor pack and check for power from the control head. Most likely, you will find power and ground, and by using a jumper at the proper terminals, the fan can be energized (consult an accurate wiring diagram) which will eliminate the fan motor as the failure.
Inspecting the fan resistor for any indication that the potting material has melted or the resistor wires have pushed out of the housing will probably reveal the failure.

If there is any difference in temperature between the hoses, then start eliminating components that could affect that temperature difference. As long as the engine is running and the heater is turned on, the auxiliary coolant pump should be running, and the control valves should be oscillating, you can verify this with a stethoscope or some other listening device.
Heater cores can fail on any car, but I would eliminate all other possibilities before going to that point. I had one instance a few years ago, where just before tearing down a BMW to do a heater core, I decided to visually check the operation of the control valves, and found the entire control valve full of some kind of silicone jelly.
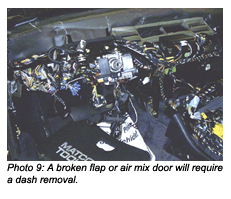
The flap motors are sometimes difficult to access, but can be easily removed to manually check the operation of a flap or door, or replaced. The biggest problem here is access, as some are buried deep in the wiring and dash components. Just allow sufficient time to diagnose and repair. Removing a flap or door motor to allow manual operation will determine whether the problem will require a dash removal to repair or replace a broken door or flap (See Photo 9). Debris falling down the defrost ducts is the most likely cause of door or flap failure. Nothing else can be done once that happens.
On some later model 3 Series cars, the filter will be under a small narrow cover in the center of the plenum area, or there may be two small “micro filters” under the plenum cover at the inlets to the blower fan housing.
On earlier 3 Series cars, the filter is in a housing section between the blower fan and the mixing chamber, in the center of the dash. This filter is accessed through a small cover on the right side, under the dash. The steps to remove this filter are straightforward, even if the location is very difficult to reach.
A. Remove the lower cover plate under the dash on the passenger’s side. You may need to disconnect the under-dash courtesy light if it’s clipped into this panel. On some cars, you will need to remove the glove box to have enough room to lower the relay panel.
B. Unscrew the auxiliary relay panel; usually two vertical screws and one horizontal going toward the firewall. Pull the panel down and as far to the right as possible.
C. Turn the release knob on the filter cover; it’s located on the right side of the climate control system housing just back from the firewall, near where the fan resistor is located. You may need to remove the resistor harness to get the cover out.
D. Grab the tab of the old filter and pull it out. The filter has a hard plastic surround, but it’s notched and will actually fold into three sections to facilitate removal. The new filter can be “cracked” to install, or you can work it into place carefully on most models without bending it far enough to separate the sections. Make sure any large debris is removed from the heater housing before installing the new filter.
I can’t stress enough the need to understand how the various parts of the system work before trying to fix anything. Just like a jigsaw puzzle, it’s easier to finish if you know what it’s supposed to look like in the end.