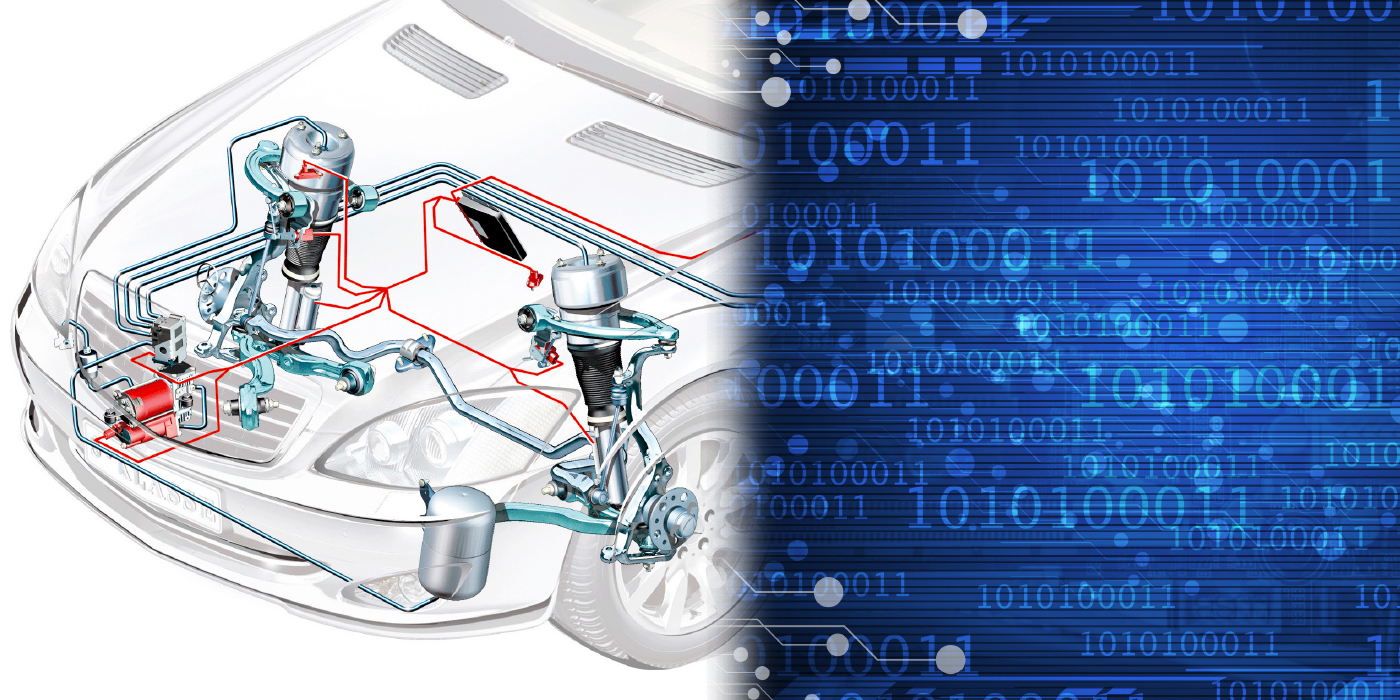
A 2001 Acura MDX owner may complain of front-end noises. There are three distinct noises that may come from the front suspension:
1. A sharp metallic pop, usually heard when accelerating or braking;
2. A clunk, usually heard when driving through dips in the road; and
3. A thump, usually heard when driving over rough roads.
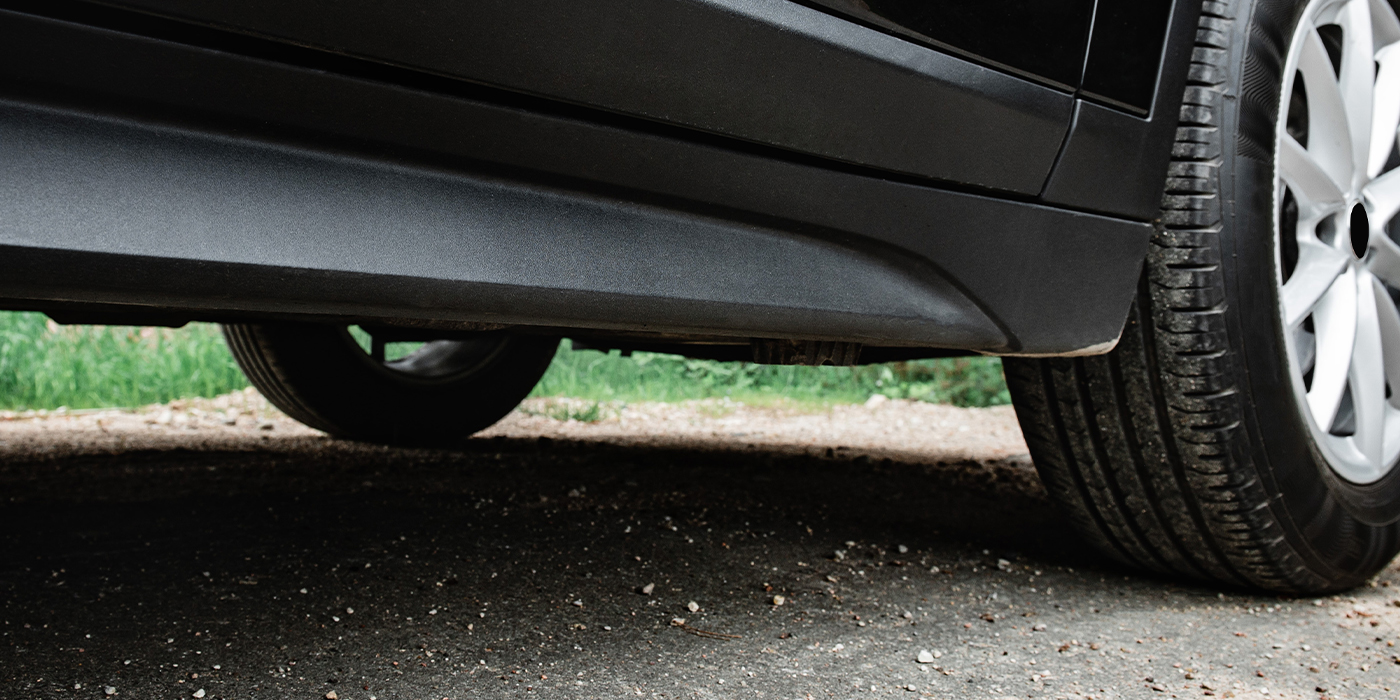
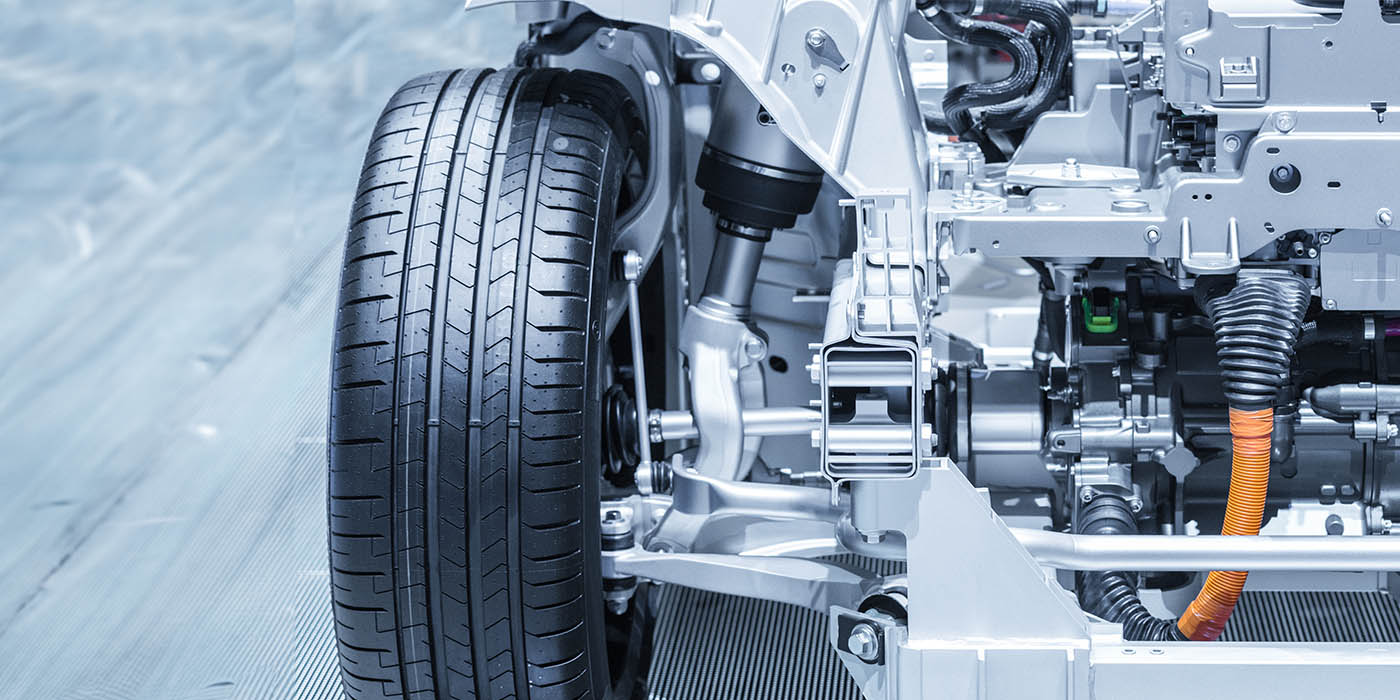
Each of the three noises has a different probable cause. Symptom 1 is caused by insufficient clamping force of the lower arm to the subframe. Symptom 2 is caused by the front damper spring coil contacting the end of the spring. Symptom 3 is caused by faulty front dampers.
Based on the diagnosis of the vehicle’s specific symptom, torque the lower arm mounting bolts, install spring silencer tube sections, or replace one or both front dampers as needed.
Symptom 1: From VIN 2HNYD1…1H500001 thru 2HNYD1…1H517450
Symptom 2: From VIN 2HNYD1…1H500001 thru 2HNYD1…1H530609
Symptom 3: From VIN 2HNYD1…1H500001 thru 2HNYD1…1H521466
PARTS INFORMATION
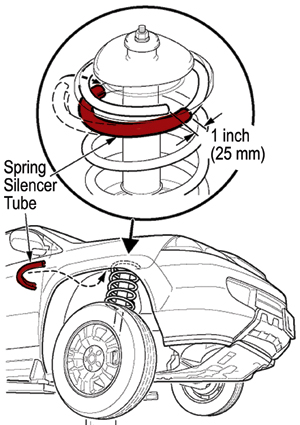
• Procedure B: Spring Silencer Tube: PN 52442-S0X-A01
• Procedure C: Left Front Damper Unit: PN 51606-S3V-A04
• Right Front Damper Unit: P/N 51605-S3V-A04
Repair/Diagnostic Procedure
Perform the appropriate diagnosis based on the customer’s complaint or the symptom you hear during the testdrive.
1. Sharp metallic pop: Drive the vehicle in a full-lock turn (right or left), at about 2 to 3 mph, and apply the brakes hard. Then accelerate again to about 2 to 3 mph. Repeat this several times. If you hear a sharp metallic pop, go to REPAIR PROCEDURE A.
2. Clunk: Drive the vehicle through a dip or over a speed bump. If you hear a clunk, go to REPAIR PROCEDURE B.
3. Thump: Drive the vehicle on a choppy or washboard road. If you hear a thump, go to REPAIR PROCEDURE C.
REPAIR PROCEDURE A
Without removing the bolts, loosen the lower arm rear mounting bolt on each side. Torque the bolts to 90 lb-ft (122 N.m). The torque value above applies only to lower arm mounting bolts that have not been removed. If the mounting bolts are removed, they must be replaced and torqued to manufacturer’s specifications. All replacement mounting bolts are wax-coated to ensure proper clamping force. Test drive the vehicle as described in step 1 of diagnostic procedure to confirm the repair.
REPAIR PROCEDURE B
1. Raise the vehicle on a lift.
2. Wipe off the top section of the front damper springs with a shop towel, then clean the same section with isopropyl alcohol.
3. Cut the spring silencer tube in half with a utility knife or scissors.
4. Carefully pull down on the spring just enough to insert the spring silencer tube section onto the coil below the end of the spring. Position the spring silencer tube about 1 inch (25 mm) past the end of the spring. Repeat this step to install the other section of silencer tube onto the other front spring.
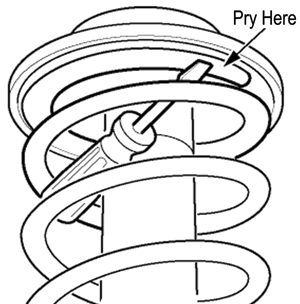
5. If necessary, carefully pry between the spring coils with a short-handled screwdriver to ease installation of the tube sections.
6. Test drive the vehicle as described in step 2 of diagnostic procedure to confirm the repair.
REPAIR PROCEDURE C
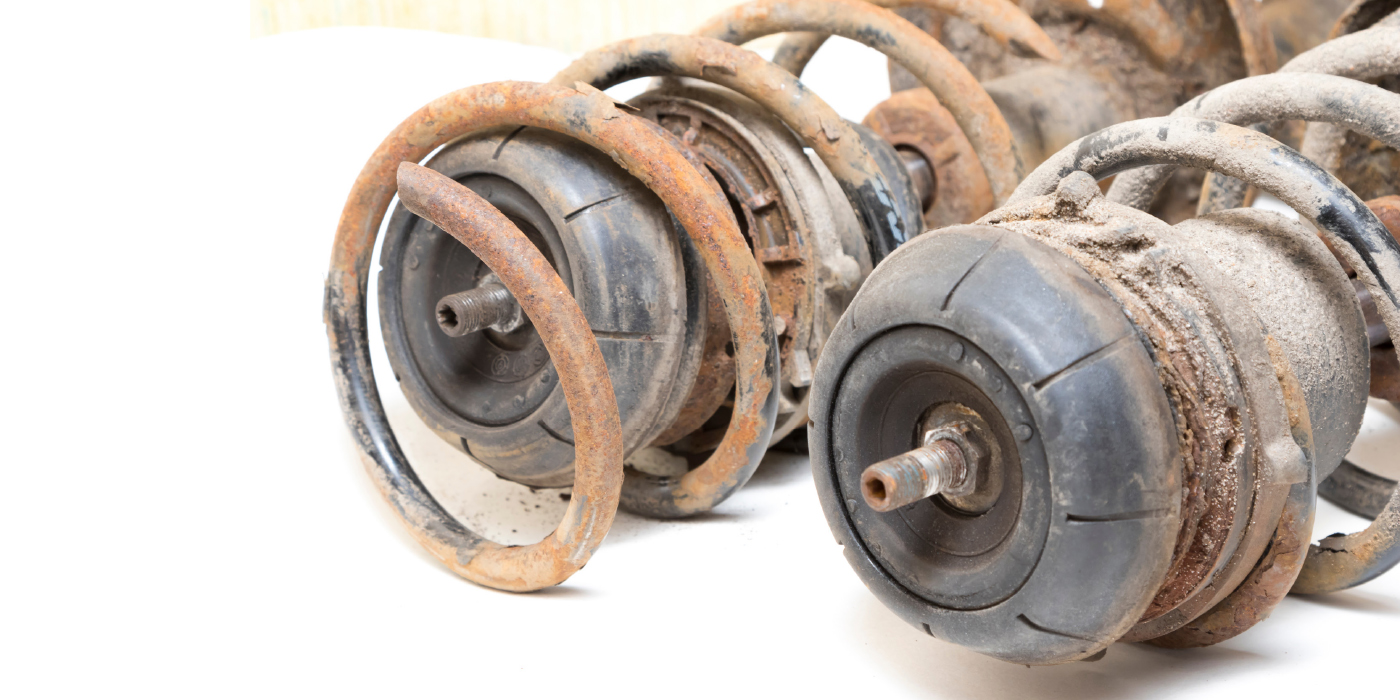
1. Inspect the two front dampers.
a. If a damper is leaking fluid, replace it.
b. If the dampers show no signs of leakage, replace only the damper that thumps.
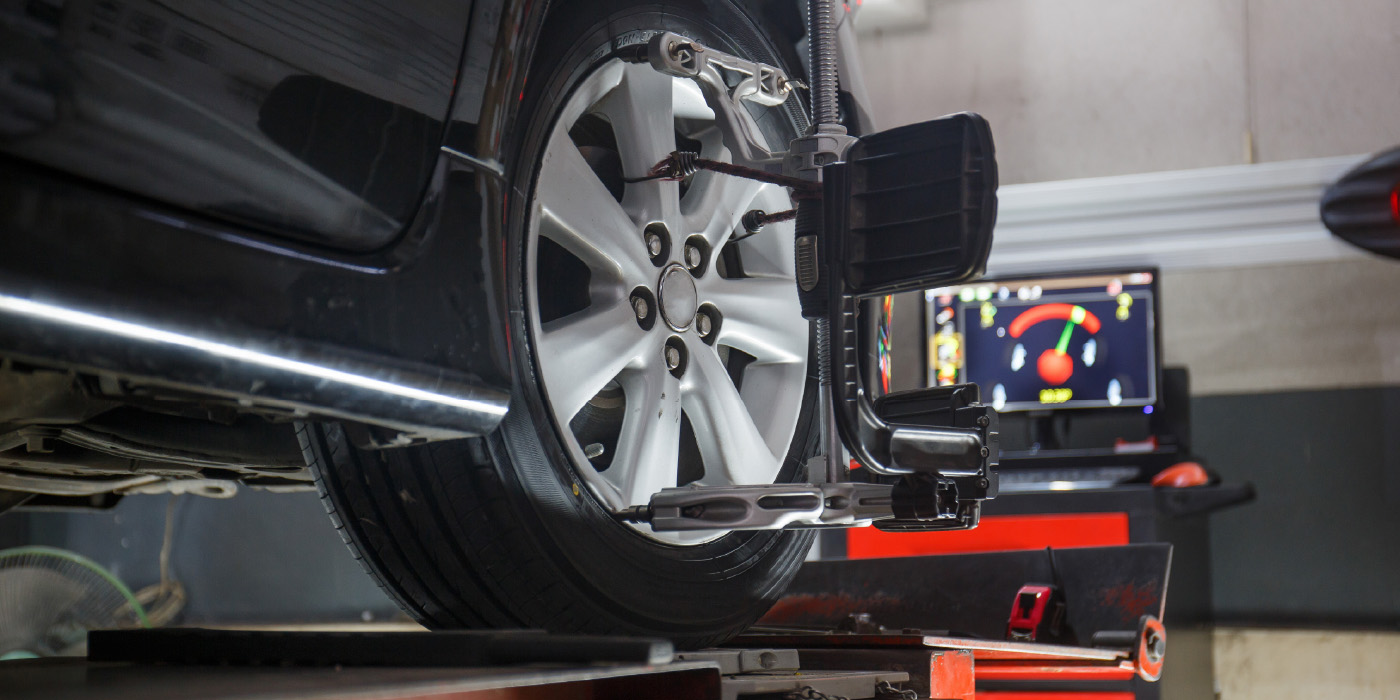
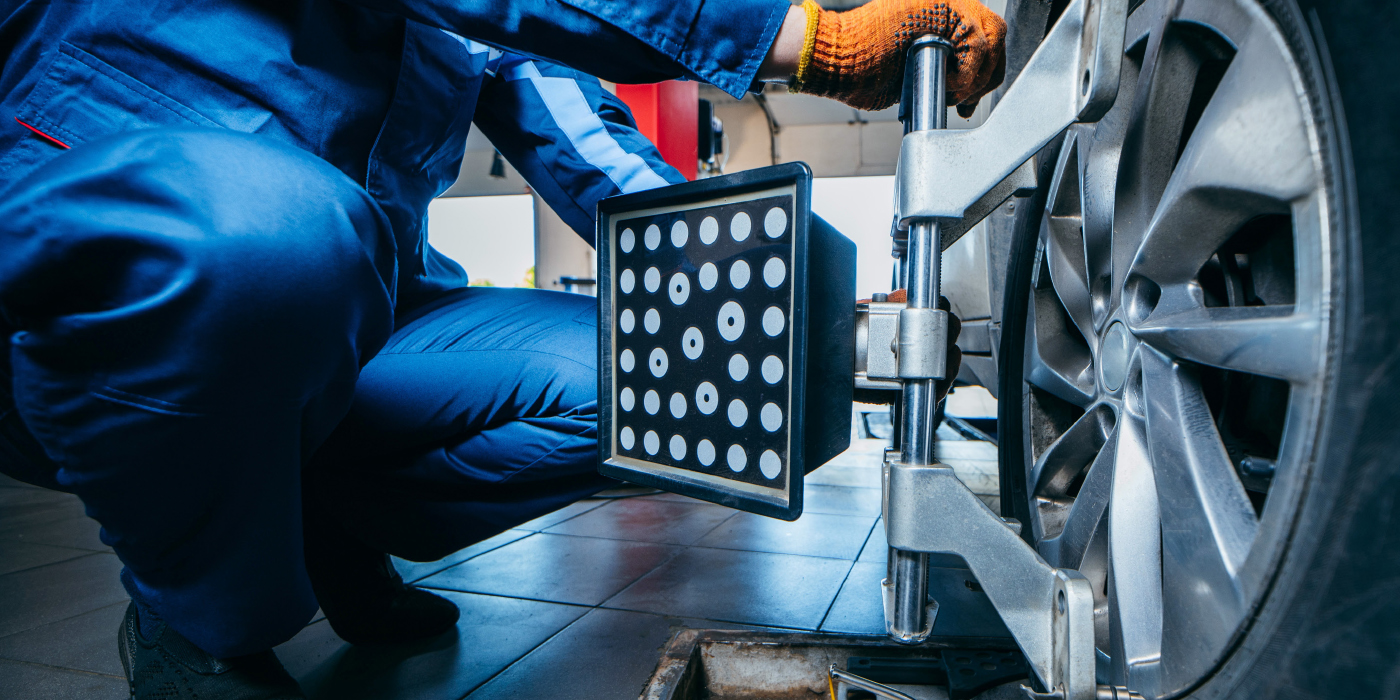
2. Check the front wheel alignment.
3. Test drive the vehicle as described in step 3 of diagnostic procedure to confirm the repair.
Courtesy of ALLDATA.