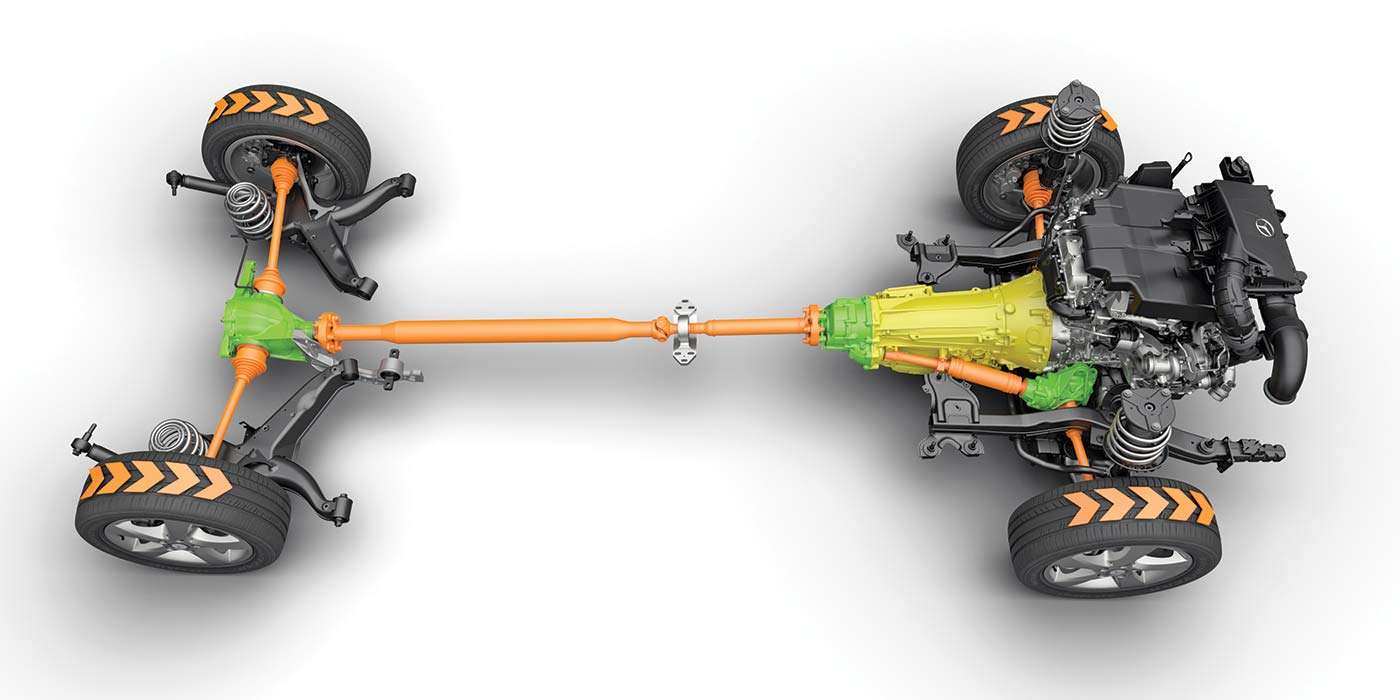
Models: 1988-2005 Ford Ranger, Explorer, Navajo, F-Series trucks
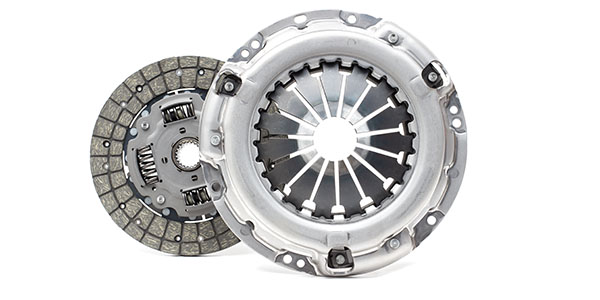
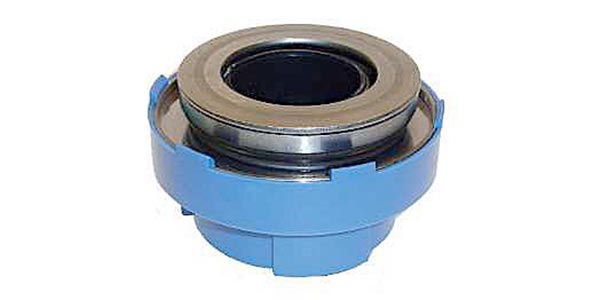
Replacing a clutch bearing on a Ford Ranger, Explorer, Navajo or F-Series truck generally completes the repair with no further replacement parts needed. However, master cylinders may need to be replaced, which could result in air getting into the system. This tech tip describes a common method to remove the air from a standard hydraulic clutch system.
Replacing and purging the air from the hydraulic clutch, master cylinder system is a relatively easy task.
First determine if your system needs to be bled. Replacing the clutch master or slave cylinder generally does not require the air to be purged out. However, a soft or mushy pedal may indicate air is present and needs to be removed.
We recommend that you refer to the vehicle’s original equipment manual for torque specifications. Most specification manuals will recommend that the air be removed while the master cylinder is mounted in a vise on a bench. Here is the recommended tech tip to perform the “bench bleeding” of a Ford master cylinder.
• Carefully horizontally mount the master cylinder in a vise, protecting the flanges from damage.
• Take the remote reservoir and mount it a few inches higher than the clutch master cylinder. Be sure to have the reservoir hose coupling on the master cylinder pointing outward and upward at a 45-degree angle.
• Fill the reservoir with DOT 3 brake fluid.
• Take a blunt tool and depress the internal mechanism of the male coupling (outlet that leads to the slave). NOTE: Only depress mechanism about 1/4” and hold it in until fluid is running from the outlet. Do not allow the reservoir to deplete itself of fluid.
• Once fluid is running, release the internal mechanism and refill the reservoir if needed.
• Using the push rod, stroke the clutch master cylinder 1-20 times or until firm resistance is felt. NOTE: Be sure to use only short and steady strokes.
• Once firm, replenish reservoir fluid with DOT 3 to about 12 mm (.47 of an inch) from the top of the reservoir.
• Replace diaphragm and cap on the reservoir.
• Using the push rod, recheck the clutch master for firmness. If it is not firm, repeat the process. If it is firm, install the hoses that connect the slave to the clutch master. Once the hose is installed on the clutch master, take the opposite end of the hose — the end that connects to the slave — and locate the check ball in that end of the hose.
• Straighten a paper clip; lodge the ball back into the hose to open the value. Take that end of the hose and completely submerge it into a clean container of DOT 3 fluid. Secure hose to container so it won’t come out of the container of fluid and place the container at least 12 inches above the clutch master cylinder.
• Using the push rod with short, steady strokes, stroke the master cylinder until it is firm or until there are no more air bubbles coming out of the hose that is submerged in the fluid.
• Take that container with the hose in it and lower it below the master cylinder. If possible, place it on the floor. While the end of the hose is still submerged, remove the paper clip.
The clutch master cylinder and hose are full pre-bled and ready to be installed.
Courtesy of SKF.