Whenever a customer comes to your shop for any brake repair, you need to know why they are there in the first place. Just writing a ticket for a brake job because the customer requested it can lead to a comeback and an unsatisfied customer.
There is one golden question every service writer must ask the customer before recommending any brake service: “What difference have you noticed in your brakes recently?” This question does not lead the customer down any path, but forces them to explain how their brakes feel, sound and perform.
The secret is to be quiet and listen, as the customer will tell you almost everything relevant to the repair that you need to know. Trying to show your deep knowledge will only get you less information. But, you can ask followup questions like:
• Is it doing it all the time?
• Has it gotten worse?
• When did you notice it?
Keep the questions as broad as possible, and just let the customer unload their problem. Make sure you take notes and put them on the repair order. Next, reflect on what was said. This will build a level of trust better than if you gave them the most technical explanation of the history of disc brakes.
If the service writer has done his job, the technician will know four things:
1. If there is a pulsation or judder;
2. Where the pulsation or judder is coming from (steering wheel, seat or pedal);
3. When the pulsation or judder occurs; and,
4. If there is a noise problem.
If the customer says his rotors are warped, it can mean multiple things. Warping is a diagnosis, not an observation or symptom. This is why asking them where and when a vibration is felt is critical to the diagnostic process.
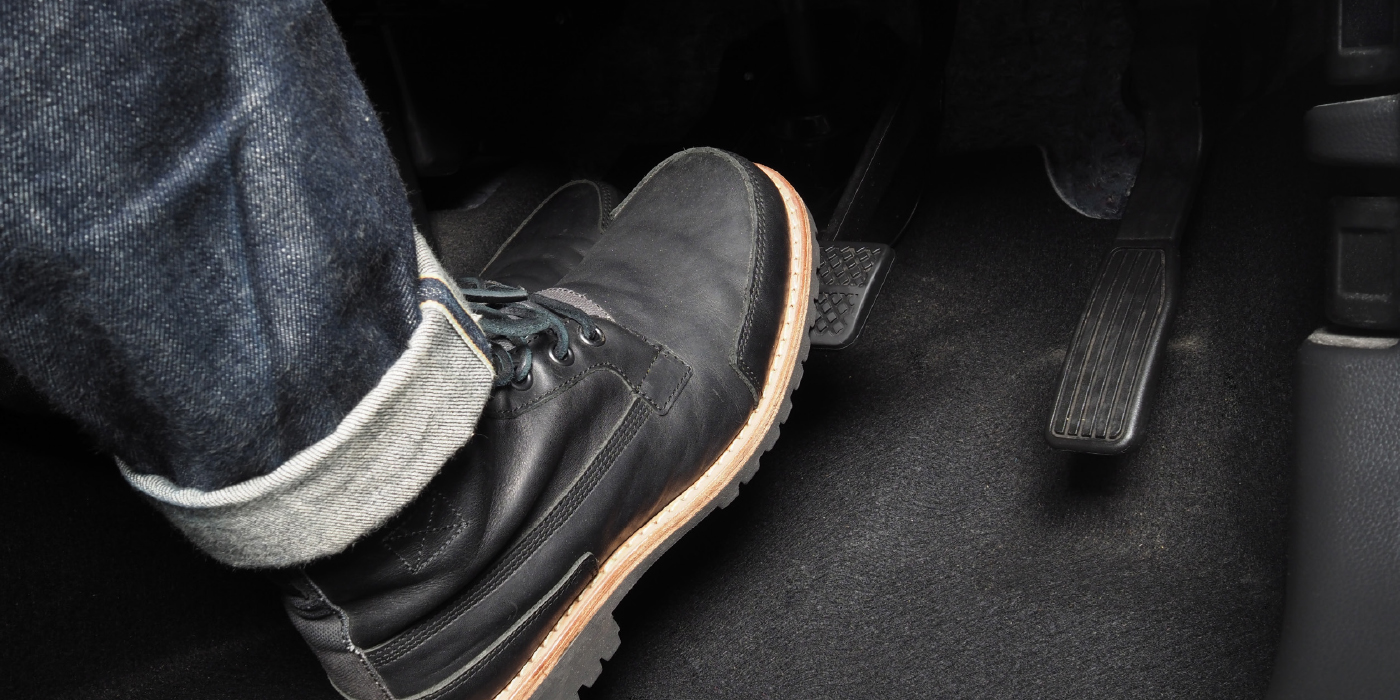
A pulsation in the pedal can indicate excessive runout in the rotor and disc thickness variation (DTV). Juddering is typically a vibration felt in the entire vehicle and not in the brake pedal.
The Test Drive
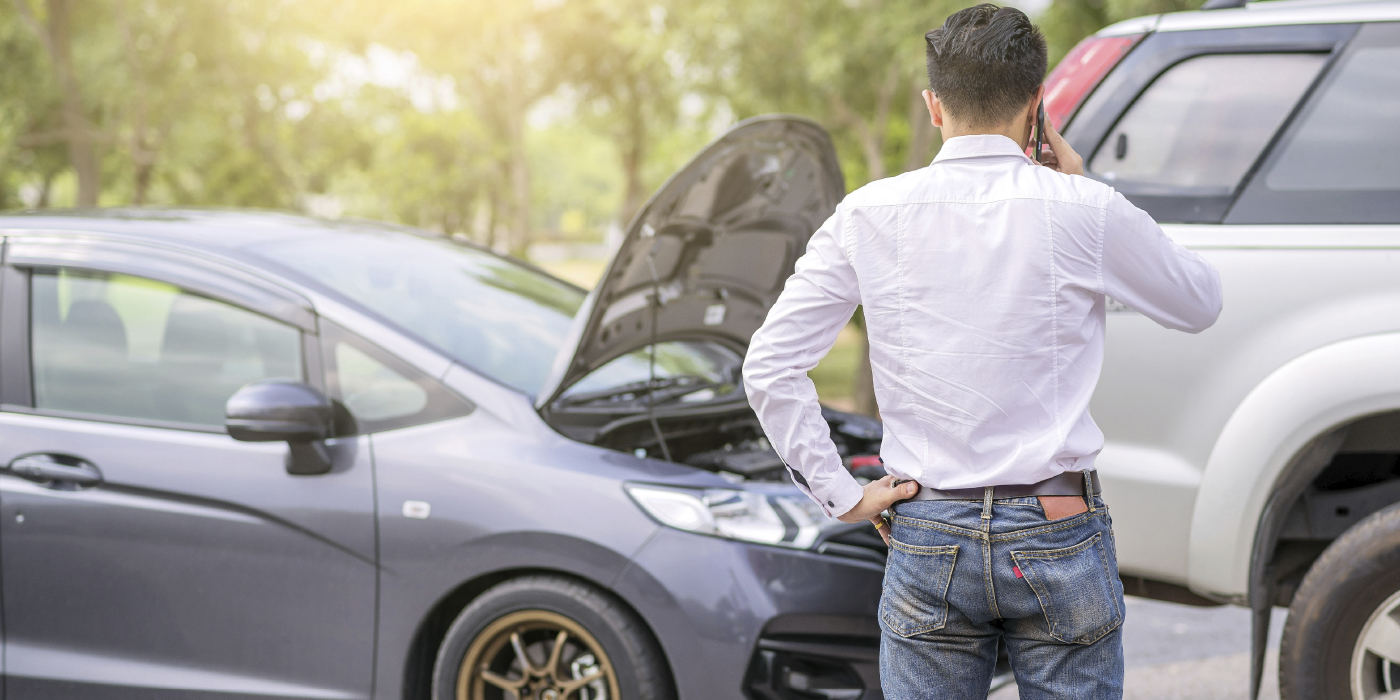
It seems almost counterintuitive to drive a car that has a brake problem, but it is critical to any diagnostic process. A suspected brake problem might just be a bent rim, loose tie rod or something rolling around in the trunk. Take it slow and make sure the vehicle is safe to drive before you leave the parking lot.
Visual Inspection
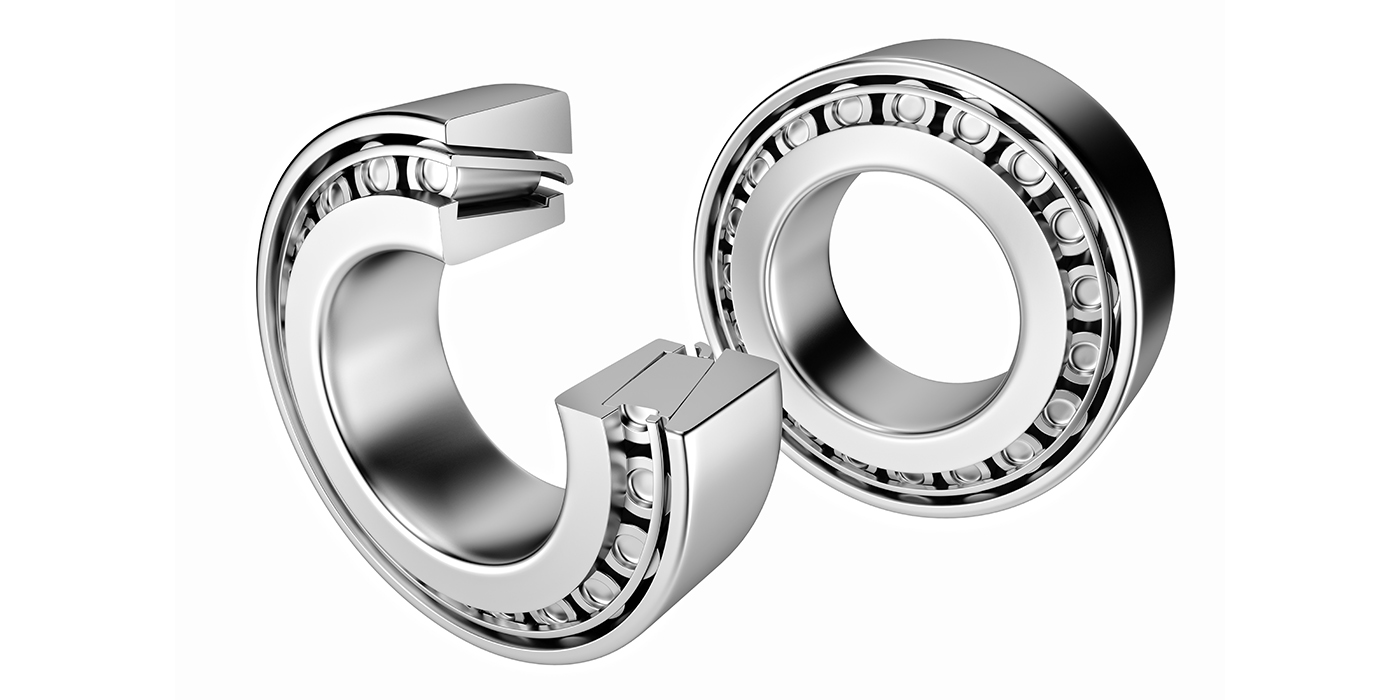
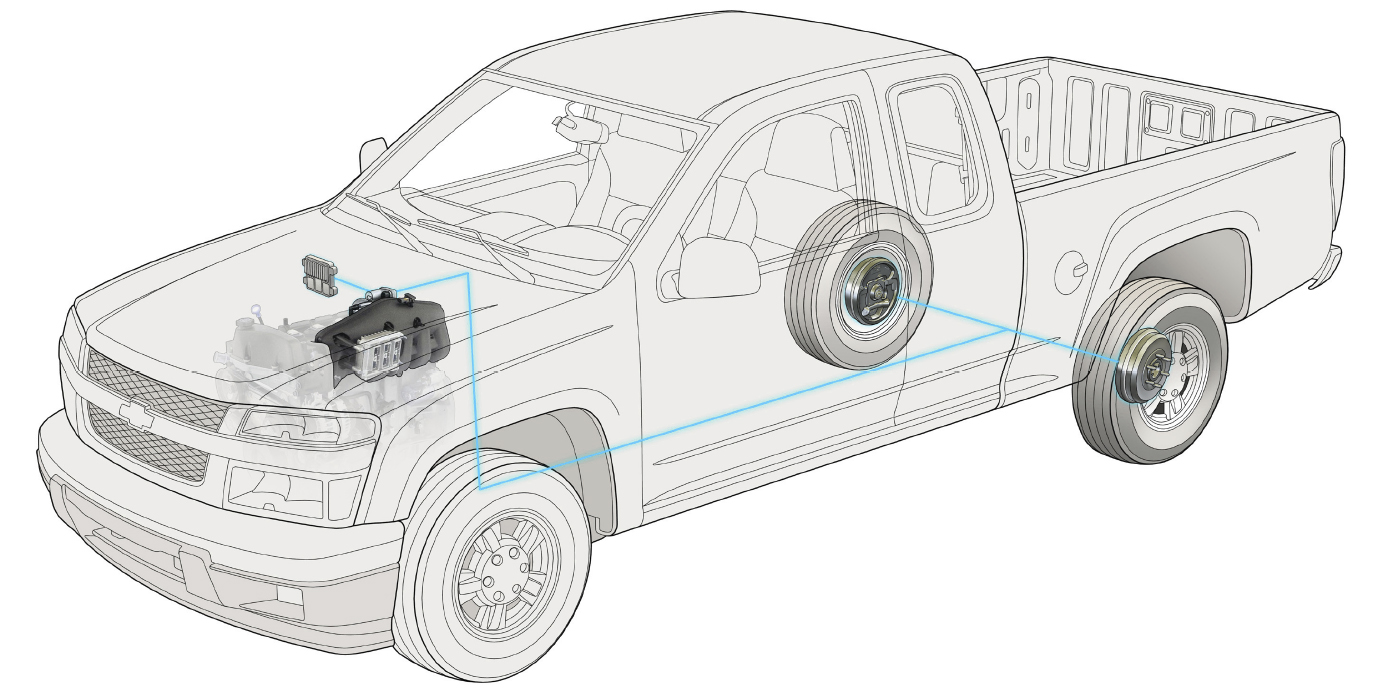
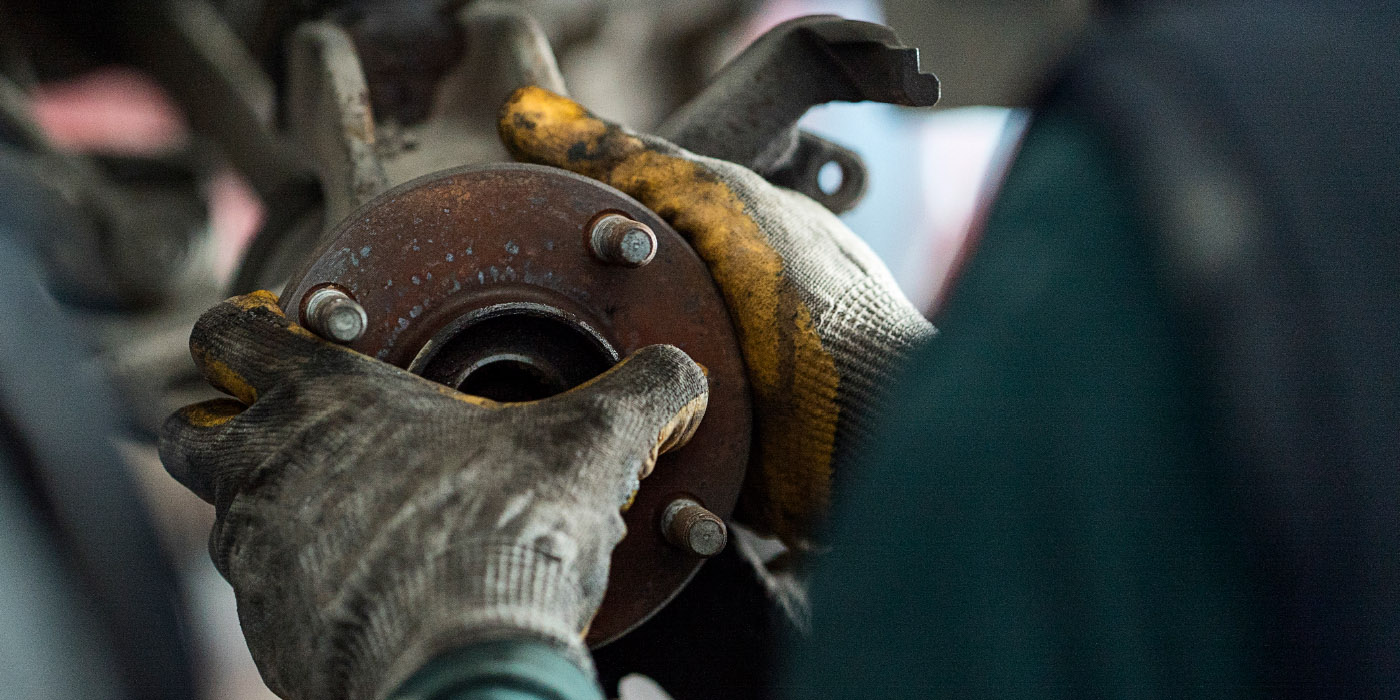
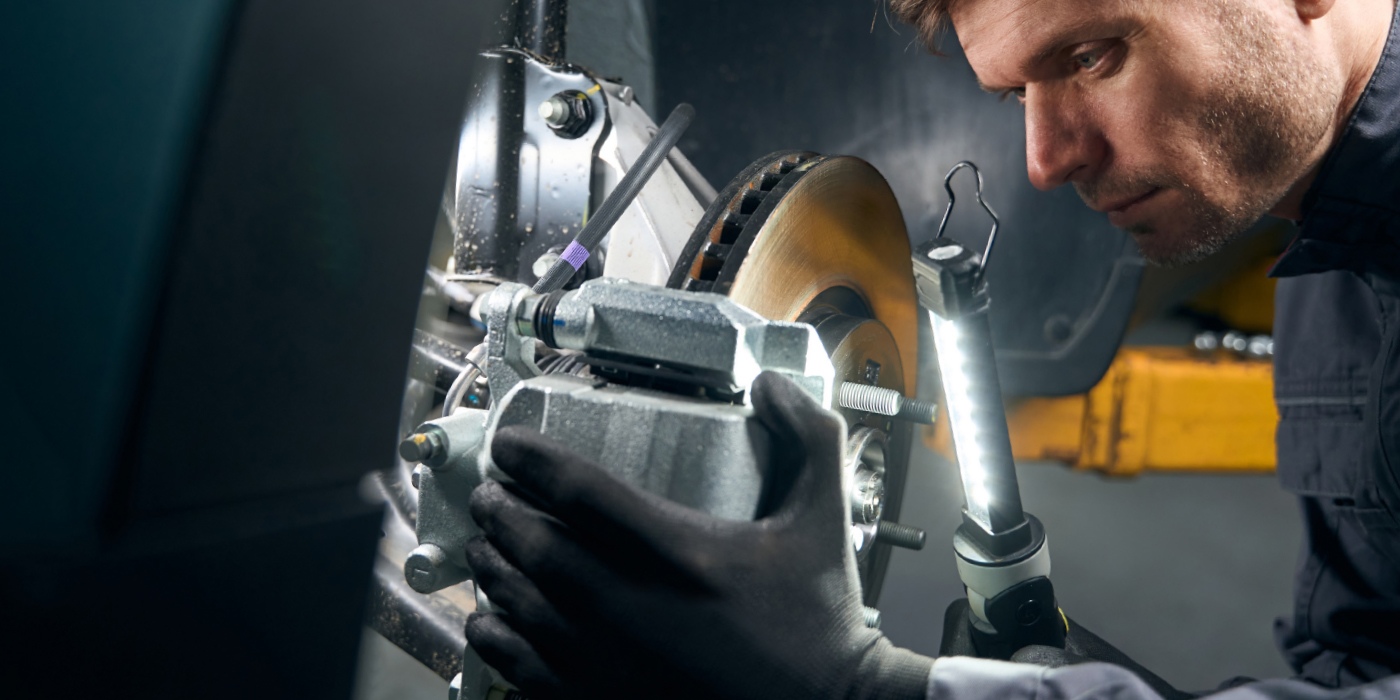
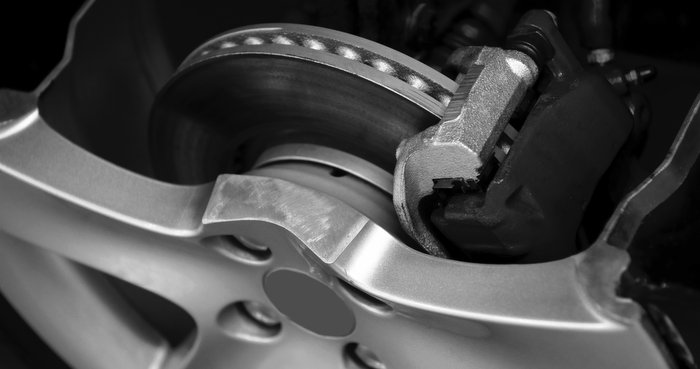
Pull a wheel and look at the brakes. Look for the obvious safety items like pad thickness, hose condition and wheel bearing play. If the customer has reported a pulsation or judder, look at the rotor for corrosion, the condition of the calipers and the state of the hardware.
Measurements
As part of a paid brake inspection, total lateral runout and DTV should be measured. Rotor thickness should be measured in at least six areas of the rotor’s face. Runout measurements should be taken a quarter inch from the edge.
First, find the lowest point in the rotor and set the dial indicator to zero. Rotate the rotor to find the high spot. This is the total indicated runout. Mark the high and low spots on the rotor with grease or a paint marker.
Always refer to the manufacturer’s specifications for runout and DTV. There are no generic specifications for these measurements because no two models are alike. One manufacturer may have an extremely low tolerance to DTV because it decided to use a specific caliper and master cylinder design that is extremely sensitive to pulsation. Another vehicle may have a high tolerance to runout because of the friction material selected or because of an abundance of mass to absorb vibration.
Runout will not cause pedal pulsation on vehicles with floating or sliding calipers, where the caliper housing is free to move and the runout is not excessive. Under these conditions, the caliper will “follow” the runout such that the caliper housing will move in and out in relation to the runout. This movement will not cause the caliper piston to move, which is a key point to understand. No piston movement means no fluid movement in the hydraulic system. If there is no fluid movement, the brake pedal won’t move or pulsate. So understand that runout generally does not cause pulsation. Runout causes thickness variation that leads to pulsation problems.
Judder is a vibration that can be felt in the seat or steering wheel, but will not cause pulsing of the brake pedal, in most cases. Judder can occur in a vehicle with zero runout or DTV, and is caused by brake torque variation (BTV). BTV occurs when there is a variation of torque across the face of the rotor that causes the rotor to slip and catch as brake pads pinch the rotor. BTV may be caused by an inconsistent rotor finish, metallurgy or uneven deposits of friction material on the face of the rotor.
Diagnosis and Replacement Part Selection
After the customer interrogation, test drive/inspection and measurements, you can diagnosis the problem and come up with the best strategy to return the brakes to like-new condition.
Runout will not be removed just by installing new rotors. The runout in the rotor is directly related to the runout in the wheel bearing flange. You have two options that can be used alone or together to bring the vehicle within tolerances.
The first option is using an on-the-car brake lathe. This option can machine new and existing rotors to match the wheel bearing flange. The second is to install a tapered shim or correction plate between the flange and rotor. These methods can be used in combination so the least amount of material is removed from the rotor.
If the customer is complaining about judder, you need to pay special attention to the friction material you install and the surface of the rotor.
So, friction is friction right? Wrong. There are two types of friction when it comes to brakes — abrasive and adherent. With abrasive friction, the bonds of both the pad material and the cast iron of the disc are broken when the caliper pushes them together. Adherent (or adhesive) pad material forms a very thin transfer layer of pad material on the surface of the rotor. The two surfaces are the same materials and generate friction by breaking or shearing the bonds in the pad.
Abrasive friction wears the pad and rotor to change forward motion into heat — so both components wear. Semi-metallic pads and some non-asbestos organics use this type of friction. Adherent pad material transfers a very thin layer of pad material onto the surface of the rotor. Ceramic and some NAO pads use this type of friction. The transfer layer is bonded to the rotor’s surface and cannot be washed away by water or wheel cleaners. The only way to remove it is with a brake lathe or abnormal heat.
The layer is always being worn and replenished by the brake pads during braking, which produces dust. Adherent friction is easier on rotors, but the pads become the primary wear component. With this type of pad, it is critical to machine the rotor with the correct surface finish and follow the recommended break-in procedure so the transfer layer can be established.
With both types of friction, it is critical for the rotor to have minimal runout. Abrasive friction materials will wear away at high spots, creating DTV and pulsation. On the other hand, adhesive/adherent friction material could deposit the friction material unevenly and cause brake judder.
In most friction catalogs, the manufacturer will include original friction formulation information. Reputable brake pad manufacturers will try to match the raw components and friction profile of the original pads. Economy brake pads will try to match only a limited number performance characteristics using a limited number of friction formulations.
The goal of any brake repair is to keep the brakes in the same condition as new. You can have the perfect rotor and the perfect friction formulation on a vehicle, but if you do not properly restore the caliper and hardware, the performance will be compromised.