Models: All
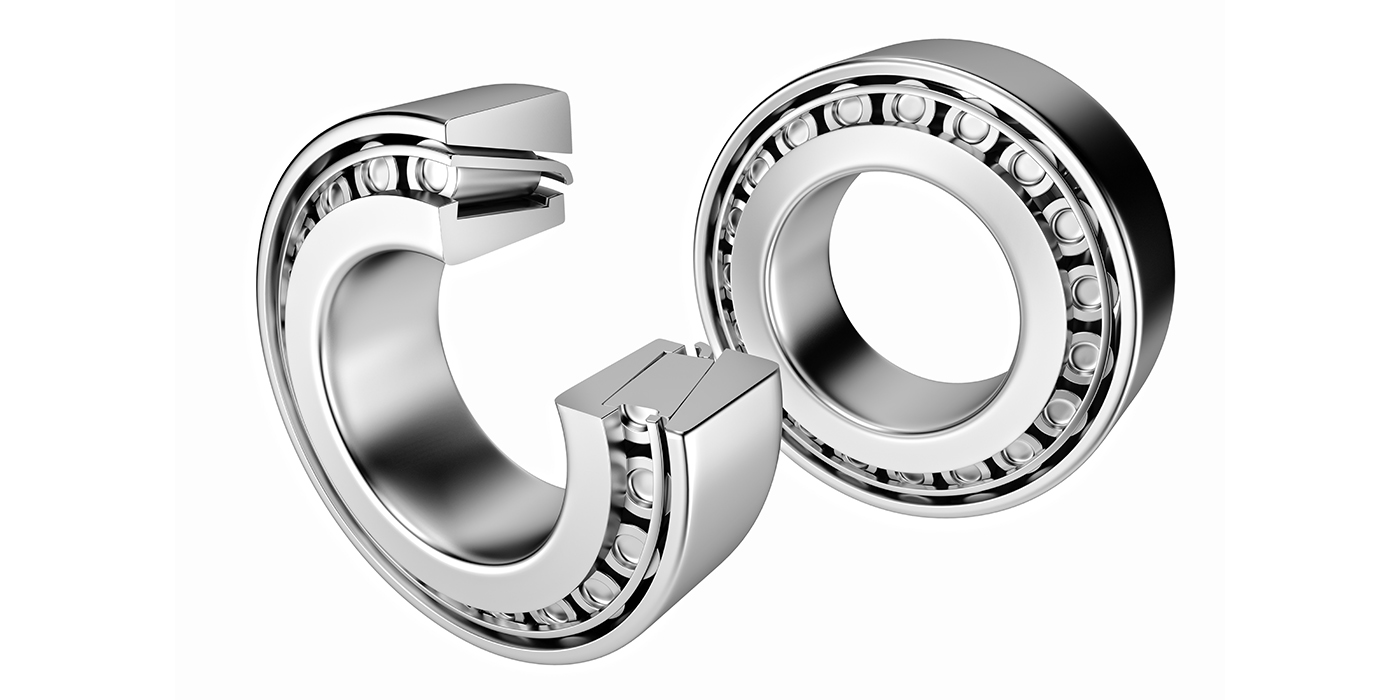
While bearings may be out of sight and out of mind, they are subject to wear and damage; so, a proper cleaning can mean the difference between good performance and bearing failure, according to the bearing experts at SKF.
Always remember to handle any bearing with extreme care, then follow specific cleaning procedures. If a cleaning is done incorrectly, the bearing, shaft or housing may become damaged, creating a more costly repair job.
Service Procedure
1. Soak the bearings in a metal basket suspended in a clean container or tank holding a recommended solvent. Continue the soak overnight if possible. If a basket isn’t available, suspend the bearings with a wire or place them on a metal plate at the bottom of the container. Avoid resting the bearings directly on the bottom of the bucket because sediment may prevent an effective cleaning.
2. After dirt and grease is removed, rinse the bearings in another clean bucket of solvent.
3. Dry the bearings. The safest method is natural air drying, although compressed air (free from condensed moisture) may be used to blow out the bearings. Only do this after all dirt and chips have been removed. If compressed air is used, do not allow the bearings to spin, and always wear safety glasses.
4. After cleaning, inspect the bearing thoroughly for nicks, leftover dirt and damage. Inspected bearings, which are considered “good,” may be used again. If reassembly can’t be done immediately, they should be protected.
5. Dip the cleaned bearings in a protective lubricant or coat all surfaces with a light grease. Rotate each bearing to work the grease thoroughly in and around the roller and on the races.
6. Wrap the bearings in waterproof paper and place each in a clean box or carton. If cartons are not available, wrap them in waterproof paper. Mark the outside of each package to identify the enclosed bearing.
Courtesy of SKF.