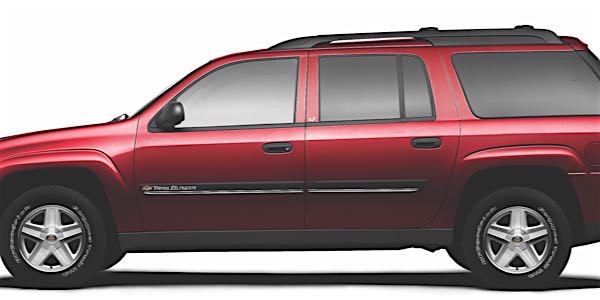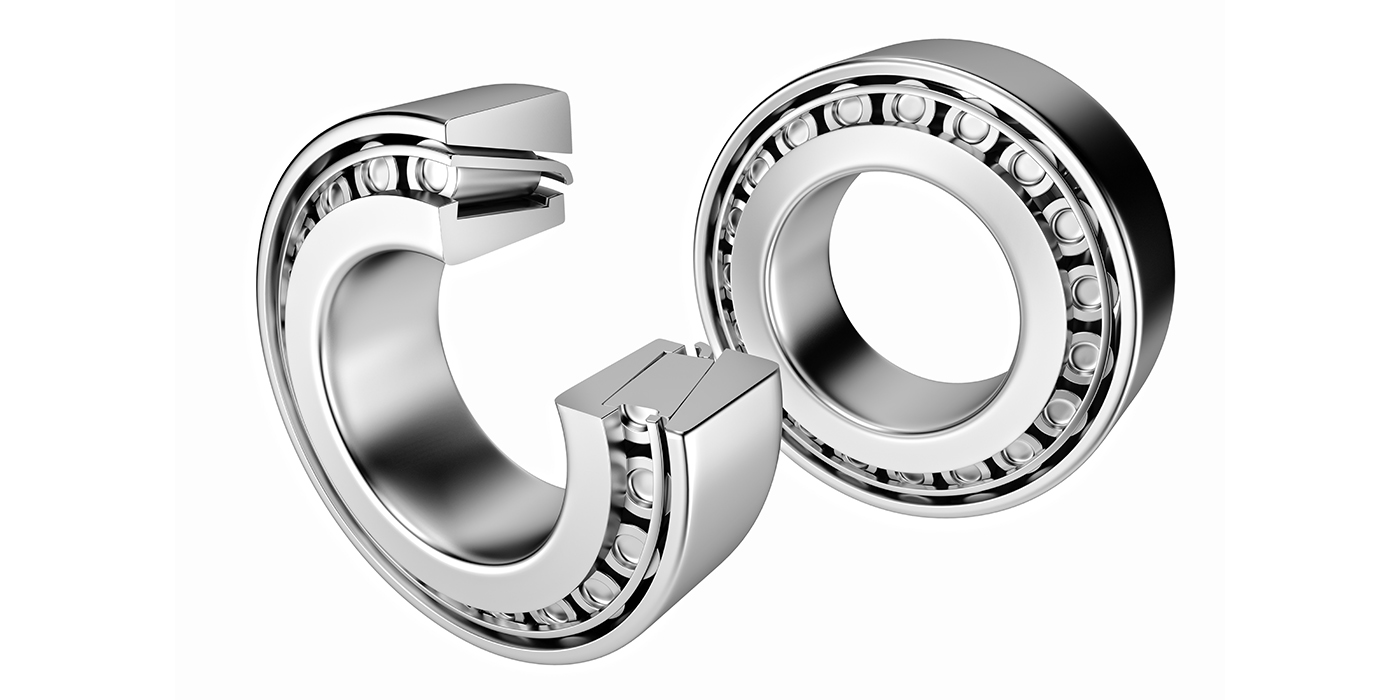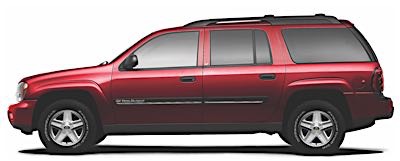
The Chevrolet Trailblazer is based on the GMT 360. While its brake system is not groundbreaking by any means, there are some intricacies that technicians should be aware of on this common platform.
Fronts
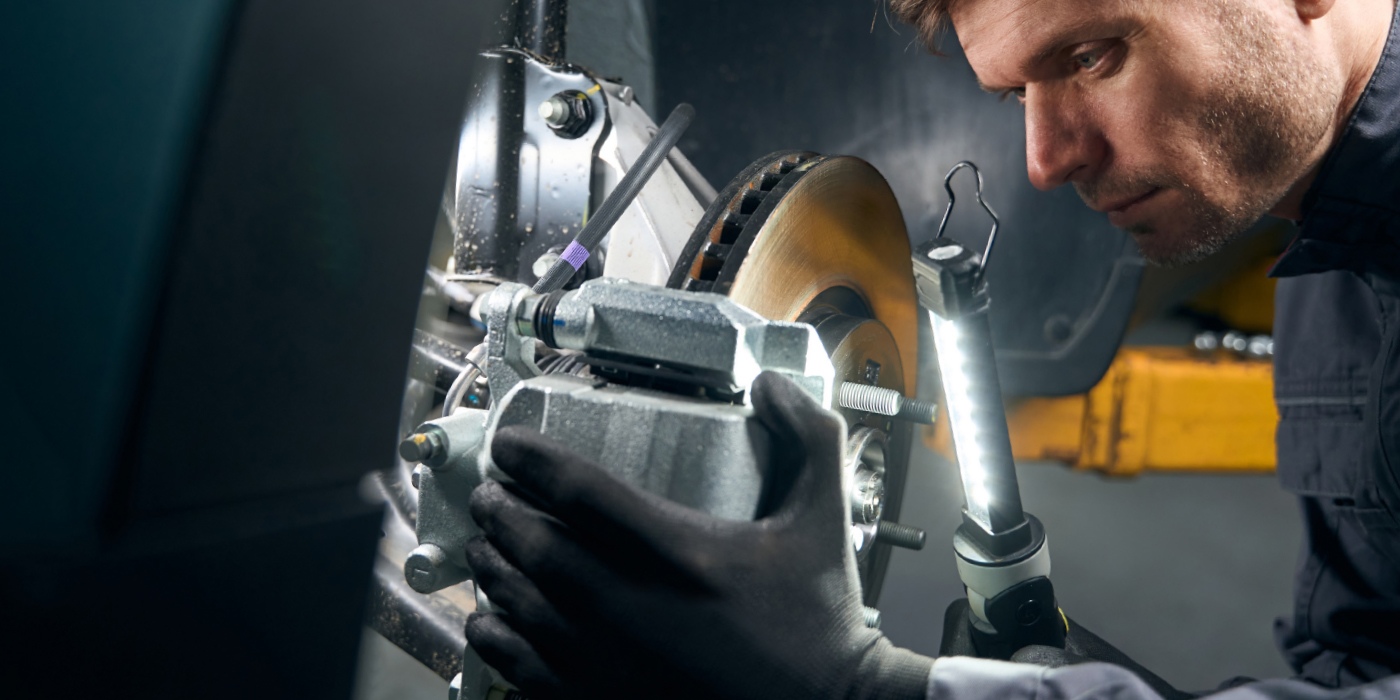
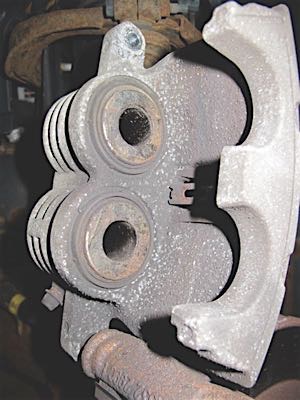
The front brakes utilize dual-piston calipers with phenolic pistons. The most important thing to remember when replacing the pads on this vehicle is to replace the hardware.
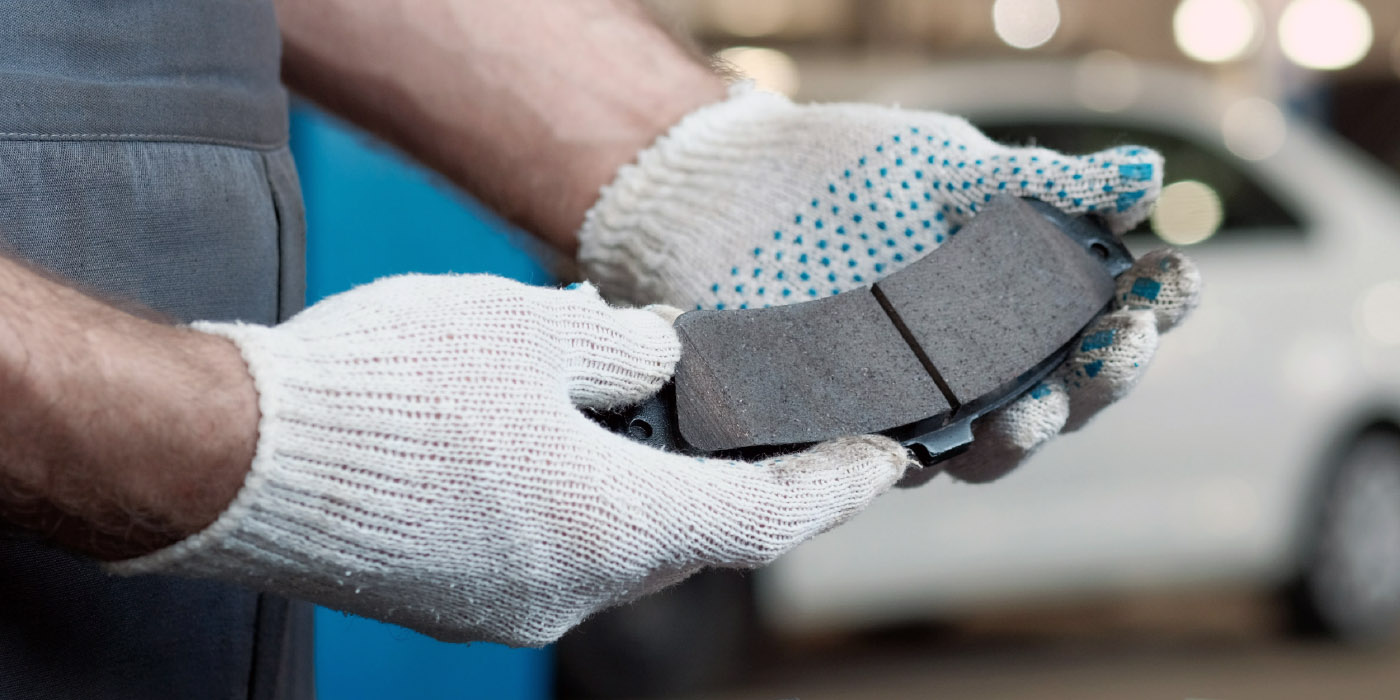
The most critical hardware item is the pad retention clip inside the caliper’s bridge. The clip applies force to the pads and keeps them snug in the bracket. This important piece of hardware loses its spring tension due to heat and vibration. It comes in most hardware kits along with abutment clips. Some pad manufacturers even package it with the pad set.
A word of advice: Do not use cheap pads. The Trailblazer is a heavy vehicle and uses a very aggressive pad compound. I recently had the honor of installing a cheap set of pads supplied by the owner, and after three stops to burnish the pads, the front brakes were smoking and I had a longer- than-normal pedal.
Most inexpensive pad sets will not have the abutment clips and pad retention clips packaged within the set. Less expensive pads will also require you to install the wear indicators. Most high-quality pads have the wear indicators installed and the hardware in the box.
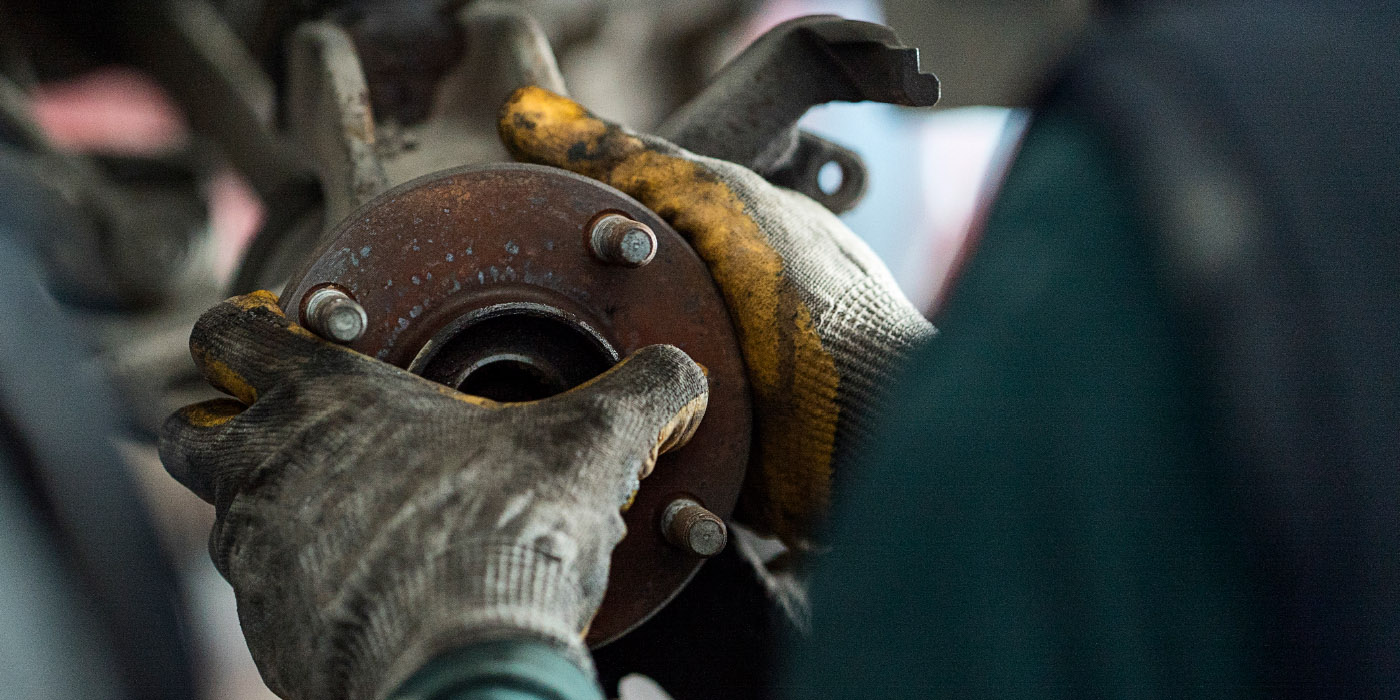
Always take time to measure runout in the hub flange — this goes for when the rotor is installed, as well. Pulsation problems can occur even if new rotors are used. Maximum lateral runout is 0.002” and disc thickness variation is 0.001.”
When using lubricants, do not coat the entire backing plate. Instead, coat just the inside fingers of the calipers, abutment clips and the surfaces of the pad retention clip that make contact with the pad. Do not lubricate the pistons or the inboard pad’s backing plate. The lubricant could adhere to the rubber boots of the pistons and cause debris to stick to the surface. This can cause the boot to deteriorate due to chemical interaction or dust sticking to and abrading the boot.
Rear Brakes
The rear brakes use a single-piston caliper with the parking/emergency brake in the hat.
Pad replacement is straightforward. Rotor replacement can be difficult and may require a slide hammer with the right attachments.
When the rotor is off, inspect the parking brake shoe and the clips that hold it to the backing plate. The components should be cleaned and the shoe should be inspected for any signs of friction material delamination or cracking.
Parking Brake Adjustment
The Trailblazer is equipped with a self-adjusting parking brake mechanism designed to take up the slack in the cables. To perform a final adjustment, the shoe can be adjusted at the actuator via an adjusting nut. The clearance between the rear park brake shoe lining and the rotor should be 0.25 mm (0.010 in).
If you have to replace the cables or actuators, you will need to disable the self-adjusting mechanism.
- Place the park brake lever in the full release position.
- Raise, and suitably support, the vehicle.
- Pull the park brake cable equalizer toward the rear of the vehicle and place locking pliers with protected jaws on the cable to hold it in an extended position.
- Lower the vehicle.
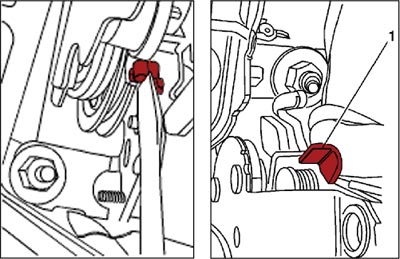
- Rotate the self-adjust clip into the lock position with a flat-bladed tool.
- Raise the vehicle.
- Remove the locking pliers from the park brake cable.
- Lower the vehicle.
- Partially raise the park brake lever, stopping prior to the self-adjust clip (1) activating on the mount bracket tab.
- Insert a flat-bladed tool behind the self-adjust clip and twist the tool 90 degrees to raise the self-adjust clip over the mount bracket tab.
- Raise the handle until it is fully applied and remove the screwdriver.
After component replacement, complete the sequence below to reengage the automatic adjuster:
- Lower the park brake lever.
- Raise the park brake lever.
- Lift the park brake lever boot to gain access to the multiplier lever at the front of the park brake lever assembly.
- Pivot the lever up and down three times.
- Cycle the park brake lever up and down three times for auto adjustment.
- Lower the park brake lever boot.
ABS
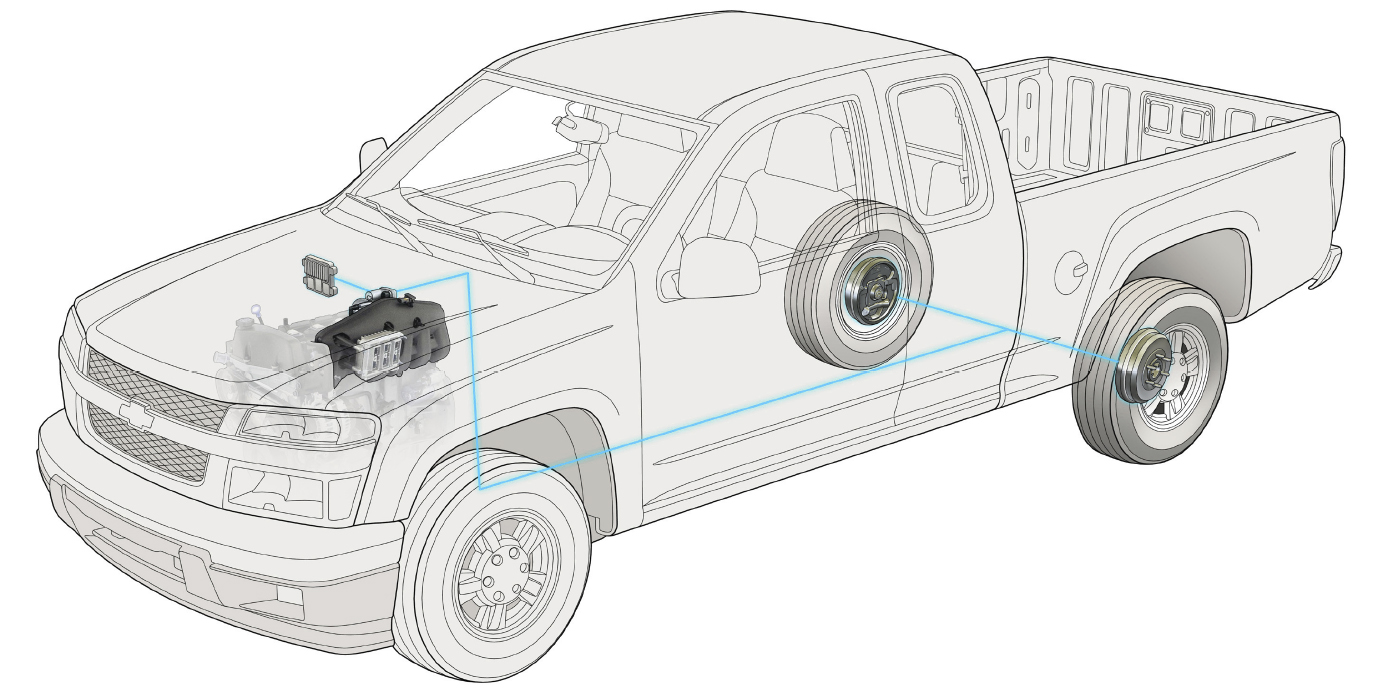
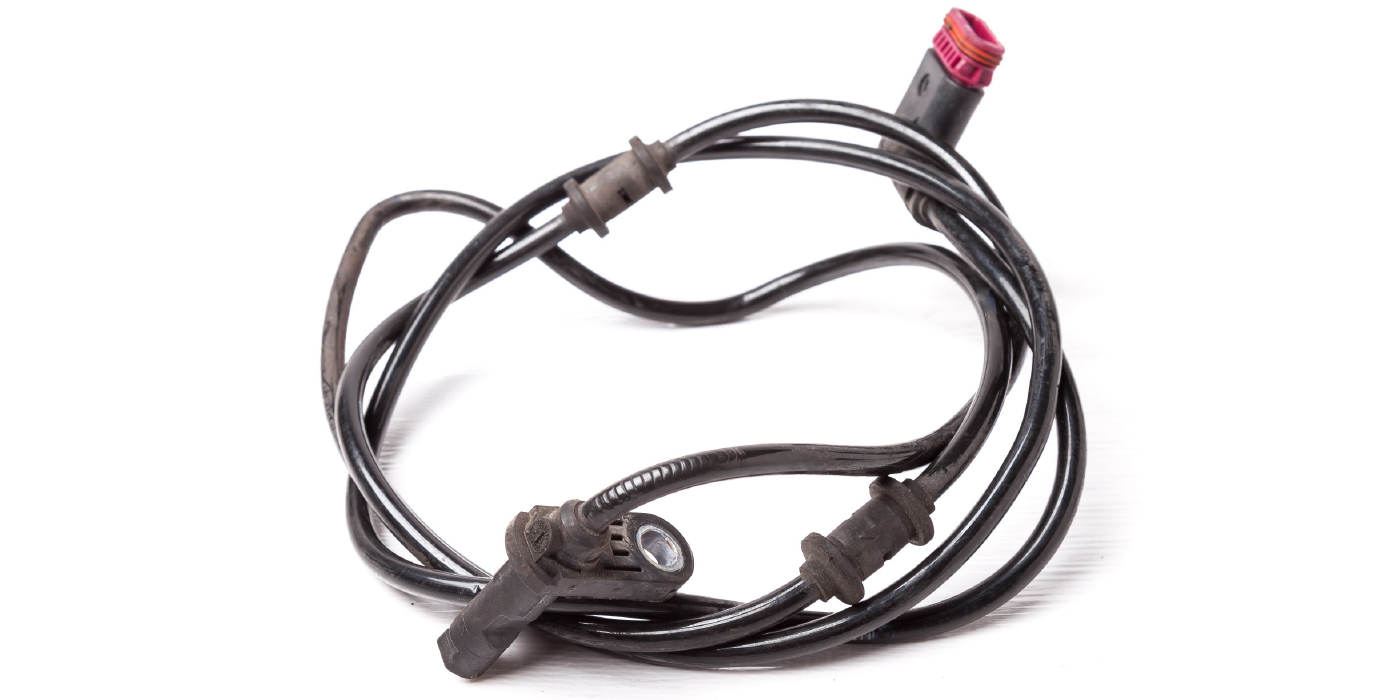
The ABS system is a four-channel system with dynamic rear proportioning. The Achilles heal of this system is the wiring harnesses for the front wheel speed sensors. In Rust Belt states, salt and water can penetrate the harnesses, causing wheel speed sensor codes to be set. Always test the harness for resistance and voltage drop from the EBCM to the wheel before you condemn a hub unit.
Some vehicles have had issues with grounding of the Electronic Brake Control Module’s (EBCM) grounds. TSB 04-05-25-002E outlines this problem and the recommended repair.
If you have a customer come in with a C0196 code set and Stabilitrak light illuminated, the problem could be the programming on the EBCM and how it interfaces with the yaw sensor. GM has issued new software updates to correct this problem.
Bleeding
Bleeding can be performed by a number of methods. If the modulator is replaced, you will need a scan tool to cycle the pump. It is also a good idea to do this if the master cylinder is replaced. Always start at the right rear.
Take your time with any bleeding procedure. The first wheel may require up to a full pint of fluid to get all the air bubbles out of the system.

