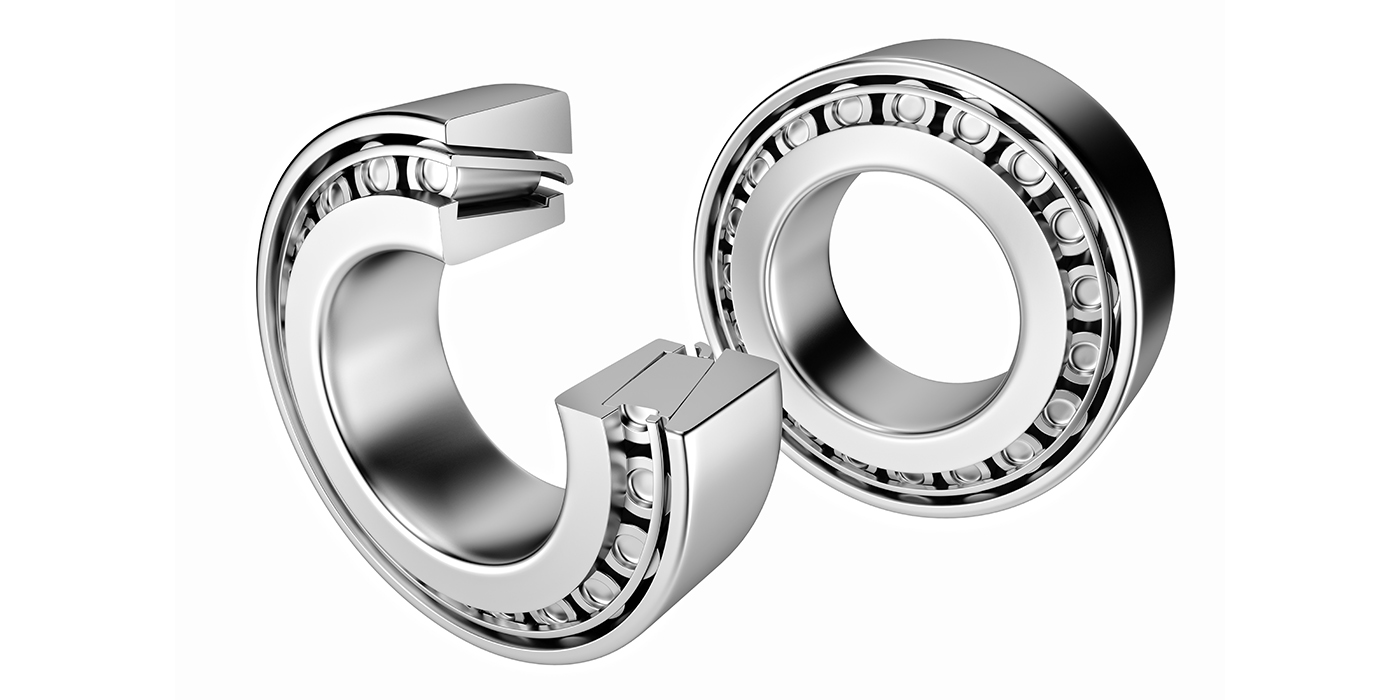
There are as many causes as there are cures for disc brake problems. Brake pedal pulsation tops the list, while disc brake noise and brake pedal sensitivity follow as second and third place contenders. Most of these problems can be avoided if technicians have the right parts and follow the correct procedures. Let’s begin by looking at two leading causes of brake pedal pulsation: rotor warpage and uneven rotor wear.
ROTOR WARPAGE
By now, most technicians know that overtorquing lug nuts causes brake pedal pulsation by distorting or warping the brake rotors. Of course, if overtorqued lug nuts were the whole story of disc brake diagnosis, I could close this column and take the rest of the day off! Unfortunately, less obvious faults can cause pedal pulsation, especially on that fresh new brake job. Although some vehicles are very sensitive to over-torquing, other vehicles are relatively immune.
SETTING UP THE LATHE
Inaccurate lathe setups play a major role in creating uneven rotor wear. If you can visualize a brake rotor “wobbling” between the pads mounted in a brake caliper, it’s not hard to also visualize that, each time the high point of the rotor contacts the pad, some metal is worn away from the rotor.
Eventually, the high point of the rotor’s friction surface is worn off, which ruins the parallelism between the inner and outer rotor surfaces. It is important to make sure you are using the correct settings.
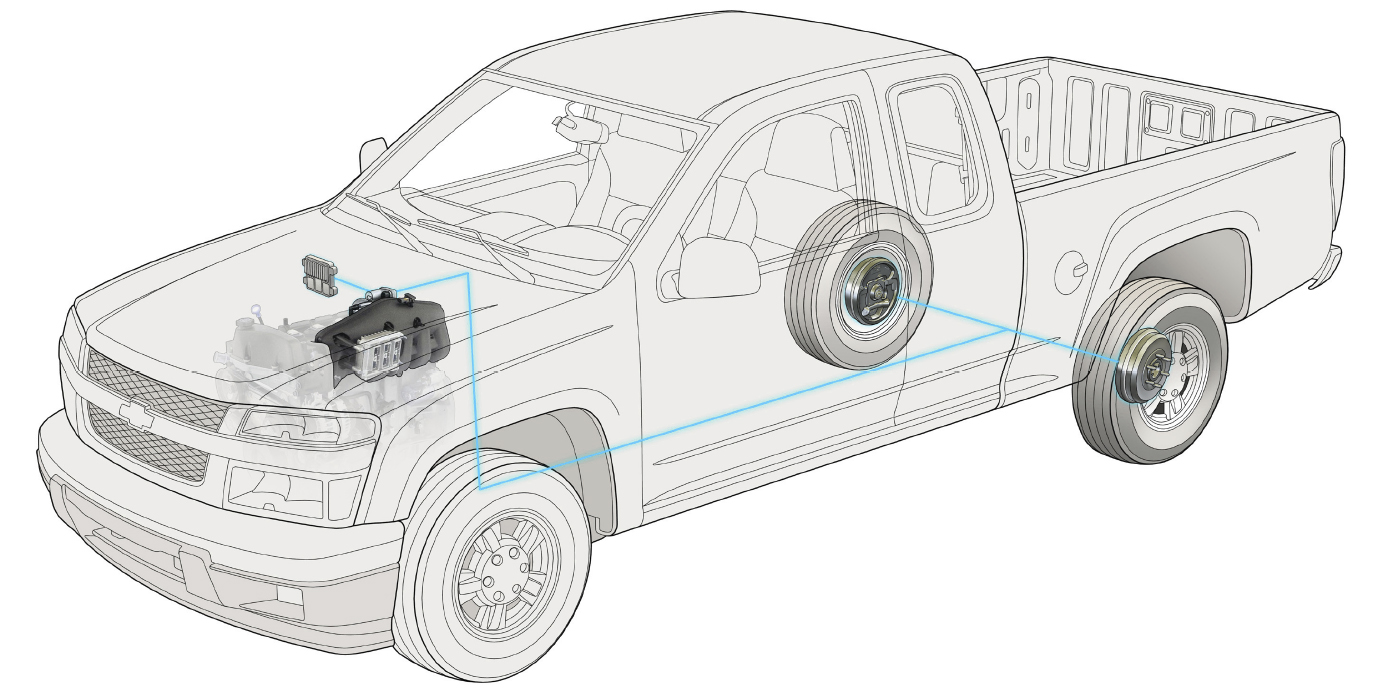
WHEEL BEARING ADJUSTMENT
Loose wheel bearings will cause the rotor to tilt in the caliper when a load or side thrust is placed on the bearings. Disc brake pistons require lots of fluid volume and pressure to push the pad against the rotor. If loosely adjusted wheel bearings force the pistons into the caliper, the result will be a low or spongy brake pedal.
Conventional wheel bearings must be adjusted with a slight amount of preload in the bearings. Excessive preload, however, will cause the bearings to overheat. It’s best to follow specified adjustment procedures from an applicable shop manual.
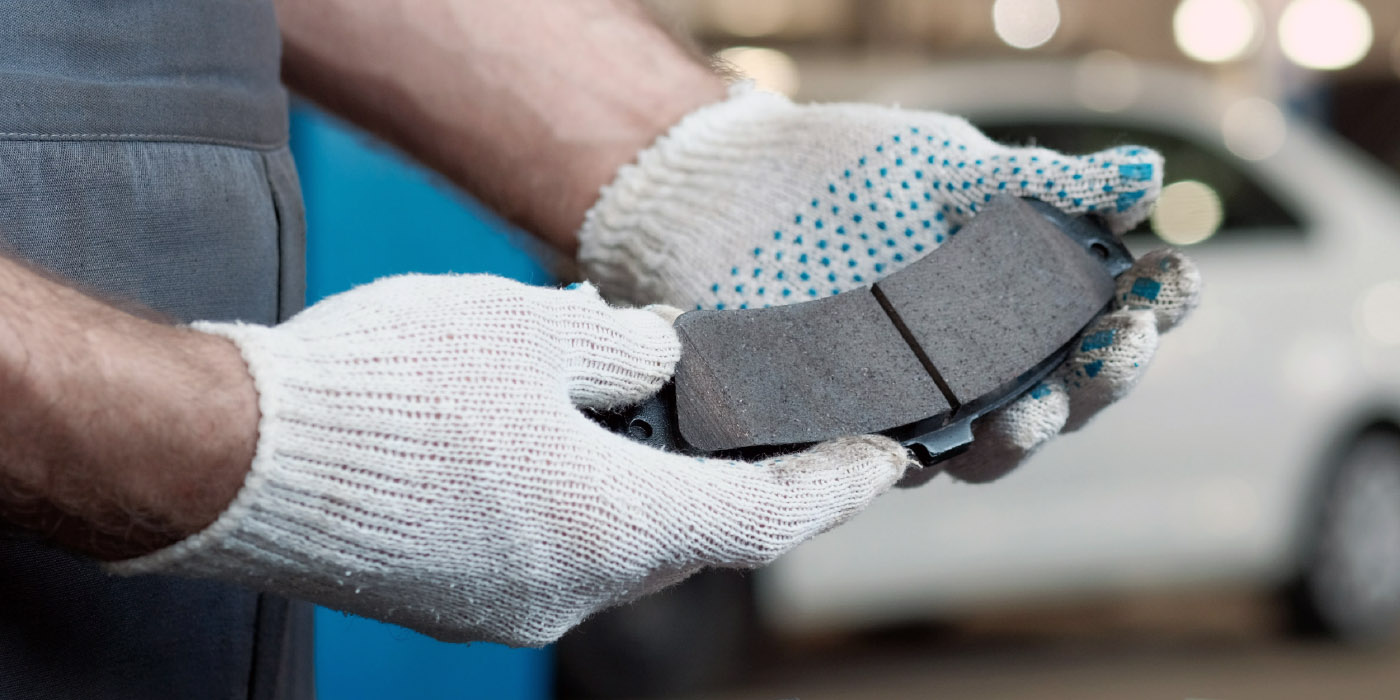
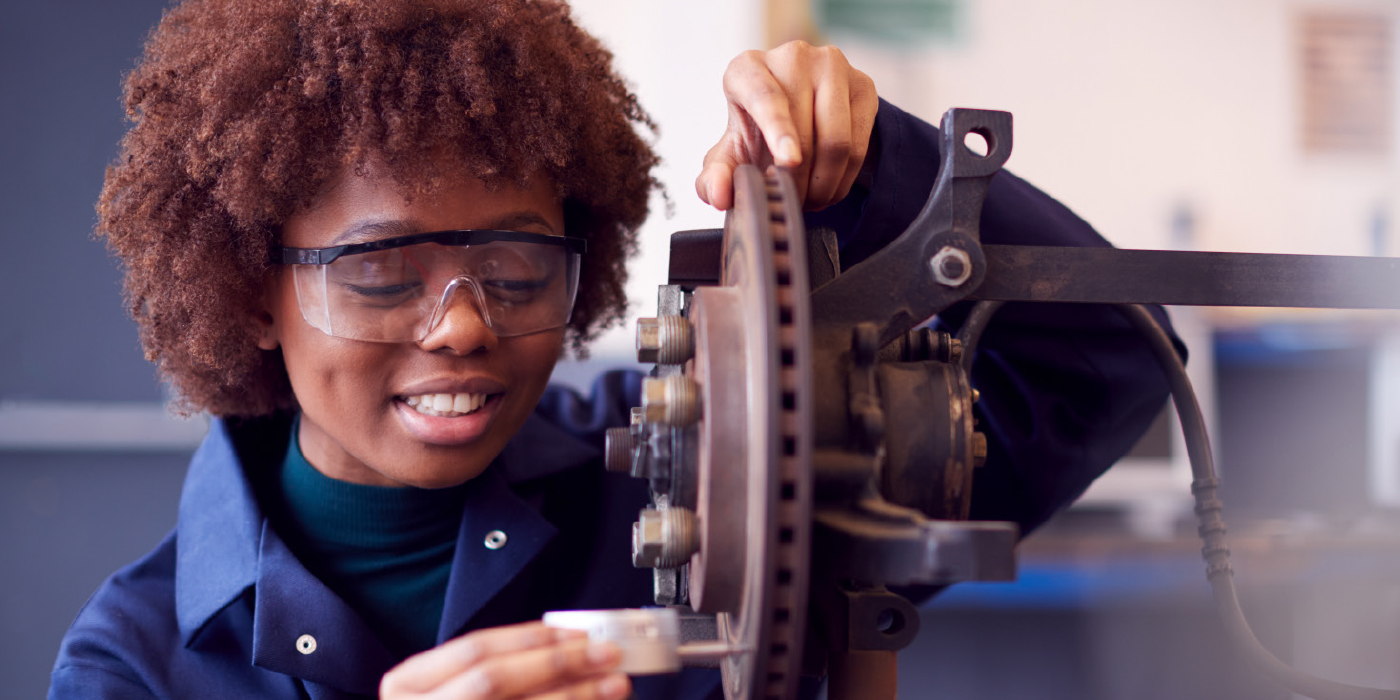
MOUNTING THE BRAKE PADS
As mentioned above, disc brake squeal occurs due to a high-frequency vibration between the brake pad and rotor. Following correct pad mounting procedures can prevent the majority of brake squeal.
When installing the pads, it’s important to use new mounting hardware. Most mounting hardware is made from soft materials like rubber or spring steel, which is designed to acoustically insulate the caliper from the mounting bracket and wheel spindle. These parts lose their soundproofing qualities as they age.
Second, the caliper guide pins or slides must be cleaned and lubricated with a recommended high-temperature brake part lubricant to prevent corrosion or sticking. Free-floating calipers relieve the tendency of pads to rub or bind against the brake rotor and, thus, reduce noise.
Pad shims must be reinstalled if they were originally used. Too often, these shims are discarded with the old pads while the brake tech unwittingly installs the new pads – minus the required shims.
To prevent shim loss, many manufacturers are now attaching adhesive shims to the backing plates of the new pads. Other pads require clip-on shims. It’s important not to attach clip-on shims to the backing plate with an adhesive noise-silencing compound. Adhesive destroys the noise-insulating properties of the shim. In many cases, manufacturers actually recommend that these shims be lubricated with high-temperature silicone grease. Last, many pads are made with mounting tabs designed to hold the pad tightly in the caliper. Taking the time to crimp these tabs into the caliper will reduce the possibility of pad vibration and brake squeal.
DISC BRAKE NOISE
Disc brake squeal is perhaps the most difficult problem to eliminate on most vehicles because it’s aggravated by uncontrollable factors including weather changes and the design of the brake itself.
The squeal is caused by the pad vibrating at a high frequency as it engages the rotor. The type of material used in the pad and the rotor may further aggravate the squeal. High-performance racing-type pads, for example, are designed for maximum stopping power and durability, with noise factors being the least part of the design criteria. Many early European vehicles are particularly offensive in this regard because a premium is placed upon pad performance rather than noise suppression.
ROTOR FINISH
The issue of applying a non-directional or swirl finish to a freshly turned rotor is complicated by the fact that, while brake pad manufacturers recommend a sanded swirl finish, most deliver their new rotors with a smooth, cut finish. There’s a reason for this apparent dichotomy: Brake manufacturers know that many technicians operate rotor lathes at maximum cutting and feed rates, which cause the metal to be folded or peeled over instead of cleanly cut away.
Microscopically, the surface of the rotor looks like a freshly plowed field. These metal furrows are then torn away by the new brake pad and become imbedded in the lining. The result is a metal-to-metal contact effect between pad and rotor that theoretically causes brake squeal.
Although several types of sanding and buffing pads are now being marketed to help remove this folded metal, no amount of sanding or honing can remedy the damage caused by a dull lathe bit or by fast, deep cutting. Dull bits leave a pitted finish on the rotor. Likewise, excessively fast feed speeds or cutting depths tend to tear away, rather than smoothly cut.
The other problem caused by using a fast cutting feed for the finish cut is cutting a “record player” groove in the rotor. This spiral groove causes the pad to vibrate against the caliper, which, according to theory, aggravates disc brake squeal.
To summarize, the rotor should have a smooth, non-directional finish. Some technicians test the finish by scribing a line on the rotor with a ballpoint pen. If the ink line is smooth and continuous, the rotor is finished correctly.
Last, it’s always a good idea to scrub loose particles from the rotor by using brake parts cleaner and a clean cloth. Before mounting the brake rotor, make sure that the reluctor or tone ring for the anti-lock brakes is free of grease and metal chips. Dirty tone rings can cause faults in the anti-lock system.
BRAKE PEDAL SENSITIVITY
Occasionally, a customer may complain that “the brakes just don’t feel the same as before.” In other words, the new brakes may not feel as sensitive as the old ones. Keep in mind that loose wheel bearings will cause sponginess in disc brakes.
Second, many rear disc brakes incorporate a park brake mechanism that adjusts itself each time the park brake is applied. If the driver doesn’t occasionally use the park brake, excess clearance develops between the rear disc pads and the rotors, which causes a low brake pedal. Some of these mechanisms can also become corroded through lack of use, which complicates the repair.
Last, anti-lock braking systems require special brake bleeding procedures. In some cases, an interactive computer scanner is required to flush air out of the system. If the new brakes “don’t feel the same,” one or more of these factors may be responsible.
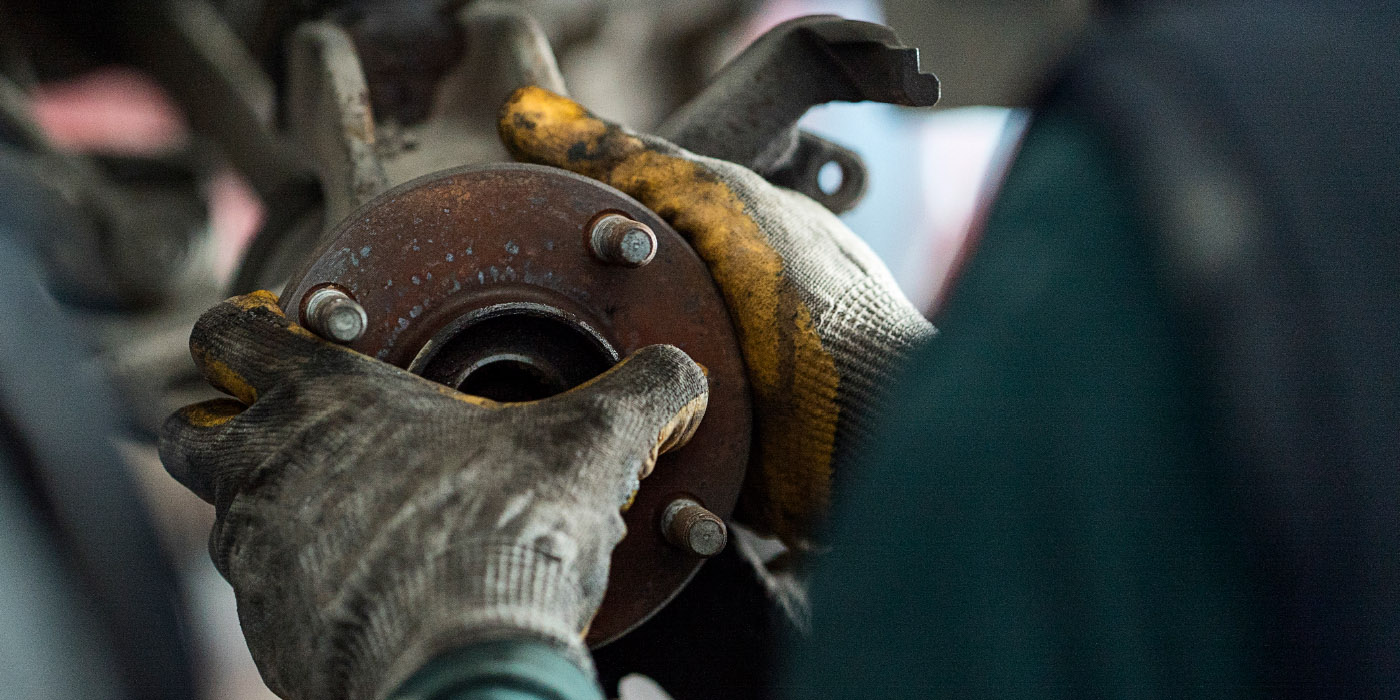
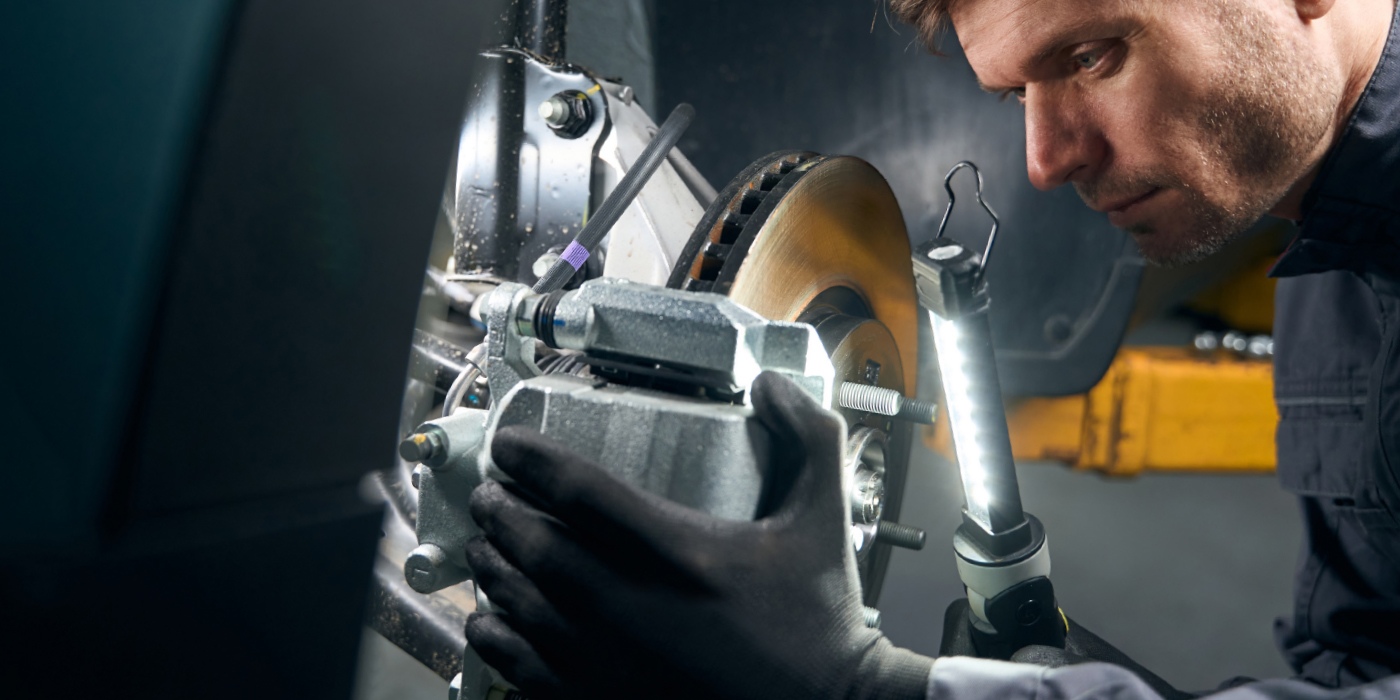
CORRECTLY RESURFACING ROTORS
Unfortunately, many repair shops don’t use the correct mounting fixtures or use the correct procedures to correctly resurface rotors. Many technicians use brake drum fixtures, for example, to mount rotors on the brake lathe. These old-style fixtures simply lack the accuracy to align the rotor at a perfect perpendicular angle with the brake lathe arbor.
Other times, brake techs don’t make sure the rotor is mounted correctly on the lathe. Before mounting the rotor, the chips and grease should be cleaned from the mounting fixtures and arbor. The fixtures should also be free of nicks and burrs. If a hub-type rotor, on which the fixtures bear against the wheel bearing races is being turned, the bearing races must be pressed securely into the hub, and be free of chips and debris.
If a hubless rotor is being turned, the rust should be buffed from the lug bolt surfaces of the rotor with an abrasive buffing pad. It also pays to use mounting fixtures specially designed to mount hubless or stamped-steel hub composite rotors. These fixtures offer optimum accuracy and have enough mass to significantly reduce lathe vibration.
The last step after mounting a rotor to a lathe is to check the accuracy of the set-up. The quickest procedure is to start the lathe, take a light scratch cut on the rotor with the cutting bit, and then shut the lathe off. The arbor nut should then be loosened and the rotor or rotor/fixture assembly rotated one-half turn.
After the arbor nut is retightened, the lathe should be started and another scratch cut taken. If the lathe and set-up are accurate, the scratch cuts should occur at the same place on the rotor. If not, the set-up or fixtures are incorrect for the application.