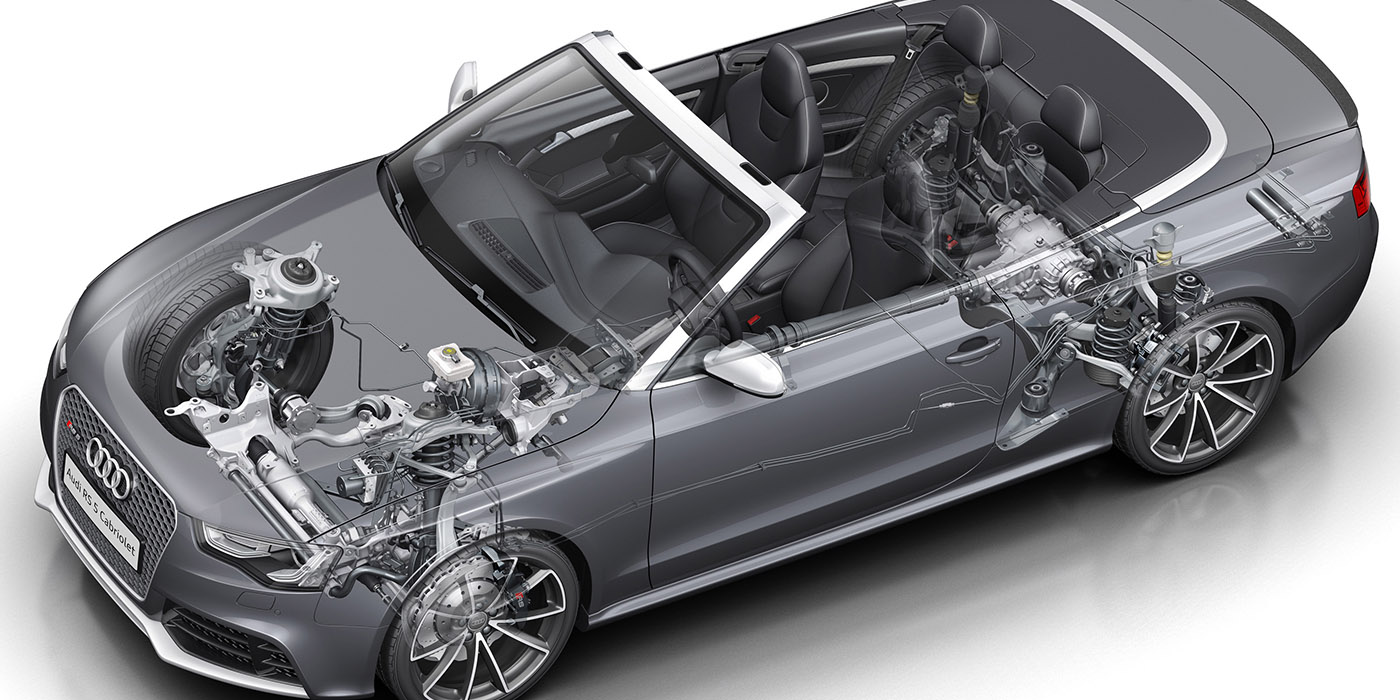
 Some people call the Toyota Avalon the “Japanese Buick” due to its size and plush ride. The suspension design of the Avalon does not vary that much from Toyota’s smaller vehicle platforms in overall suspension design.
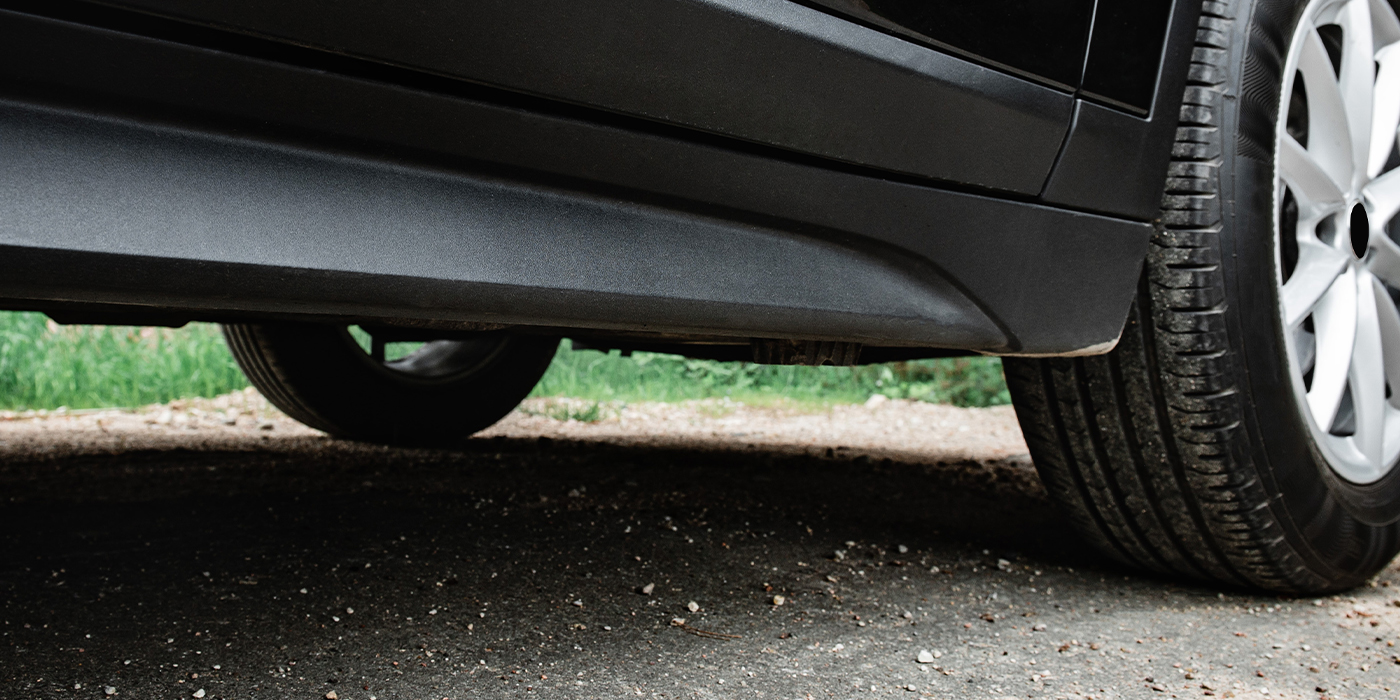
The Avalon came in four trims, a standard XL trim, a sporty Touring trim, an XLS trim and a premium Limited trim. The XL model came standard with 16" alloy wheels, while other trims came with larger 17" wheels. Performance oriented tires were fitted to the Touring and Limited trim. The alignment spec are different for some trim levels so make sure you select the right model.
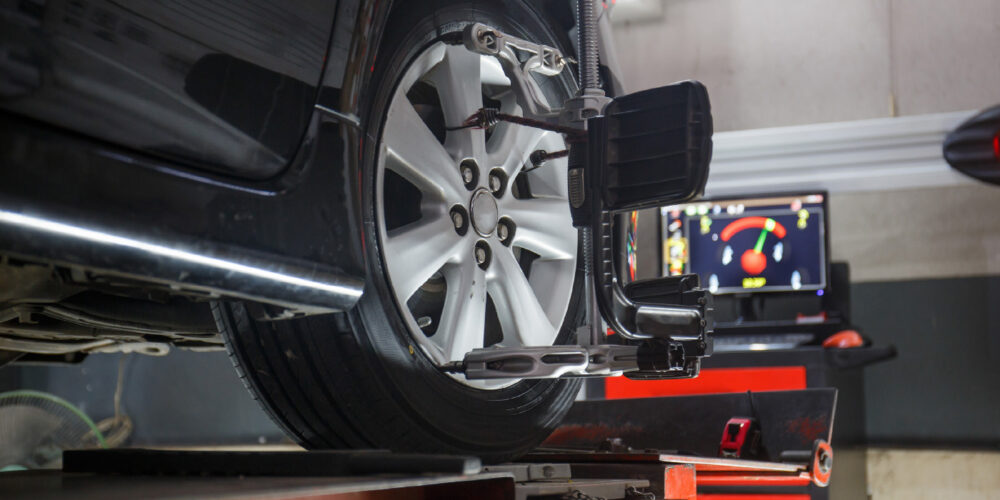
If you get on of these vehicles in your shop for an alignment, there are three things you need to do at the time of the alignment.
First, ask the customer if they are experiencing any problems. This can save you from chasing your tail and not solving why the customer came to your shop in the first place.
Second, sell front camber bolts at the time of write-up. If they are not needed, you have at least saved everyone involved some time. You can charge an hour or more of labor to install the kit on both sides. Aftermarket kits are available that can give ±2º of camber.
Third, make sure you can calibrate the steering position sensor. If you can, charge the customer for it. If you cannot, make sure you read the section below titled “Steering Position Sensor Recalibration.”
 Front
Front
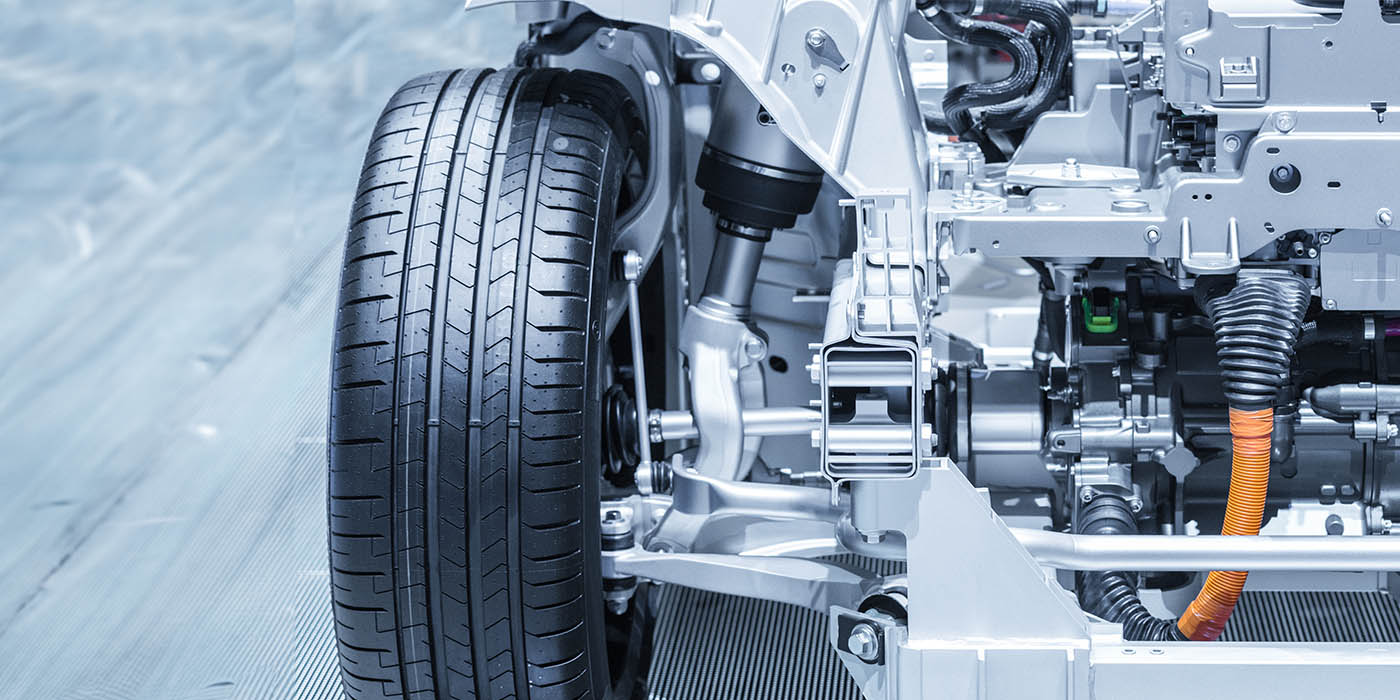
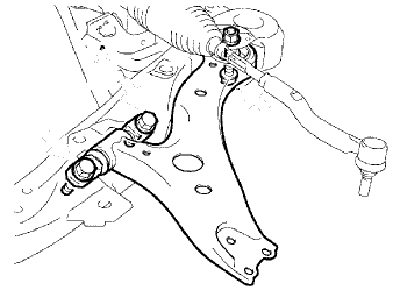
The front suspension is a conventional strut arrangement. The lower control is robust and mounts to a subframe. Pay attention to side-to-side differences in camber and caster. Combined with the SAI an front setback, it can be a powerful diagnostic tool in diagnosing bent parts like strut rods and control arms. Ball joints should have zero play.
Camber can be adjusted by installing a cam bolt in the lower bolthole of the strut mount. Depending on the kit, it can adjust the camber up to ±2.5 degrees depending on the kit. Toyota recommends bolts that can change the camber in fixed amounts. This may work on the assembly line, but does not work in the alignment bay.
Caster is not adjustable. If you see that the cross caster specification has exceeded ±.75º, start looking for damaged parts.
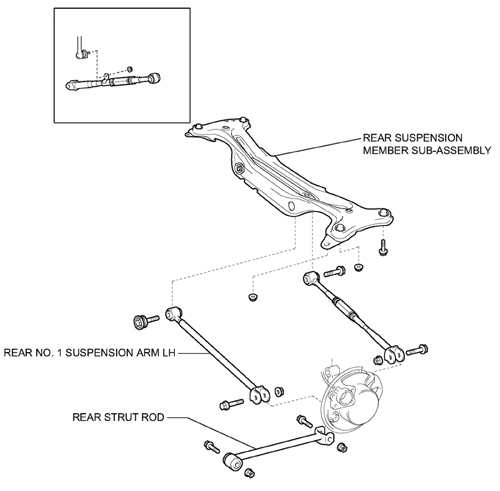 Rear
Rear
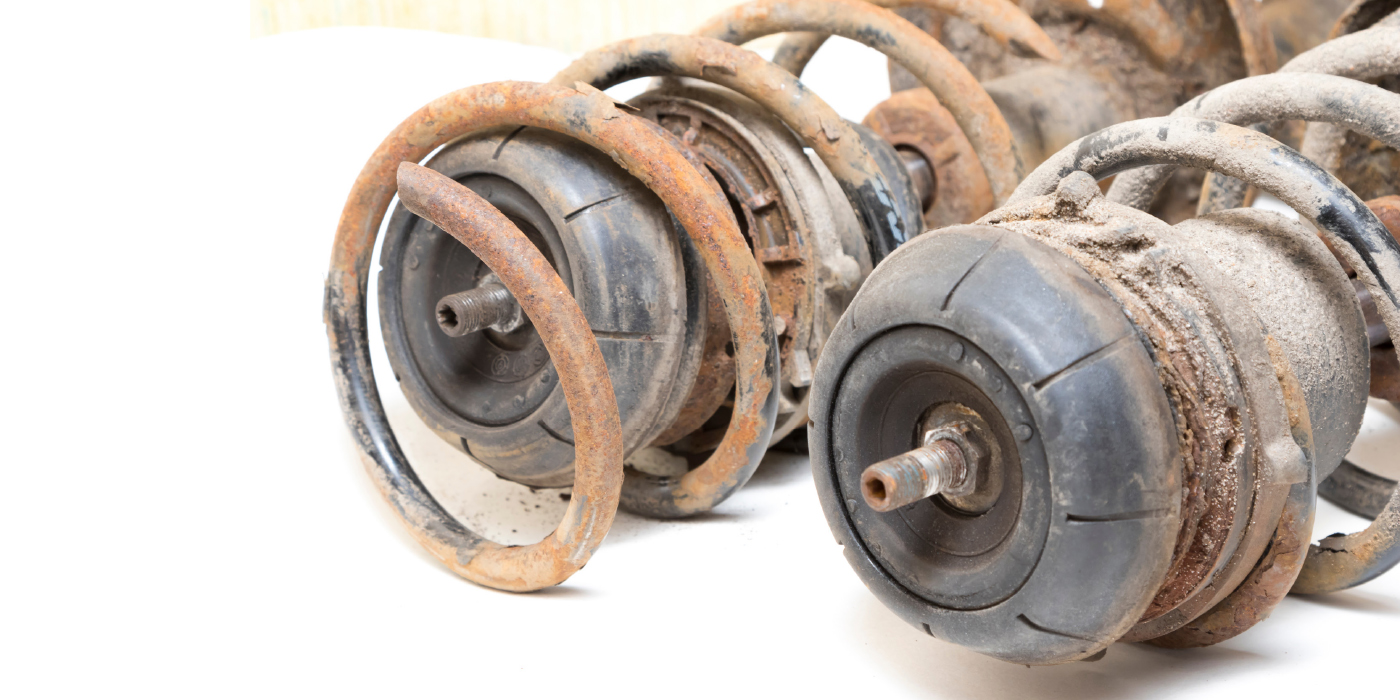
The rear suspension uses a strut with one trailing link and two lateral links. The main area of wear is on the bushings. Worn bushings can produce uneven tire wear by changing the camber and toe.
Camber can be adjusted with aftermarket cam bolts. Even negative camber on both sides exceeding 2º can indicate worn springs.
Rear toe adjustments should be performed using both lateral links on each side. Toyota has set a specification that says the links should be within 1.5mm in length of each other. The toe angles on both sides should be close to equal. One turn of each adjusting tube will adjust toe-in by approximately 1.2°(1°12′), 10.8 mm (0.425 inch). Unequal angles may cause unwanted bump steer from the rear wheels.
Noise Diagnostics
Like a lot of Toyota vehicles, most front suspension and steering noise can be traced to two components. First, the Avalon has had several TSBs issued about the shaft linking the column to the rack. Most of the TSBs call for lubrication of the shaft where it passes through the firewall.
The next area of noise problems is the strut mounts and spring insulators. Toyota took a belts and braces approach to reducing noise, but over time the rubber in the insulators can deteriorate. In the rear, the upper strut mounts are under the package tray. When the rubber wears out and separates, it can cause a clunk or popping noise. These noises are most noticeable at low speeds.
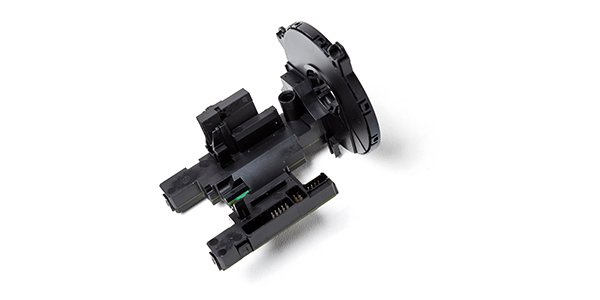
Steering Position Sensor Recalibration
The recalibration of the steering must be performed after any front or rear toe adjustment. It is highly recommended to do this through the OBDII port. A scan tool can be used or Hunter’s CodeLink tool which is programmed to address Toyota’s requirements relative to the VSC zero point calibration. Hunter has simplified the process with a seamless transition from the final front toe adjustment to the required reset.
Disconnecting the negative battery lead is a required step when recalibrating the steering angle sensor. Hunter’s CodeLink device offers instructions on how to reset the vehicle’s equipment that rely on memory settings. Resetting the seat position settings, however, will be a problem.